Ads allow content creators to provide free useful and compelling content to the public. We may earn money or products from the companies mentioned in this post. See the Affiliates and Disclosures page in the top menu of this website for detailed information.
What to do when you finish your crochet project
When you finish crocheting your project, as in that last stitch has been stitched, it’s time to tie off the crochet project.
There are a few important steps to take to ensure a clean looking finish.
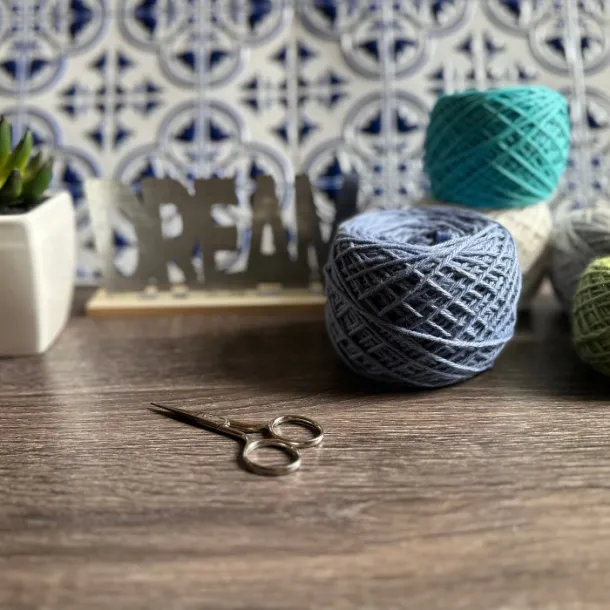
The first step is to cut your yarn, leaving a tail to work with or hide. This tail will be used to secure your stitches and prevent them from unraveling. The tail should be long enough to thread into a yarn needle, or tapestry needle AND to be able to move it through the finished piece (I suggest at least 3x the length of the needle) or even longer if it is being used for other finishing steps.
You may find these posts helpful
- How to tie off a crochet project
- One skein crochet projects
- How to soften acrylic yarn
- How to read a crochet pattern
- How to pick yarn for a project
- What is your crochet skill level
- Which are the best crochet hooks
- 5 tips for mastering crochet as a beginner
- How to read a yarn label
- 5 essential tools every beginner needs
Tie off a crochet project option 1
Weave in and hide yarn tail securely
The most basic method to tie off a crochet project is to hide the tail, thread it onto a yarn needle and weave it through the stitches on the wrong side of your work. Make sure to weave it in different directions to ensure it is secure. Once you have woven the tail in, trim any excess yarn with embroidery scissors.
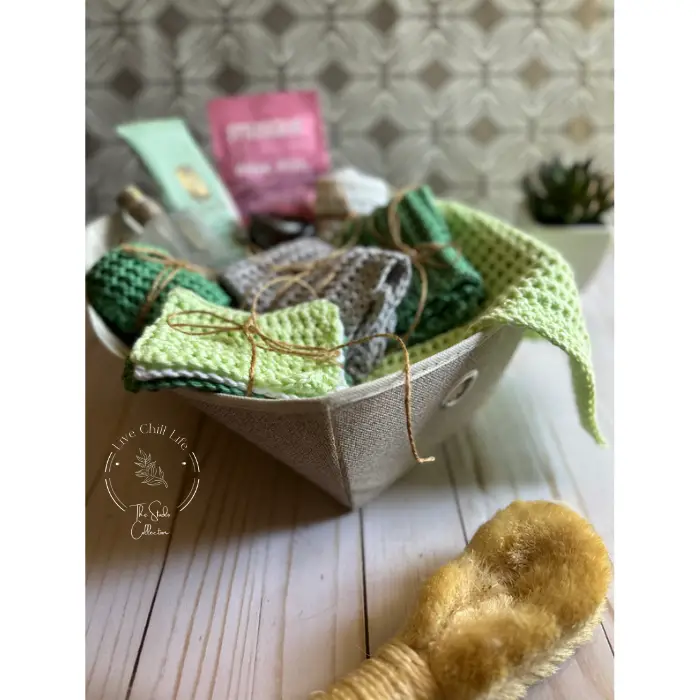
For items that will get a lot of wear and tear such as blankets, dishcloths and spa sets, and hats, you want to make sure the tails never show their heads again especially if you’re gifting it.
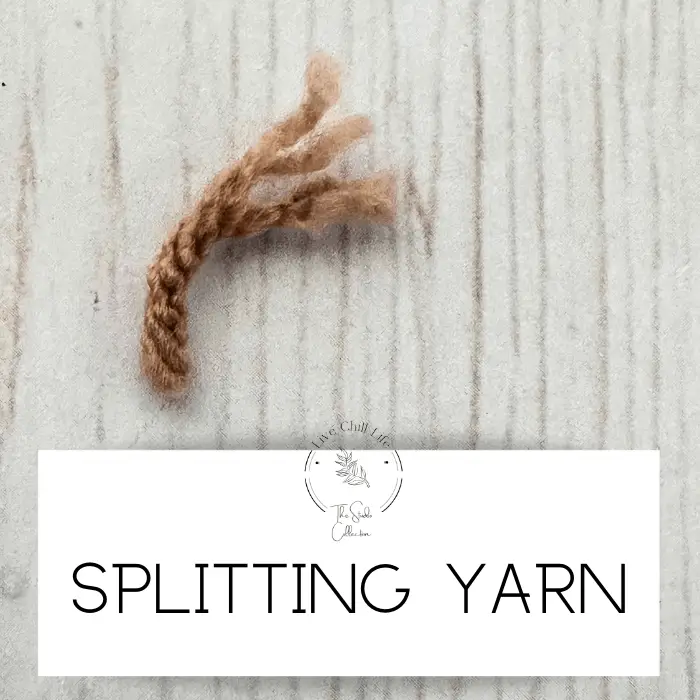
To do this, split your yarn tail into two pieces (this works for yarn that has plies – strands woven together) and weave each half of the split yarn into different directions going back and forth in three directions before cutting off the excess.
Check out 10 crochet gifts for men.
T-shirts and project totes for crocheters available in my Etsy shop!
Tie off a crochet project option 2
Use finishing tail as part of a decorative or functional finish
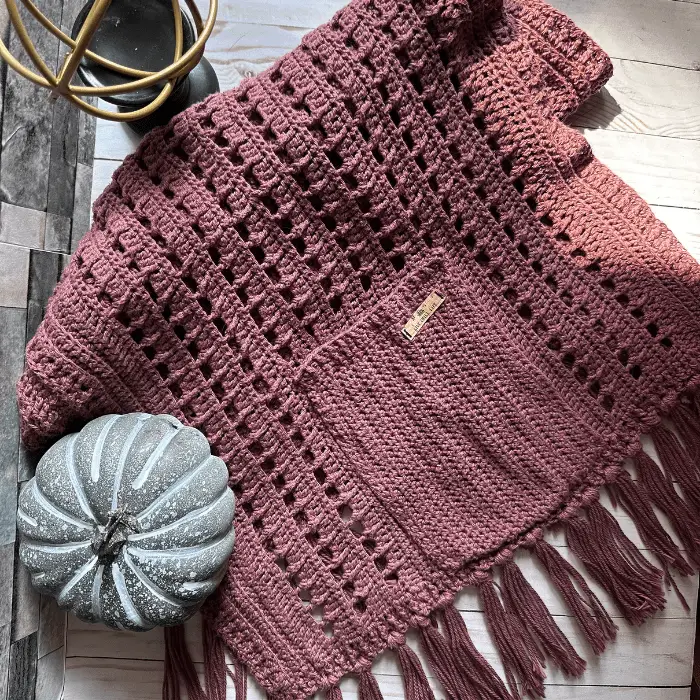
If you prefer to leave the tail visible, you can use it to create a decorative fringe or tassel. When you have worked your last stitch, cut your yarn leaving at least an 8″ tail (more if you have a long fringe) and pull the yarn through the last stitch so it can’t be pulled to frog (unravel) the last row you worked.
I do this with my fringe projects all the time, such as the pocket shawl pattern shown below.
Click on any image to see more information about the pattern.

Simply knot the tail and trim it to your desired length.
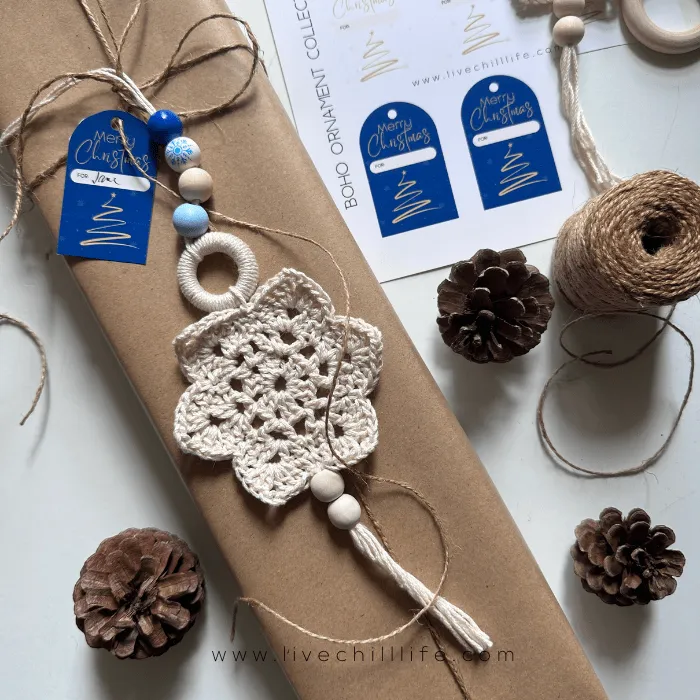
The Boho Christmas ornament will have you ending with a long tail so that it can be looped onto the ring above then securely woven into the body of the star.
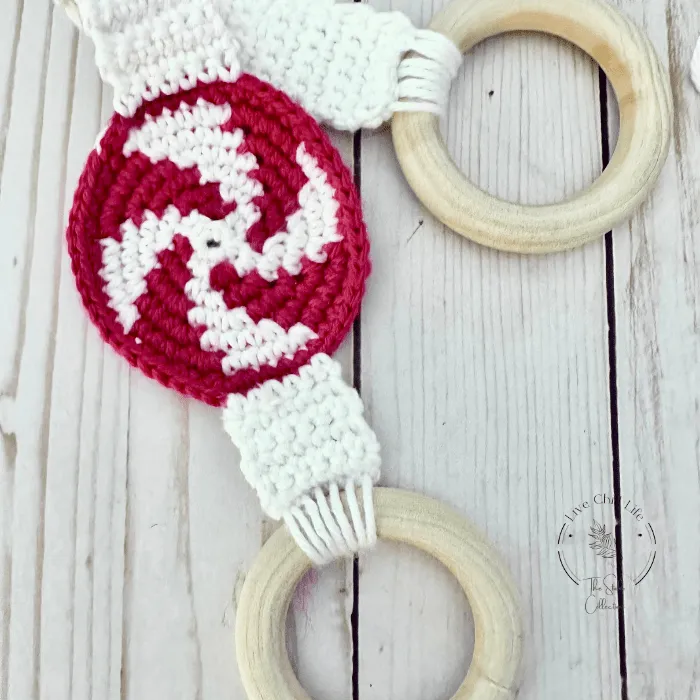
The peppermint kitchen towel holder uses a very long 16-20″ tail to work into the wood rings as the finishing step – then it is securely woven in.
Long tails can also be used to seam amigurumi and things like crochet pumpkins.
Tie off a crochet project option 3
Add embellishments with tail
Because having as few ends as possible is a goal for nearly every crocheter, leaving a long tail to add post project adornments like beads, a brand or “made with love” label or topstitching types of braids like these slippers have.

Another option is to use the tail to sew on any additional embellishments, such as buttons or beads. This can add a unique touch to your finished project.
This crochet hat has a brim that is accented with a button on each side stitched on with a long tail.

Once you have finished securing the tail, take a moment to admire your completed crochet project. You can now proudly display or gift your crochet project, knowing that it is finished off neatly and securely!