Ads allow content creators to provide free useful and compelling content to the public. We may earn money or products from the companies mentioned in this post. See the Affiliates and Disclosures page in the top menu of this website for detailed information.
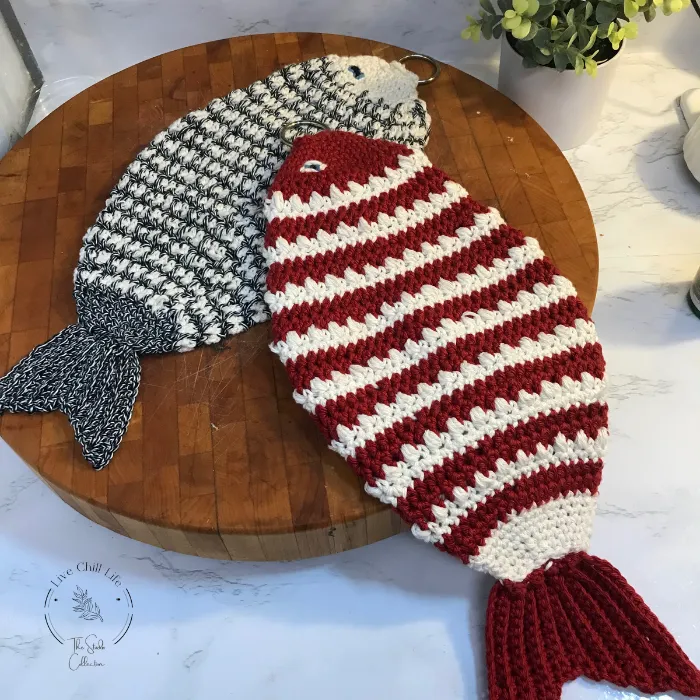
Free Crochet pattern thick fish potholder
This crochet double thick potholder free pattern is whimsical and fun! I was careful to design it to have a double thickness for safety and a large size for hand and wrist coverage. Skimpy potholders run the risk of burning yourself.
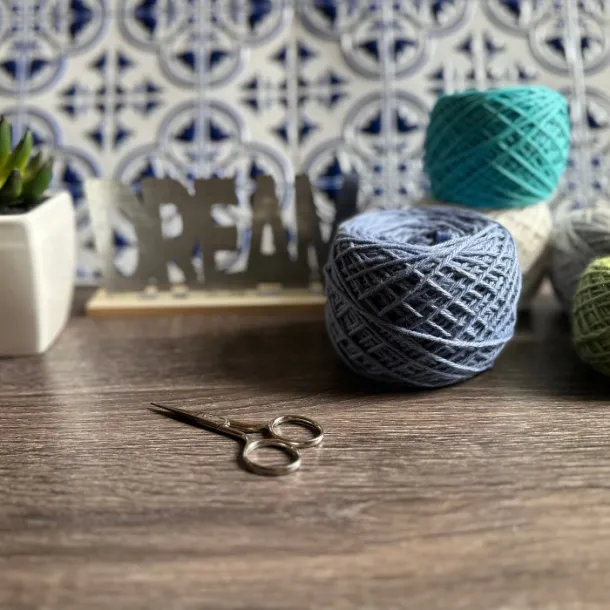
So many of you have wrote and commented how much you enjoy these potholders as part of your crochet coastal home decor. I love to hear it!
Updated for 2024
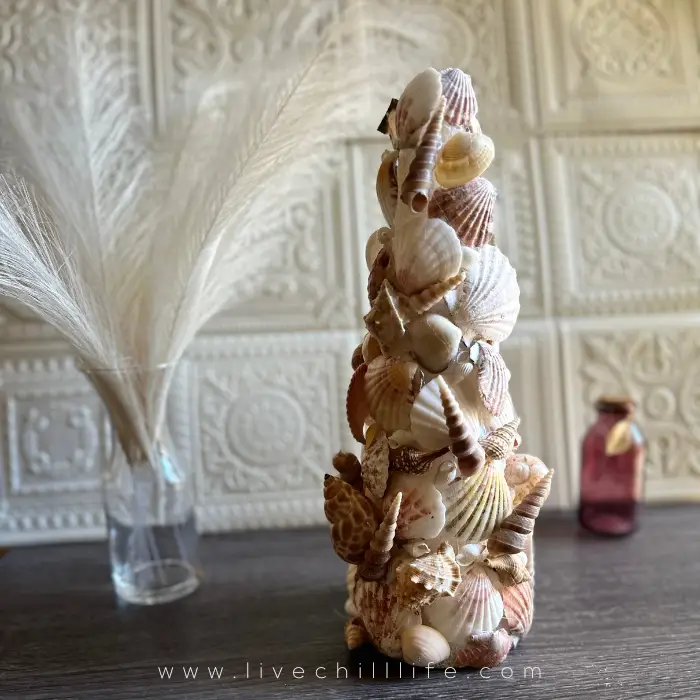
You may like this DIY seashell tree craft project if you love coastal decor.
Because it is worked in the round, it is naturally double thick by design.
The clownfish always brings such a lighthearted fun look to the seascape. Now you can add that touch of whimsy to your kitchen with this crochet fish potholder pattern.
Table of Contents
Skill level to crochet the double thick potholder
Skill level for this project is experienced beginner. What is your crochet skill level– see the chart. You should be comfortable working in the round, color changes and working increase and decrease stitches.
It pairs nicely with the crochet zebra fish pattern . These patterns work up quickly. Use 100% cotton or other heat safe natural yarn. Do not use acrylic for your own safety.
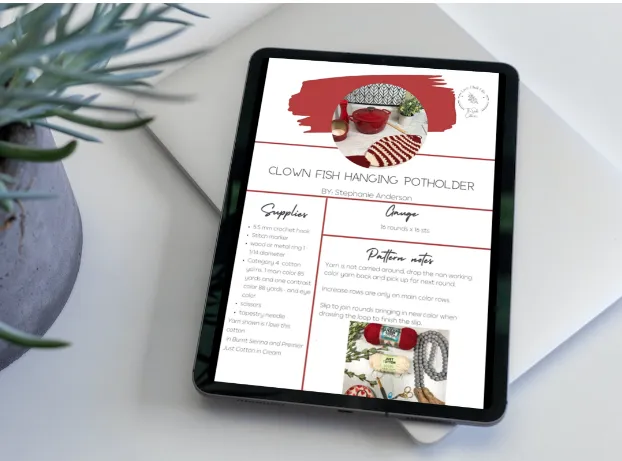
You may purchase an ad free PDF version of this pattern along with the zebra fish pattern on Etsy via this link.
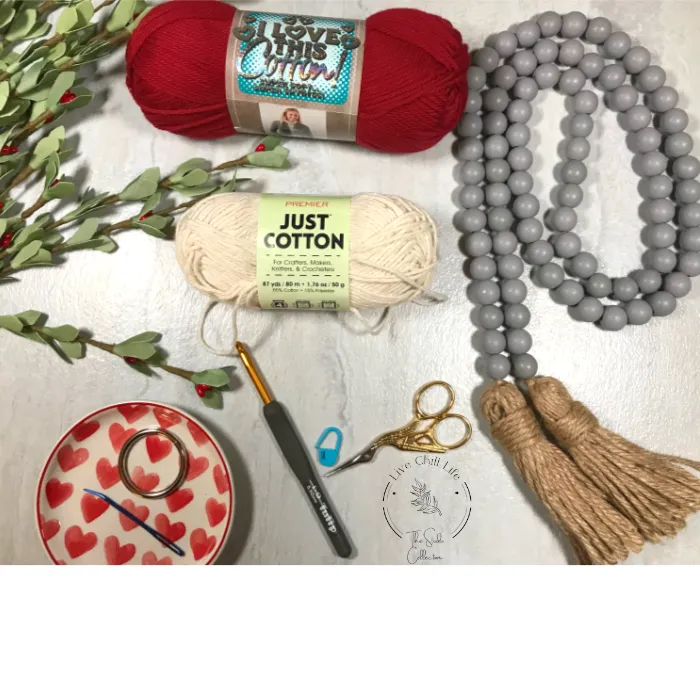
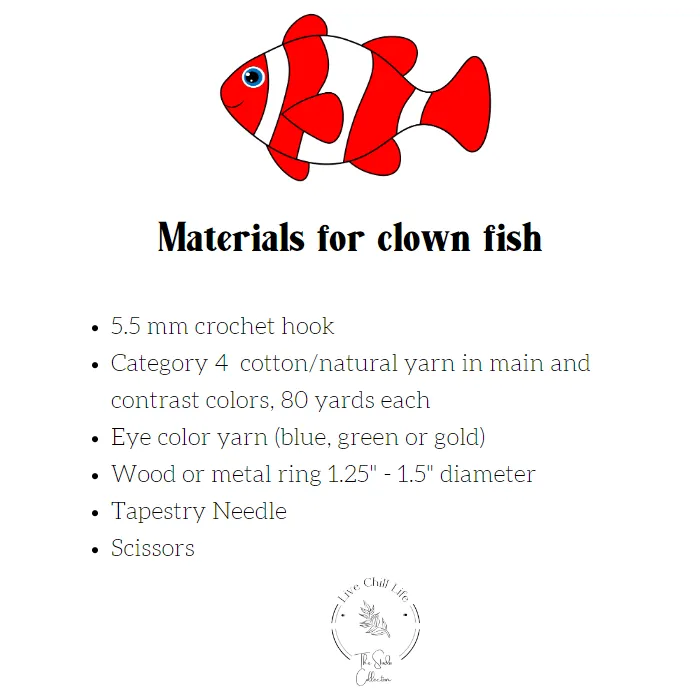
Materials needed to crochet a potholder
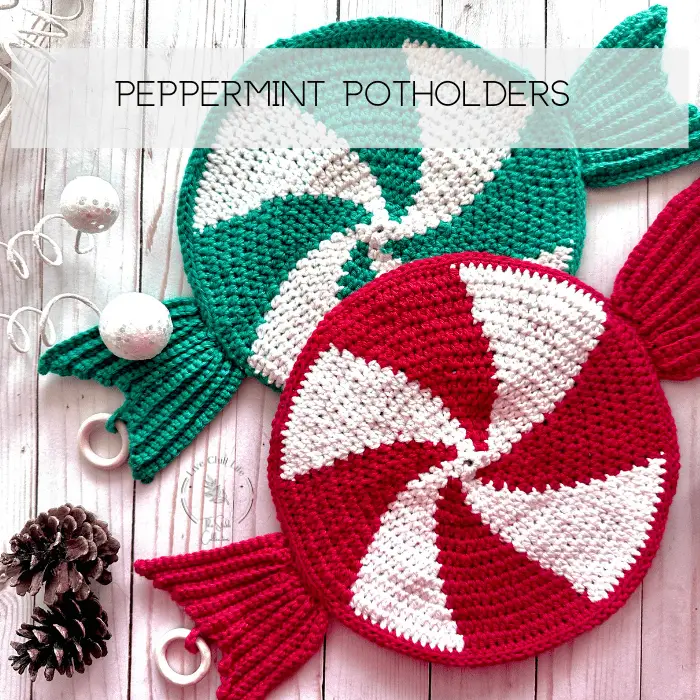
You may also like these peppermint crochet potholders free pattern
For this project I have used I Love This Cotton in Burnt Sienna and Just Cotton from premier yarns available at Dollar Tree in cream.
Video tutorial for crochet potholder
located at bottom of post.
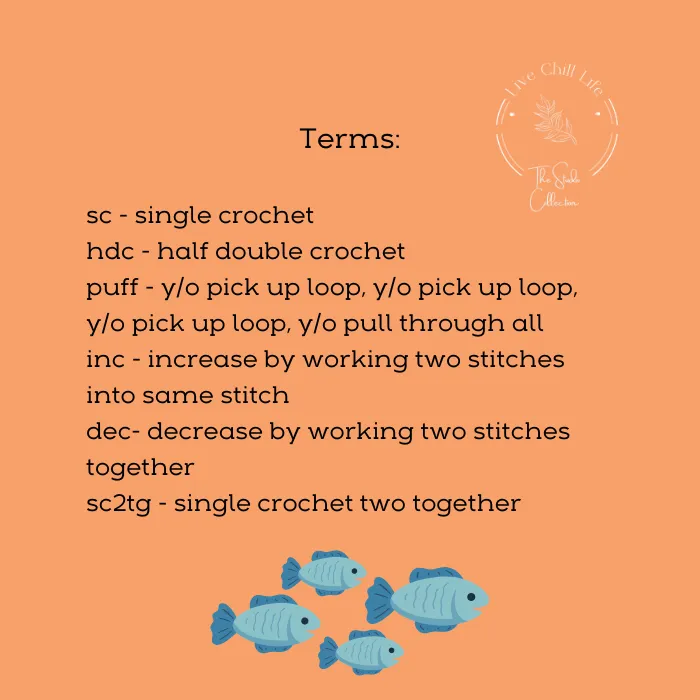
Pattern notes:
Increase rows are only on main color rows.
Notes: Yarn is not carried around, drop the non working color yarn back and pick up for next round.
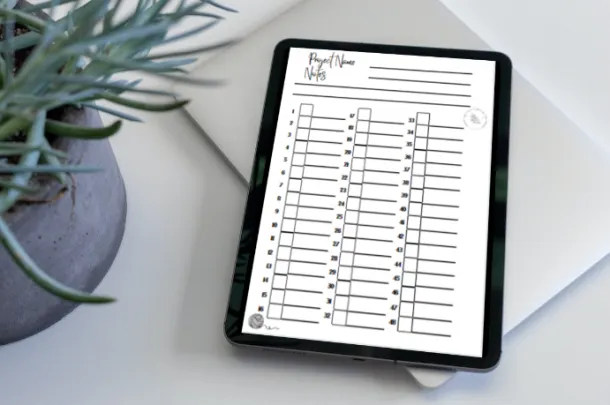
Begin: (to keep track of rows try my free download on this page of a small project tracker page. Just enough for this project!)
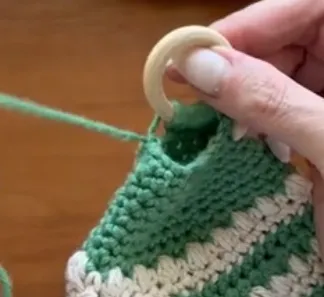
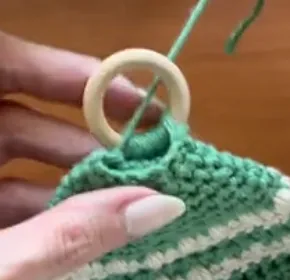
Using the ring/hook leaving a 10″ tail, attach yarn with 6 sc onto ring then ch 9 to total 15. join to first stitch with a slip stitch keeping chain straight. Sc around. slip to join, chain 1. (We will work the long tail in the finishing steps)
Use a stitch marker to keep track of starting stitch.
Round 2: Inc first, 5th and 10th stitch (18 sts)
Round 3: 2 sc in first, 2 sc in 6th, 2 sc in 12th (21 sts)
Round 4: ch 1, 2 sc in first inc at 7 and 14 (24 sts)
Round 5: 2 sc in first, in at 8 and 16 (27)
Round 6: 2 sc in frst, inc at 9 and 18 (30 sts)
Round 7: hdc 2 in first. inc at 10 and 20. (33)
Round 8: hdc 2 in first st. inc at 11 and 22 (36 sts)
Insert contrast color
Round 9: *Sc, Puff* to end. (36 sts)
Round 10: Sc around (36 sts)
Change to main color
Round 11: Hdc 2, inc at 12 and 24 (39 sts)
Round 12: Hdc 2, inc at 10, 20, 30 (43)
nsert contrast color
Round 13: *Sc, Puff* to end. (43 sts)
Round 14: Sc around (43 sts)
Change to main color
Round 15: Hdc inc 7, 14 and 28 (47sts)
Round 16: hdc inc 8, 16, 32 (50 sts)
Insert contrast color
Round 17: *Sc, Puff* to end. (50sts)
Round 18: sc around (50 sts)
Change to main color
Round 19: Hdc inc 9, 19, 36 (54 sts)
Round 20: Hdc inc 10, 24, 38 (57 sts)
Insert contrast color
Round 21: *Sc, Puff* to end. (57 sts)
Round 22: sc around (57 sts)
Insert main color
Round 23: Hdc around (no inc)
Round 24: Hdc, inc 16, 32 (59 sts)
Insert contrast color
Round 25: *Sc, Puff* to end. (59sts)
Round 26: sc around (59 sts)
Insert main color
Round 27: hdc Dec 9, 36 (57 sts)
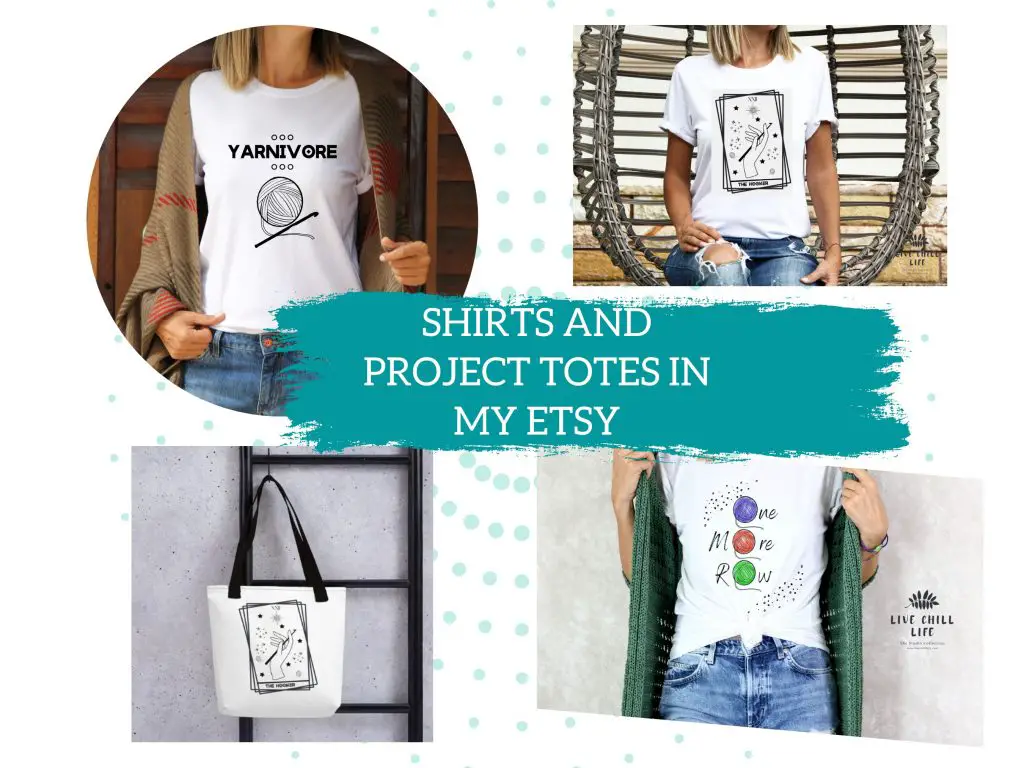
T-shirts and project totes for crocheters available in my Etsy shop!
Round 28: Dec 1, 18, 36 (54 sts)
Insert contrast color
Round 29: *Sc, Puff* to end. (54 sts)
Round 30: sc around (54 sts)
Insert main color
Round 31: Dec 3, 20, 35 (51 sts)
Round 32: Dec 5, 21, 33 (48 sts)
Insert contrast color
Round 33: *Sc, Puff* to end. (48 sts)
Round 34: sc around (48 sts)
Insert main color
Round 35: Dec 10, 20, 30 (45 sts)
Round 36: Dec 16, 32 (43 sts)
Insert contrast color
Round 37: *Sc, Puff* to end. (43 sts)
Round 38: sc around (43 sts)
Insert main color
Round 39: Dec 3, 14, 28 (39 sts)
Round 40: Dec 4, 16, 28 (36 sts)
Insert contrast color to work base of tail and work sc decrease rounds
Round 41: sc around (33)
Round 42: sc dec 3, 12, 22 (30 sts)
Round 43: sc dec 5, 12, 21 (27 sts)
Round 44: sc dec 1, 10, 18 (24 sts)
Round 45: sc dec 2, 10, 16 (21 sts)
Round 46: sc dec 1, 8, 11 (18 sts)
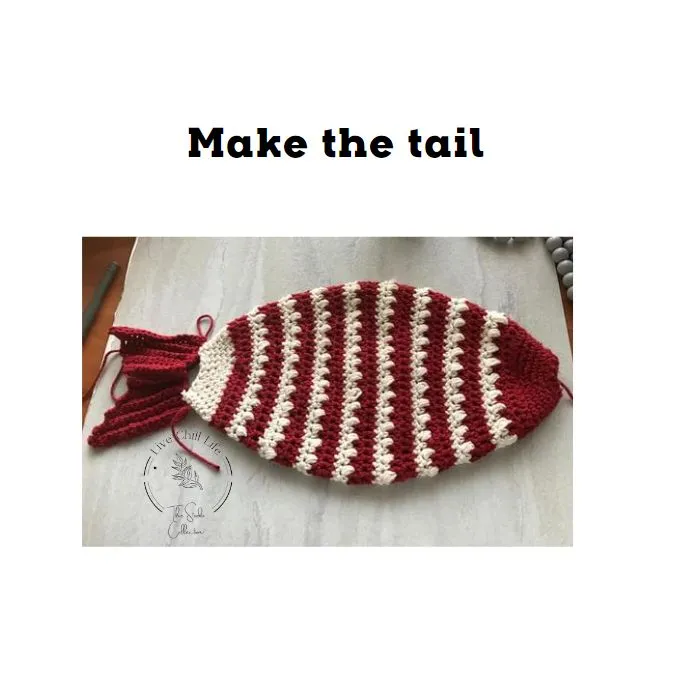
Crochet Fish Tail Pattern
You will work all stitches back loop only to give a fishtail texture and dimension. First stitch and last stitch of each row , work a full single crochet and not a back loop.
dec- means a decrease row. Decrease means one stitch less leaving remaining stitch unworked for even rows.
Odd row dec, skip over first stitch and begin stitch row to base of tail.
Ch 18.
Row 1: sc in the 2nd ch from the hook and in each st across, turn (17)
Row 2: ch 1, sc 16, dec, turn (16)
Row 3: ch 1, dec, sc 15 (15)
Row 4: ch 1, sc 14, dec, turn (14 sts)
Row 5: ch 1, dec, sc 13, turn (13)
Row 6: ch 1, sc 12, dec, turn (12)
Row 7: ch 1, dec, sc 11, turn (11)
Row 8: ch 1, sc 10, dec, turn (10)
Row 9: ch 1, dec, sc 9, turn (9)
Row 10: ch 1, sc 9, inc, turn (10)
Row 11: ch 1, inc, sc 9, turn (11) inc (2 sts) + 9 = 11 sts
Row 12: ch 1, sc 10, inc, turn (12)
Row 13: ch 1, inc, sc 11, turn (13)
Row 14: ch 1, sc 12, inc, turn (14)
Row 15: ch 1, inc, sc 13, turn (15)
Row 16: ch 1, sc 14, inc (16)
Row 17: Ch 1, do not inc. work sc in first and scblo until last stitch, sc in last. Cut tail leave long end. (17)
Cut yarn and weave in end. Thread a tapestry needle with at least 18″ length of tail color yarn.
You will need to gently gather the flat end of the tail to fit with the body of the fish and create the signature fish tail look.
Work tapestry needle through back loops on the inside of bottom of fish body so a minimal amount of the tail color yarn is exposed.
Work to gather top of tail as you secure it to the base of the body as shown in video tutorial. (It is not worked stitch for stitch, you will skip slighty to next rib of fishtail so that it gathers evenly along the fish body)
Conversely if you prefer you can pin tail into gathers at flat end prior to stitching it onto the body.
Finishing the fish potholder
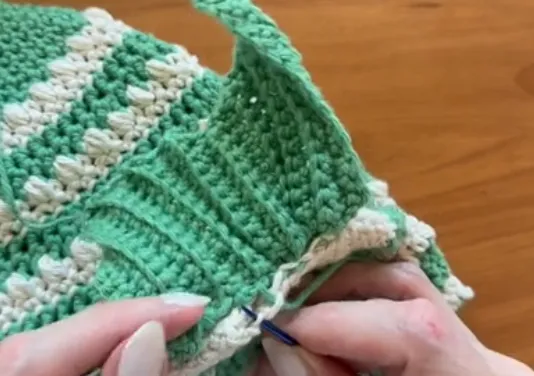
First, go back to the long tail at the base of the mouth ring. There is a bit of a loose gap there. Using the tapestry needle, snuggly wrap the tail around the ring side twice to close up that gap then weave it in.
Continue on with the eyes.
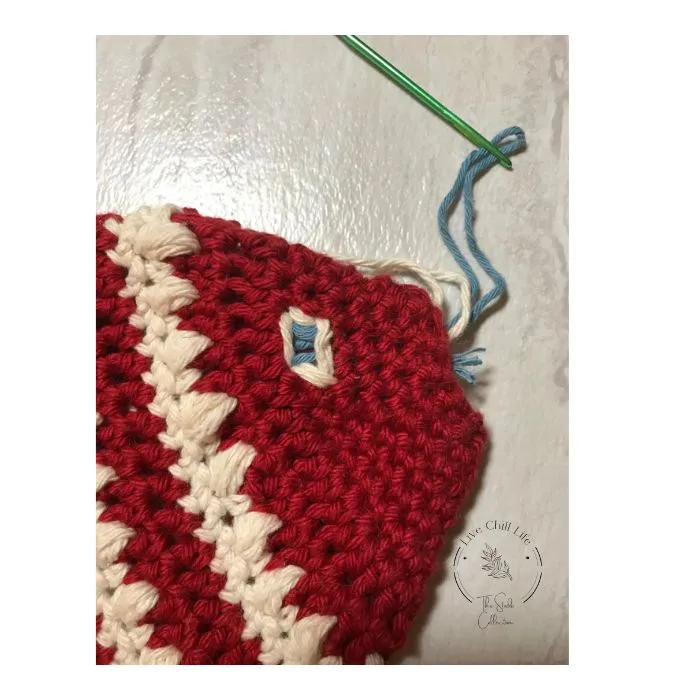
Make fish eye
Create eye with tapestry needle.
Use blue, green , off white and black in any combination to create a fish eye. For the red fish shown I used an off white outline because the red is a deep tone. With the white face of the zebra fish I simply used blue yarn with a black pupil.
Weave in all ends and get cooking!
Potholder video tutorial
see the tutorial on Youtube.