Ads allow content creators to provide free useful and compelling content to the public. We may earn money or products from the companies mentioned in this post. See the Affiliates and Disclosures page in the top menu of this website for detailed information.
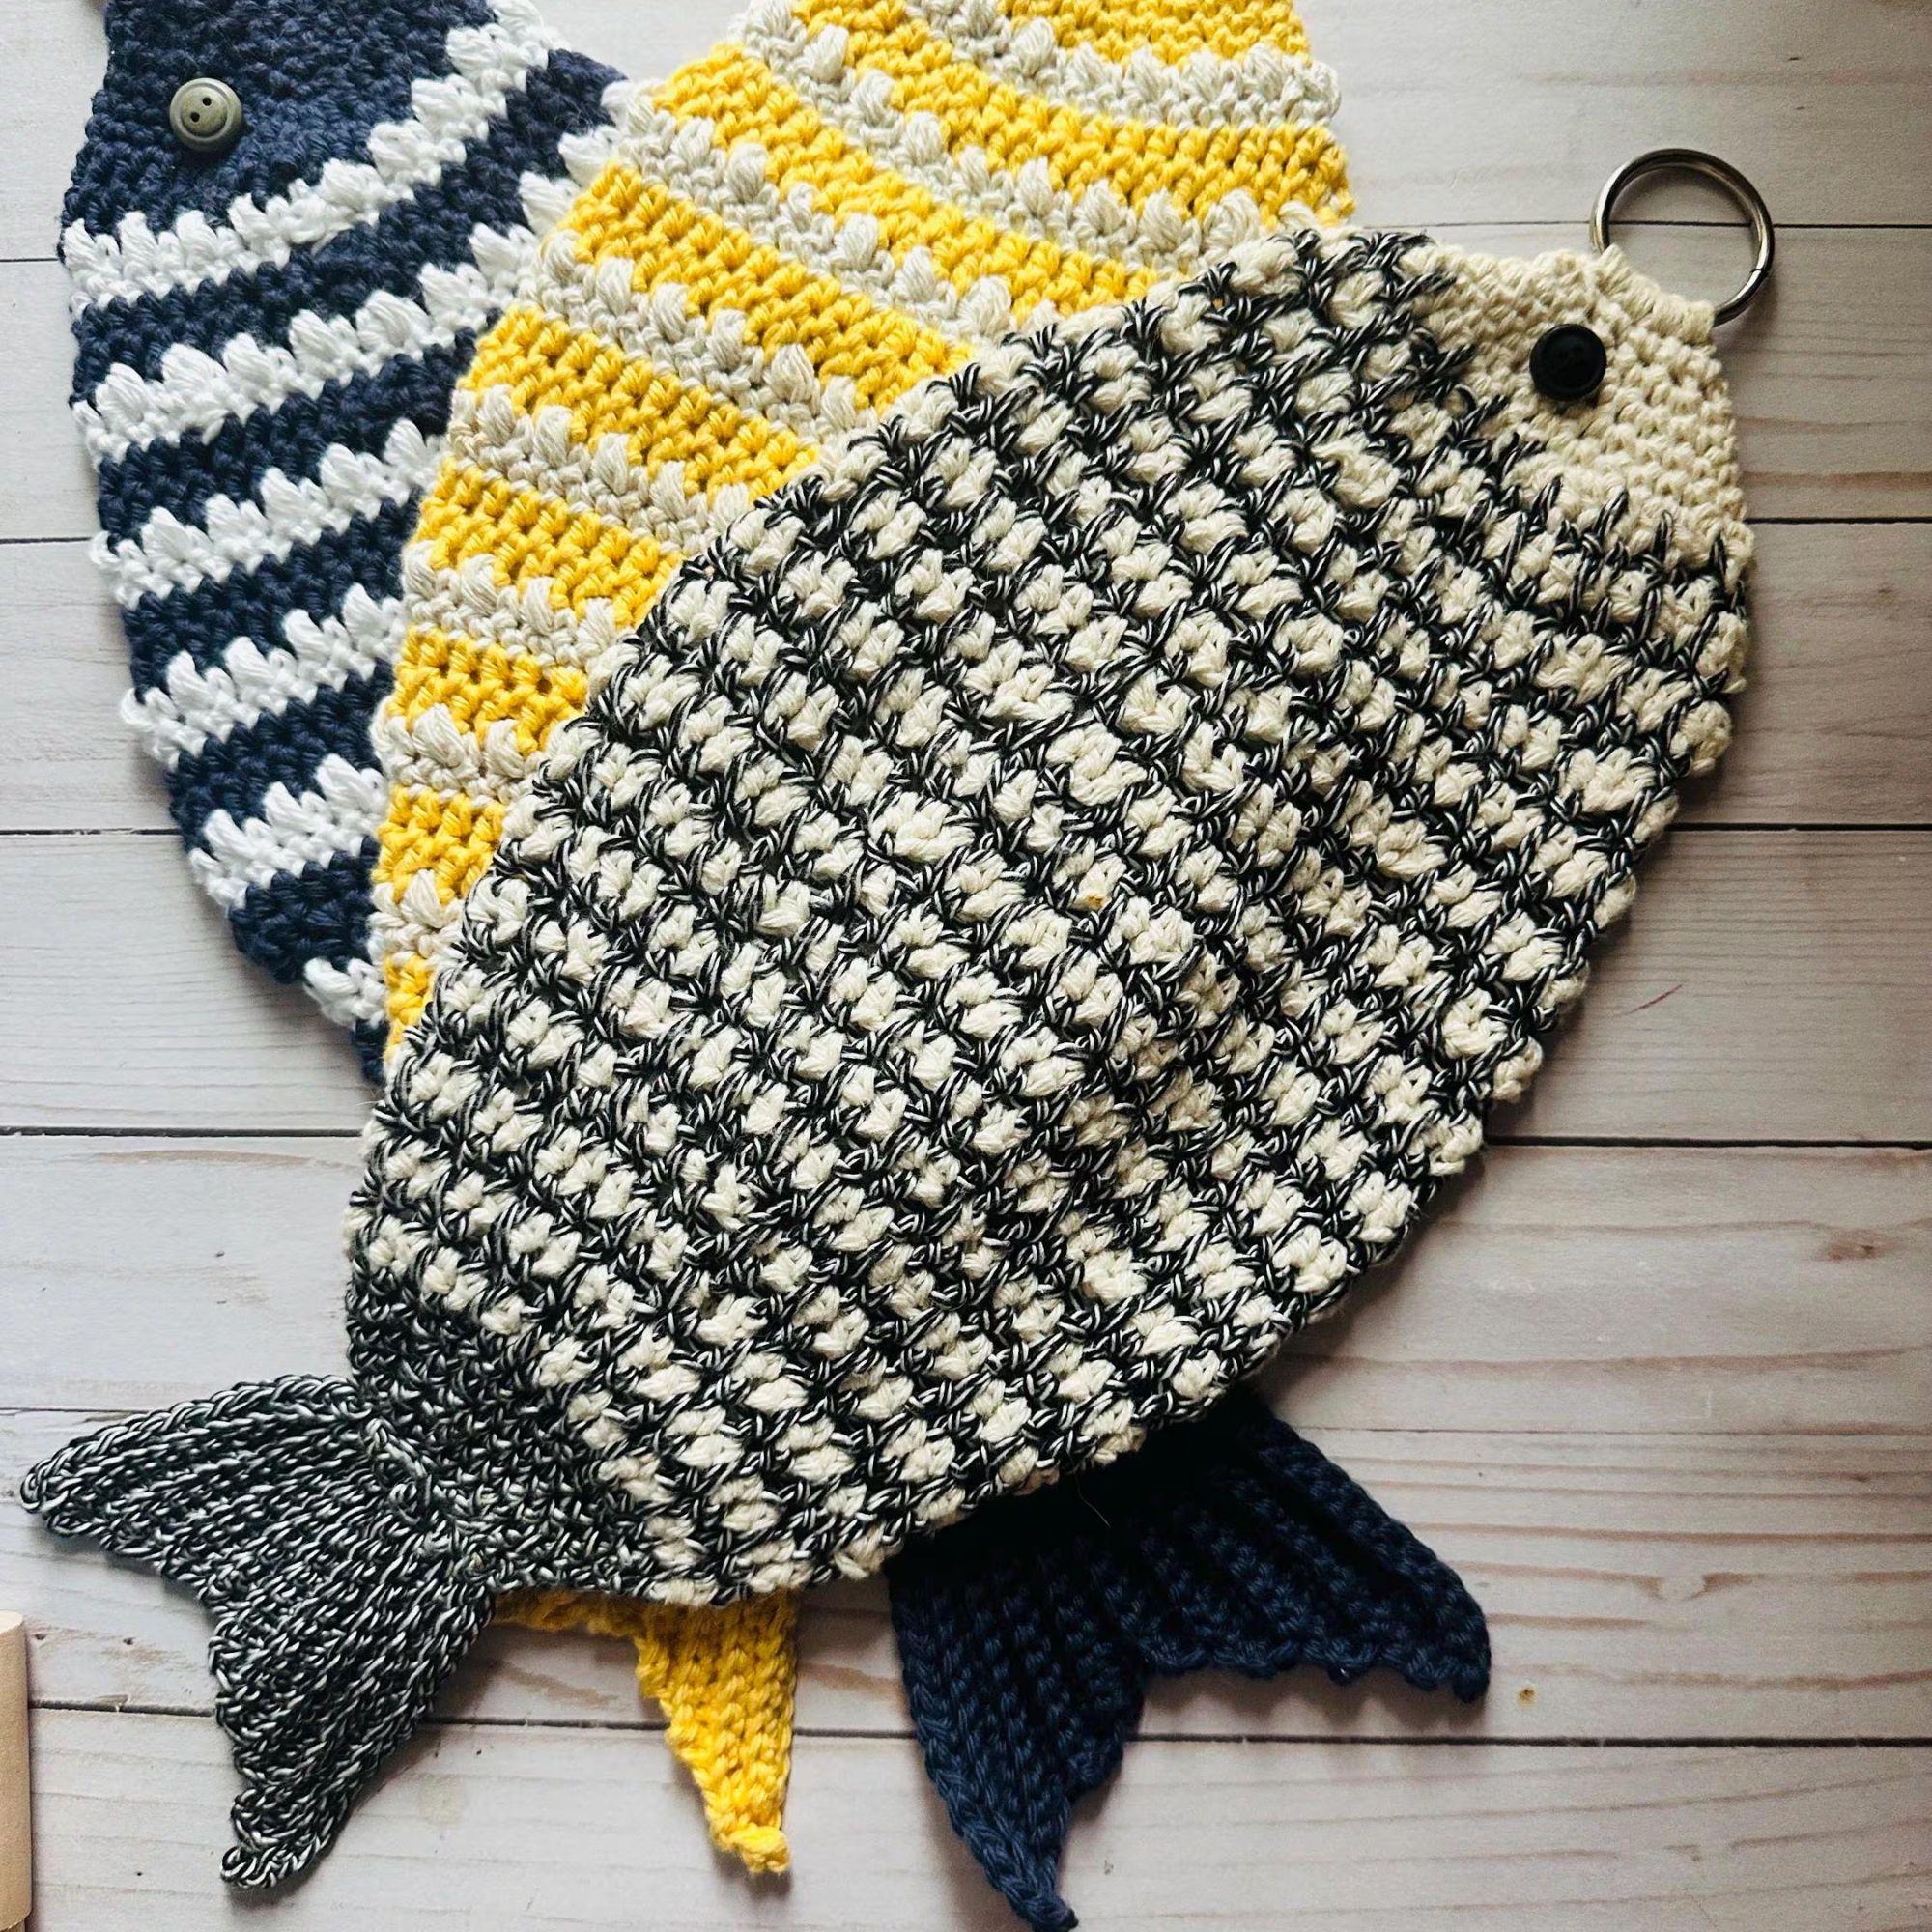
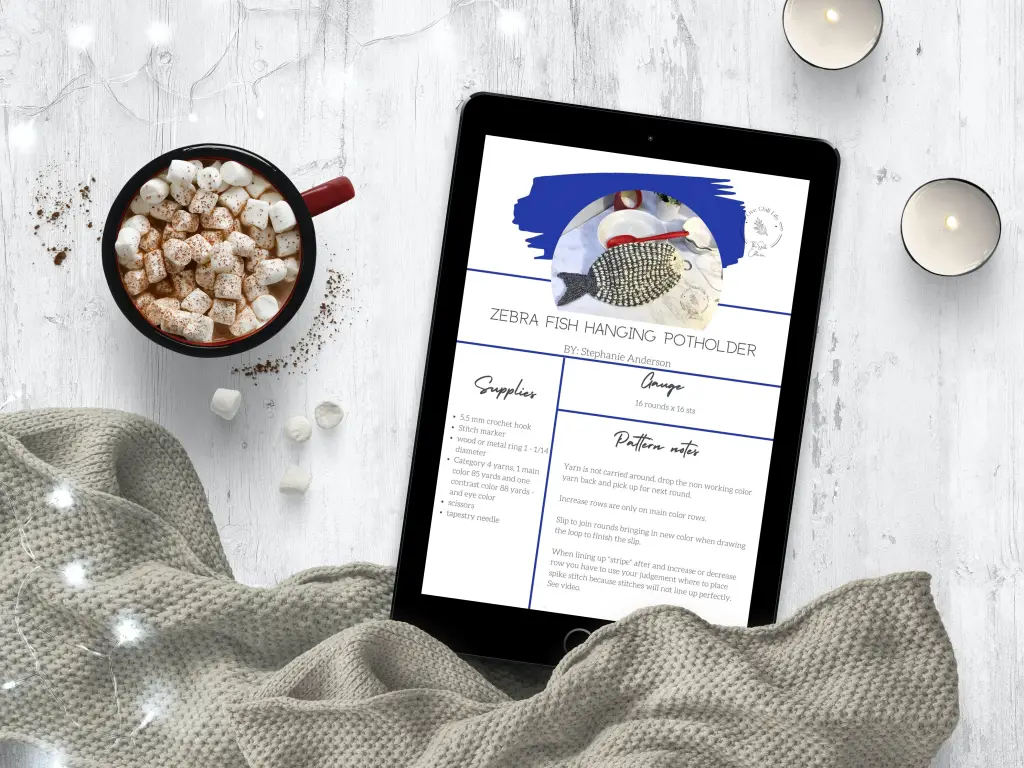
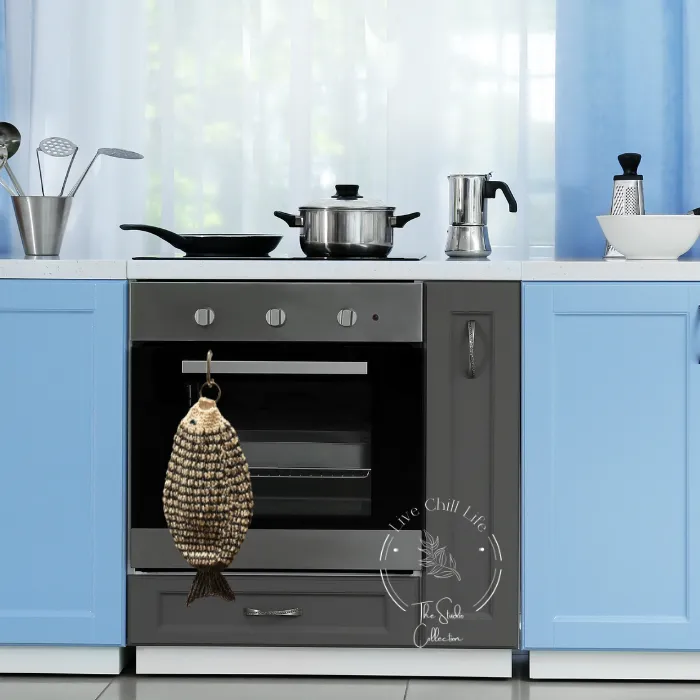
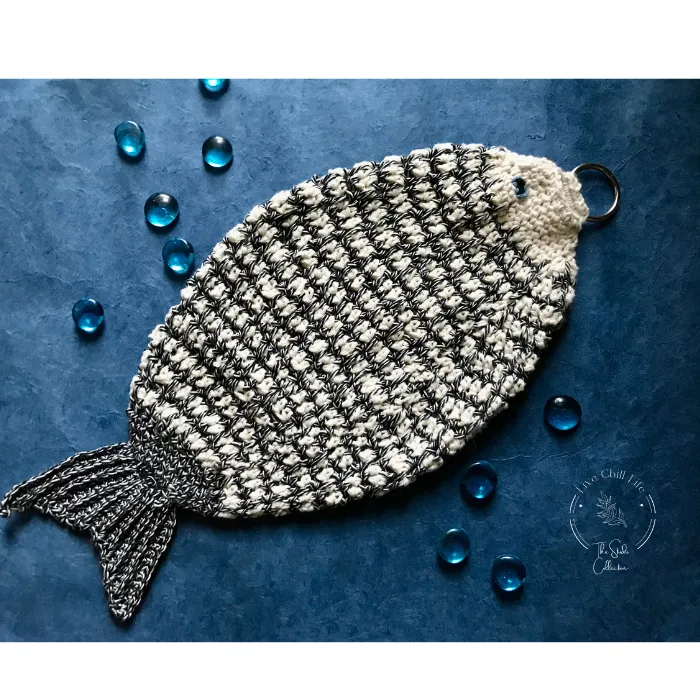
Fish lovers, whimsy lovers, and anyone who believes your kitchen should be as beautiful as it is functional — this free crochet fish potholder pattern is for you. The Zebra Fish is designed to be a genuinely generous size at 8 inches wide by 15 inches long, giving you the kind of heat protection you actually need without sacrificing style. A built-in metal ring at the mouth lets it hang on your wall between uses as kitchen decor.
The spike stitch color change technique creates a beautiful fish scale pattern that looks intricate but follows a simple two-row repeat once you get the rhythm. A full written pattern and video tutorial are both included on this page.
About This Free Crochet Fish Potholder Pattern
This free crochet fish potholder pattern — called the Zebra Fish — is one of the most popular designs in the Live Chill Life kitchen collection. It is worked in the round using a spike stitch color change technique that creates a gorgeous fish scale texture in alternating colors. The double thickness makes it genuinely protective against heat — generous enough at 8 inches wide by 15 inches long to fold over larger pots and pans without burning your hands.
A metal or wood hanging ring is worked in at the mouth so the potholder doubles as wall decor between uses. It is as beautiful hanging in your kitchen as it is functional at the stove. A full video tutorial is included at the bottom of this post.
Want to make a matching set? The Clownfish potholder pattern pairs perfectly — together they make a stunning coastal kitchen set. An ad-free PDF bundle of both fish potholders is available on Etsy.
Pattern Details at a Glance
Finished size: 8 inches wide x 15 inches long Gauge: 16 rounds x 16 stitches
Hook: 5.5mm — worked in the round for natural double thick heat safe design
Yarn: 100% cotton only — do not use acrylic near heat
Shown in: Black and white cotton — Knit Picks Dishie Twist or Big Twist Cotton from Joann in Granite Splash
Technique: Worked in the round with color changes and spike stitches
Skill level: Experienced beginner — requires working in the round, color changes, increases and decreases and intuitively spiking stitches
US crochet terms: Yes
Video tutorial: Included
Ad-free PDF: Available on Etsy as a bundle with the Clownfish potholder
Table of Contents
Fish lovers, whimsy lovers and those who enjoy all things nautical – or just cute. Welcome to this adorable thick crochet fish pot holder pattern!
I designed these to be a generous size. 8″ x 15″! They give the luxury of folding over larger items without fear of burning. Just like grabbing a hand towel, these give you that kind of heat protection while looking beautiful.
See the clownfish potholder pattern to make a set.
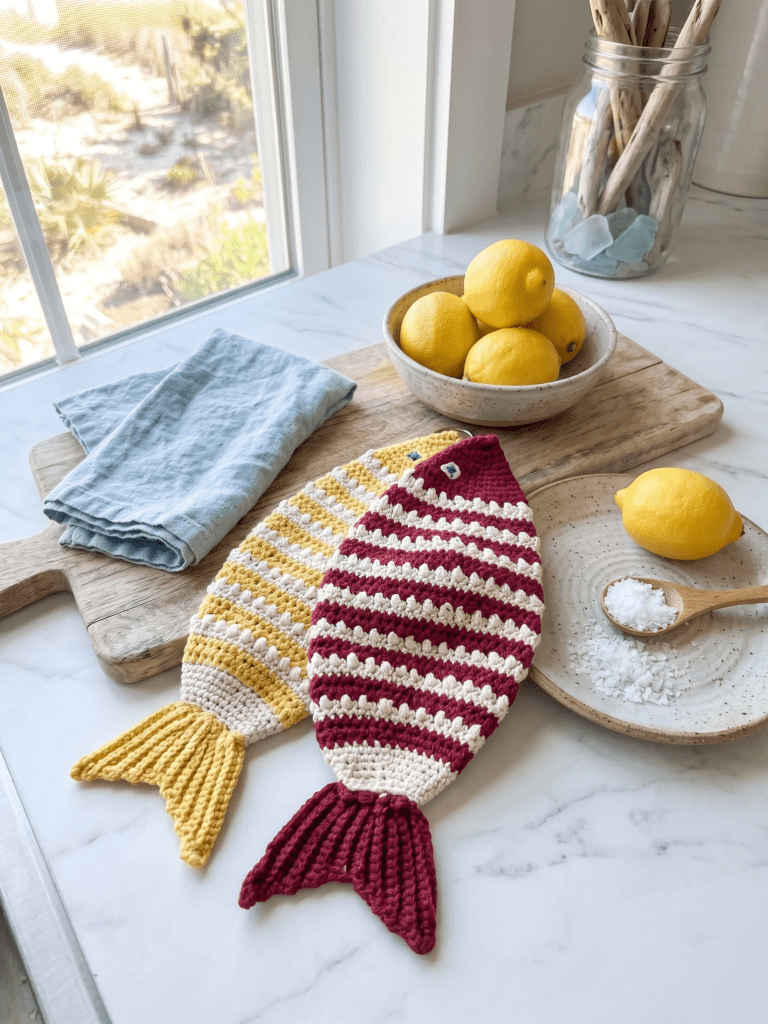
Or simply use them as wall decor in your kitchen. We love function and beauty in one, don’t we? I have worked in a metal ring (you can use a wood ring if you prefer so it is fully heat safe) to make the potholders display friendly and easy to grab when you need a potholder quickly.
Skill level for this project is experienced beginner. You should be comfortable working in the round, color changes and working increase and decrease stitches.
See more items you can crochet for your kitchen
Finished size: 8″ W x 15″ L
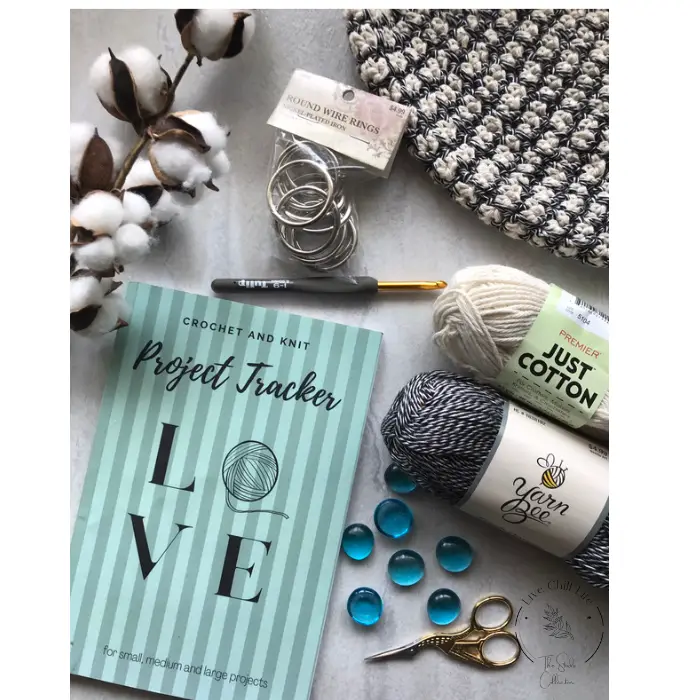
You can whip one up in a day or two.
What You Need to Make This Crochet Fish Potholder
Other black and white cotton yarn options:
Knit picks Dishie Twist or Big Twist cotton from Joann in Granite Splash. Feel free to use a solid color it will still be beautiful!
This zebra fish crochet potholder may be shaped like a flounder but it is striped like a zebra!
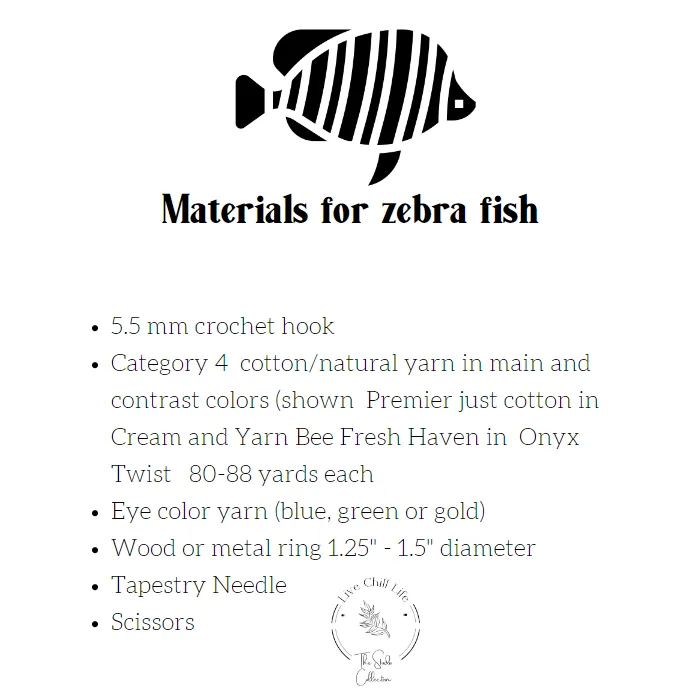
Gauge: 16 round x 16 sts
Notes: Yarn is not carried around, drop the non working color yarn back and pick up for next round.
Increase rows are only on main color rows.
Slip to join rounds bringing in new color when drawing the loop to finish the slip.
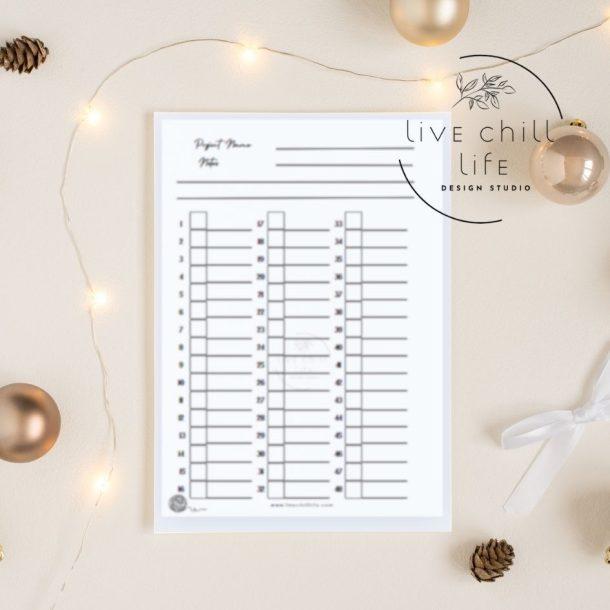
Begin: (to keep track of rows try my free download on this page of a small project tracker page. Just enough for this project!)

Check out my project trackers!
Check off style tracking with room for a note on each row.
Large print and regular print available. Large print is great for tired eyes.
Sections for small, medium and large projects so you don’t waste any pages.
Or try a small tracker page for free here.
See the Shop my Books section.
Try my project tracker page for free!
Chain 15 and join to first stitch with a slip stitch keeping chain straight. Sc around. slip to join, chain 1. Use a stitch marker to keep track of starting stitch.
Round 2: Inc first, 5th and 10th stitch (18 sts)
Round 3: ch 1, 2 sc in first, 2 sc in 6th, 2 sc in 12th (21 sts)
Round 4: ch 1, 2 sc in first inc at 7 and 14 (24 sts)
Round 5: Ch 1, 2 sc in first, in at 8 and 16 (27)
Round 6: ch 1, 2 sc in frst, inc at 9 and 18 (30 sts)
Round 7: ch 1. hdc 2 in first. inc at 10 and 20. (33)
Round 8: change to contrast color yarn by dropping back the main color Ch 1. Work a sc then a hdc spike (drop down to two rows below so the stitch spikes). This alternating of stitches will produce the fish scale look. (33) sts.
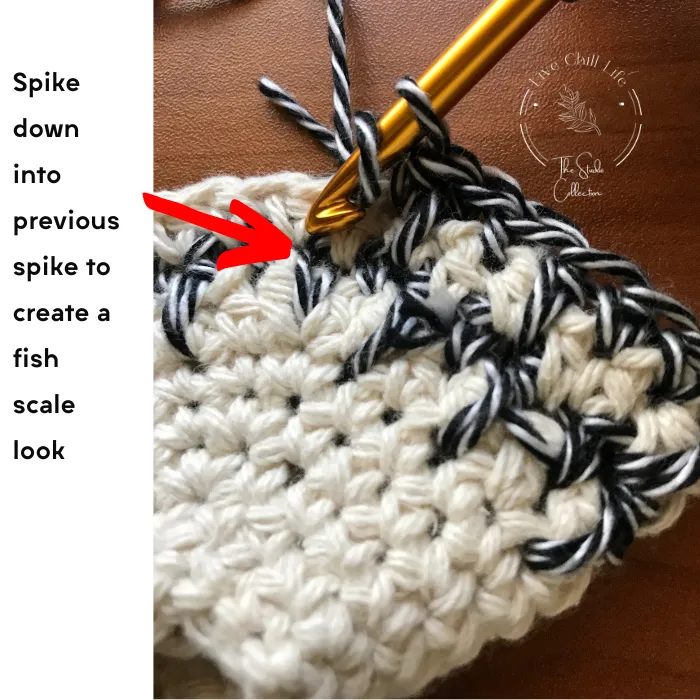
Round 9: Change to main color by dropping back the contrasting color. ch 1. hdc 2 in first st. inc at 11 and 22 (36 sts)
Round 10: change to contrast color: Repeat round 8.
Round 11: main color inc at 12 and 24 (39 sts)
Round 12: repeat round 8- but from now forward all of round 8 will be hdc in both the regular and spike stitch.
Round 13: main color hdc round , inc 13 and 26 (41 sts)
Round 14: repeat round 8
Round 15: main color hdc round inc 14 and 28 (43 sts)
Round 16: repeat round 8
Round 17: main color, inc 15 and 30 (45 sts)
Round 18: repeat round 8
Round 19: main color inc 16 and 32 (47 sts)
Round 20: Repeat round 8
Round 21: Main color, inc 17 and 34 (49 sts)
Round 22: Repeat round 8
Round 23: Main color inc 18 and 36 (51 sts)
Round 24: Repeat round 8
Round 25: Main color inc 19 and 38 (53 sts)
Round 26: Repeat round 8
Begin decrease. Do not ch 1 at start of rounds.
Round 27: Dec (sc2tg) first, 15 and 30 (50 sts)
Round 28: Repeat round 8
Round 29: Dec 3, 21, 38 (47 sts)
Round 30: Repeat round 8
Round 31: Dec 4, 19, 36 (44 sts)
Round 32: Repeat round 8
Round 33: Dec 10, 30 (42 sts)
Round 34: Repeat round 8
Round 35: Dec 5, 15, 30 (39 sts)
Round 36: Repeat round 8
Round 37: Dec 3, 15, 26 (36 sts)
T-shirts and project totes for crocheters available in my Etsy shop!
Round 38: repeat round 8
Round 39: Dec 4, 14, 24 (33 sts)
Round 40: Repeat round 8
Round 41: Dec 3,12, 22 (30 sts)
Round 42: Repeat round 8
Round 43: CONTINUE WITH CONTRAST COLOR THE NEXT ROWS TO END. These are all sc stitches.
Round 43: sc, dec first, 8 and 16 (27 sts)
Round 44: dec first, 7 and 14 (24 sts)
Round 45: dec 6 and 12 ( 22 sts)
Round 46: dec 5 and 11 (20 sts)
Round 47: dec 4 and 10 (18 sts)
Round 48: dec 3 and 9 (16 sts)
Slip stitch to close opening. Make tail.
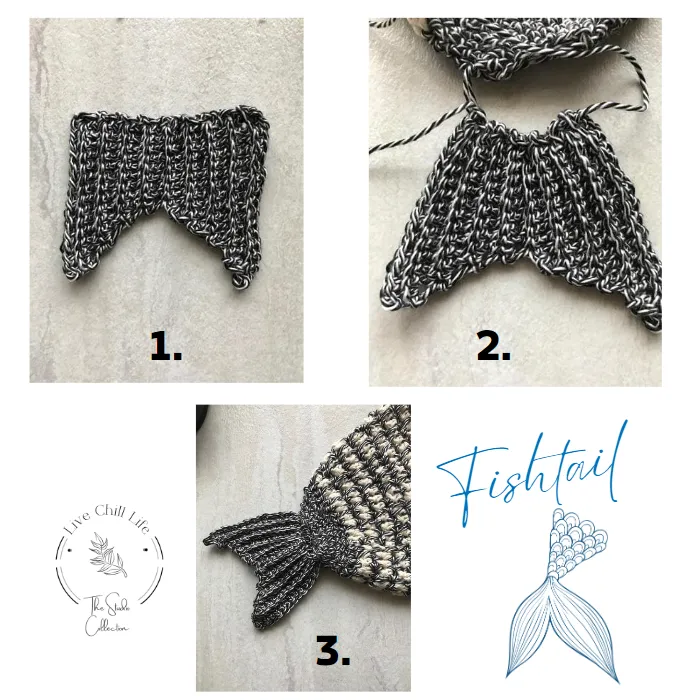
How to Crochet the Fish Tail
Ch 18.
You will work all stitches back loop only to give a fishtail texture and dimension. First stitch and last stitch of each row , work a full single crochet and not a back loop.
Row 1: sc in the 2nd ch from the hook and in each st across, turn (17)
Row 2: ch 1, sc 16, dec, turn (16)
Row 3: ch 1, dec, sc 15 (15)
Row 4: ch 1, sc 14, dec, turn (14 sts)
Row 5: ch 1, dec, sc 13, turn (13)
Row 6: ch 1, sc 12, dec, turn (12)
Row 7: ch 1, dec, sc 11, turn (11)
Row 8: ch 1, sc 10, dec, turn (10)
Row 9: ch 1, dec, sc 9, turn (9)
Row 10: ch 1, sc 9, inc, turn (10)
Row 11: ch 1, inc, sc 9, turn (11) inc (2 sts) + 9 = 11 sts
Row 12: ch 1, sc 10, inc, turn (12)
Row 13: ch 1, inc, sc 11, turn (13)
Row 14: ch 1, sc 12, inc, turn (14)
Row 15: ch 1, inc, sc 13, turn (15)
Row 16: ch 1, sc 14, inc (16)
Row 17: Ch 1, do not inc. work sc in first and scblo until last stitch, sc in last. Cut tail leave long end. (17)
Cut yarn and weave in end. Thread a tapestry needle leaving 8″ on both sides. Thread the yarn through the ends of the stitches on the straight edge of the fin. Pull taut to create the tail shape and then, using the remaining yarn tail, stitch both strands securely to the bottom of the potholder.
How to Add the Fish Eye Detail
Add eye accent using a tapestry needle to shape it with small stitches. I used blue yarn for the outside and black for the inside.
You can also opt to use a wood button and fabric glue.
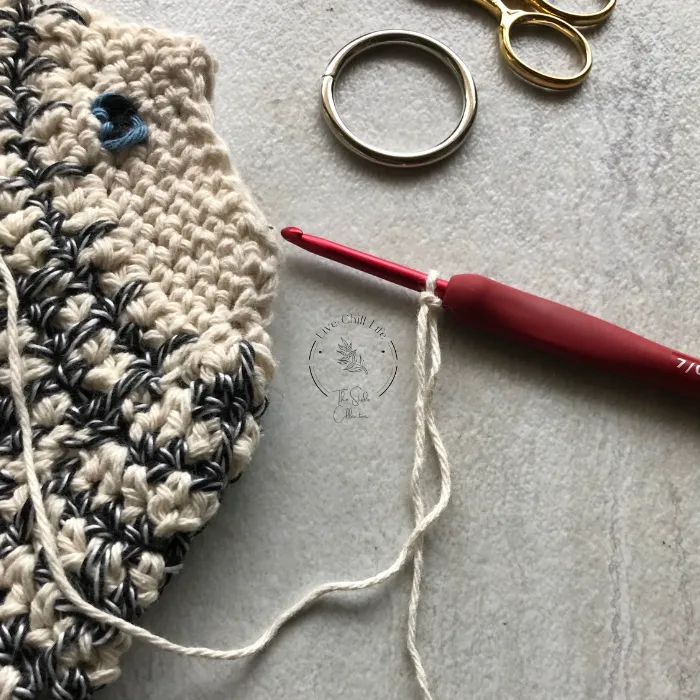
Attach hook to your crochet potholder (ring)
Leaving a long enough tail to weave in, create a slipknot and attach it to the top or bottom of “mouth” and work a decrease row by decreasing 4 stitches (starting round of 15 sts – 4 sts = 11 sts). This will support the body of the fish to the ring. Use a slip stitch to attach the yarn to the ring on the far side of the mouth (the front of the mouth should look open. Work 2 stitches each in 4 stitches along the back of the mouth to total 8 stitches inside the ring. Cut yarn and secure end.
Watch the Free Crochet Fish Potholder Video Tutorial
Click to see the video tutorial on youtube
More free crochet kitchen patterns
Love this pattern? Here are more free crochet kitchen patterns from Live Chill Life:
- Clownfish Potholder Pattern — make a matching set with the colorful clownfish companion
- Crochet Table Runner Pattern — The Addison — elegant beginner-friendly cotton table runner
- Farmhouse Striped Dishtowel Pattern — striped cotton kitchen towel
- 10 Kitchen Crochet Patterns — full kitchen crochet collection