Ads allow content creators to provide free useful and compelling content to the public. We may earn money or products from the companies mentioned in this post. See the Affiliates and Disclosures page in the top menu of this website for detailed information.
Fall fantasy crochet pumpkin Barbie decor
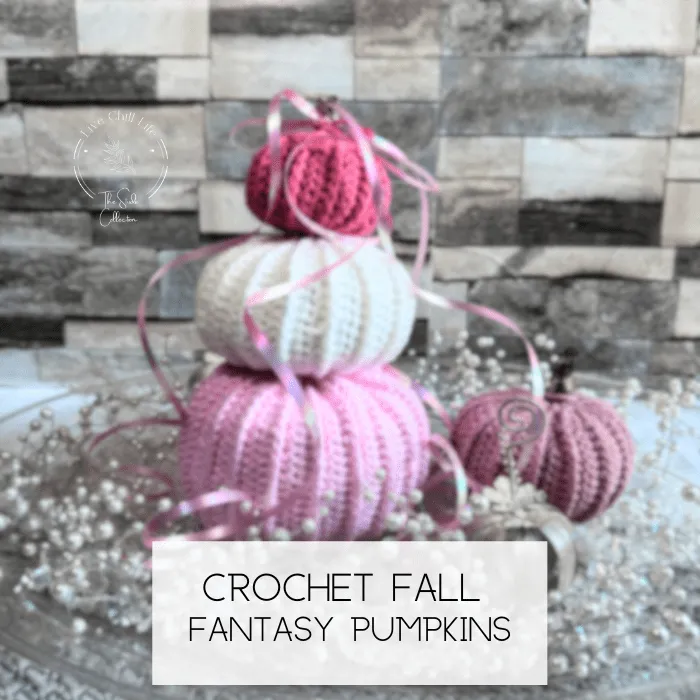
Use this free crochet pumpkin pattern to make an ultra feminine pink fall fantasy set for your vanity, living room, hearth, entryway or office desk.
You may like these 10 Halloween Adult party cocktail ideas

If there is no such thing as too much pink, you love Barbie, or just want a glam home decor project, this is for you.
In this post I show you how to make the crochet pumpkins, what accessories will glam it up and how to bring it all together!
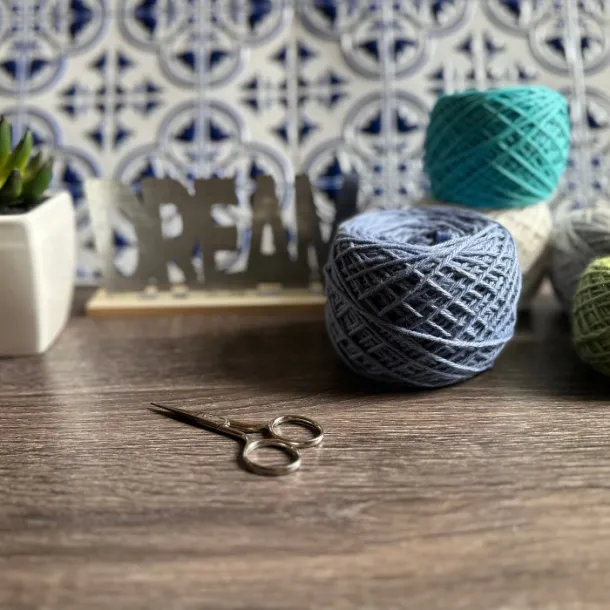
First, gather your materials and let’s get making some glam.
Materials:
- Category 4 yarn (I am using Hobby Lobby I love this cotton)
- 4 mm crochet hook (this is my favorite hook with ultra smooth metal to quickly work stitches)
- ruler
- scissors
- tapestry needle
- polyfil
- display tray
- bling accessories (listed at end of post) and opalescent curling ribbon
- Bamboo skewer to secure stack
Optional: twigs or cinnamon sticks for stem and stabilizer base for large pumpkin
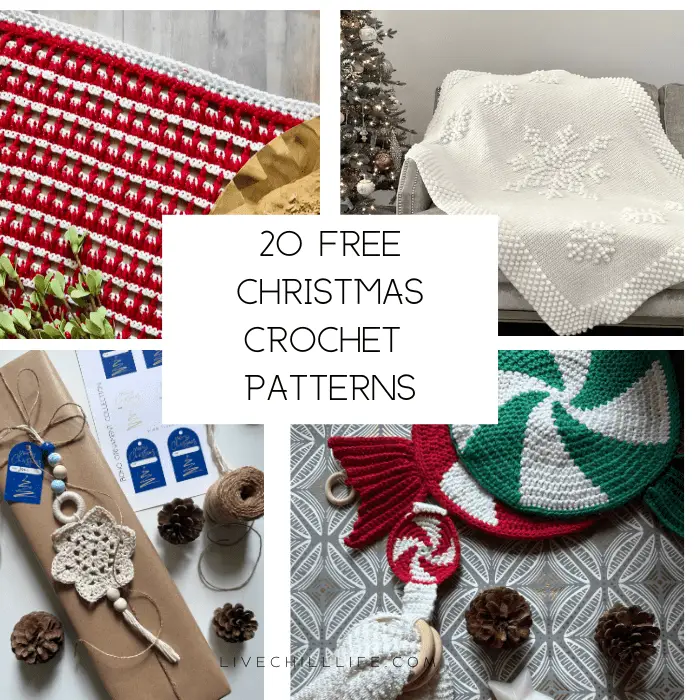
You may also like the 10 best Halloween pillow patterns and 20 free crochet Christmas patterns
Abbreviations:
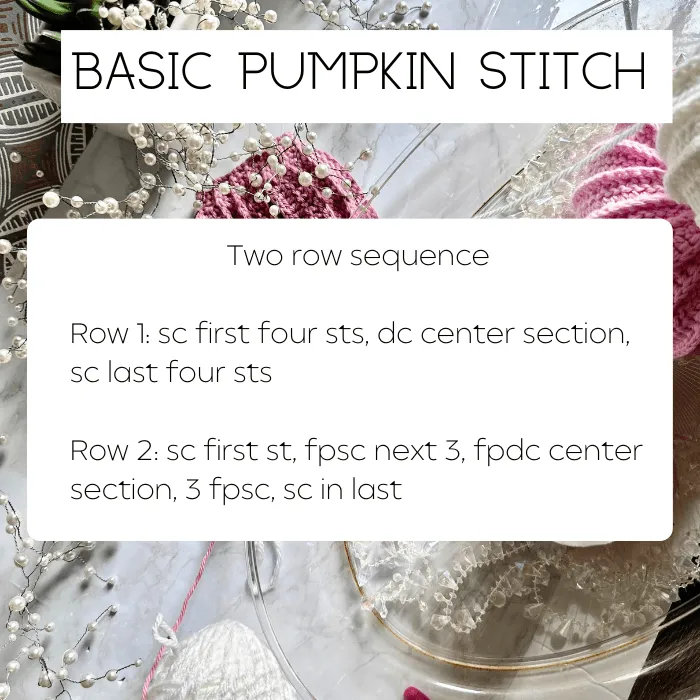
sc- single crochet, fpsc – front post single crochet, dc – double crochet, fpdc – front post double crochet
Pattern notes:
Ch 1 and turn at the end of each row.
If you want to use a cat 5 yarn for a chunkier look go down to 5 mm hook. Stitches should be small enough so stuffing won’t peek through.
Starting chain amount for pumpkins shown:
Large : ch 35
Medium: ch 25
Small: ch 17
Shown are two medium pumpkins and one each large and small size.
Work these sizes or any size you like. After starting chain, work below sequence starting in second chain from hook.
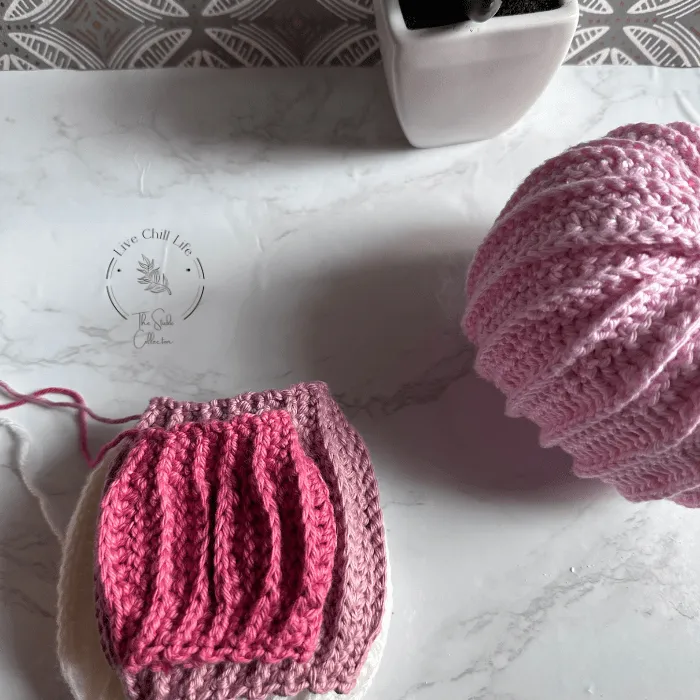
Crochet pumpkin directions
To get started, once you chain your size (this starting chain is the height from top to bottom) of the pumpkin, then second ch from hook begin row one in below graphic. Ch 1 and turn at the end of each row.
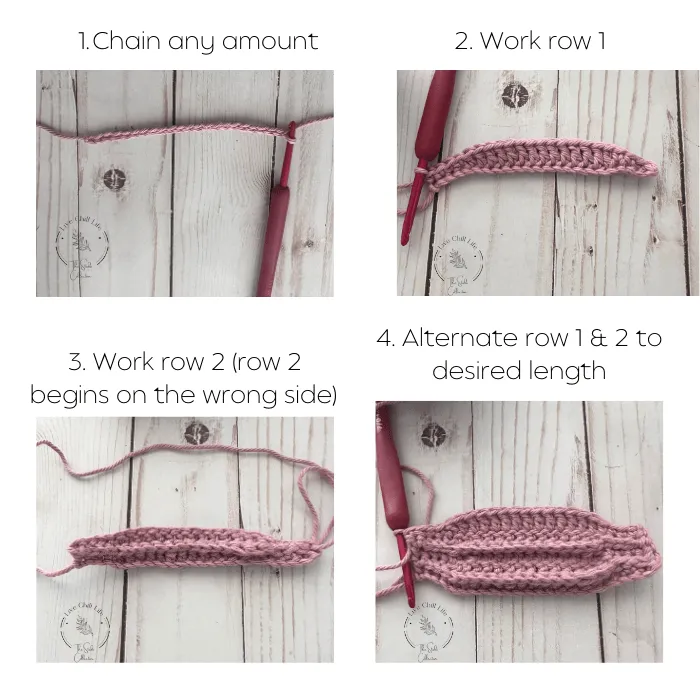
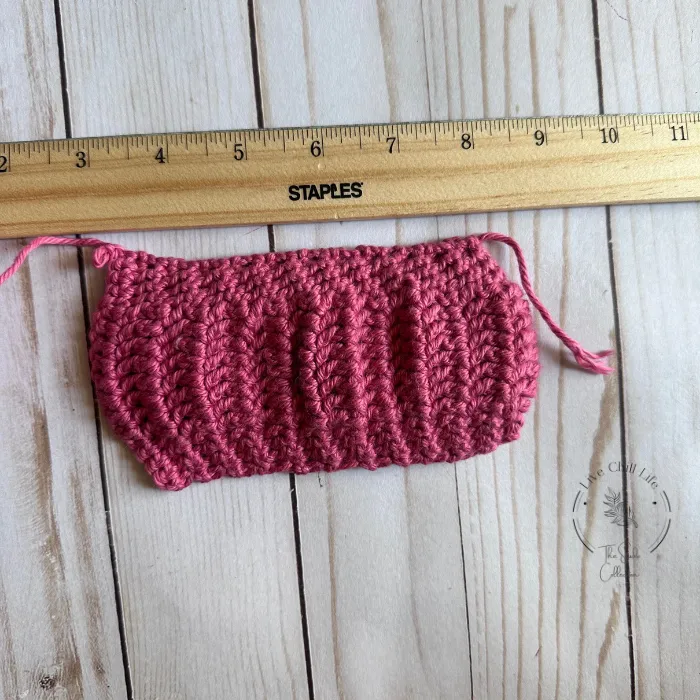
Work length so that it is twice as long as the starting chain width. If you want your pumpkin wider/chunkier, go up to 2.5 times the starting chain width.
Shown below this pumpkin starting chain was 3″. Length is 6″. Finish your pumpkins on a row 1.
Once pumpkins are done begin finishing steps.
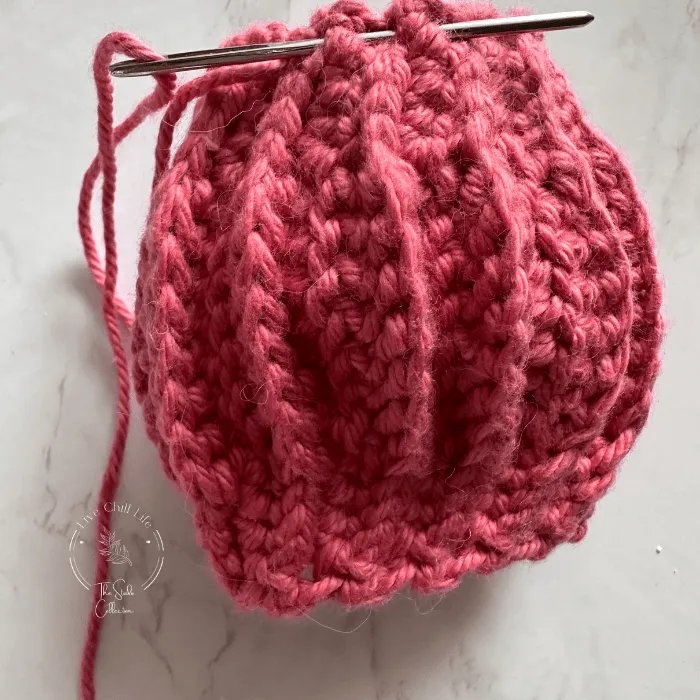
When you have your pumpkin finished and are ready to seam the side, line up the edges and work a slip stitch between the starting row stitches and front loop of the last row worked. (see video tutorial) Leave along tail of 16-18 inches.
Note below, I do not seam the largest pumpkin that will be the base of my stack closed.
Then proceed to closing up the top. Thread the long tail into a tapestry needle and work back and forth between the sc stitches along the top , pulling taught to cinch closed. Then, drop the needle through so you can work the other end. Stuff before closing up other end.
Close up bottom end the same way as the top.
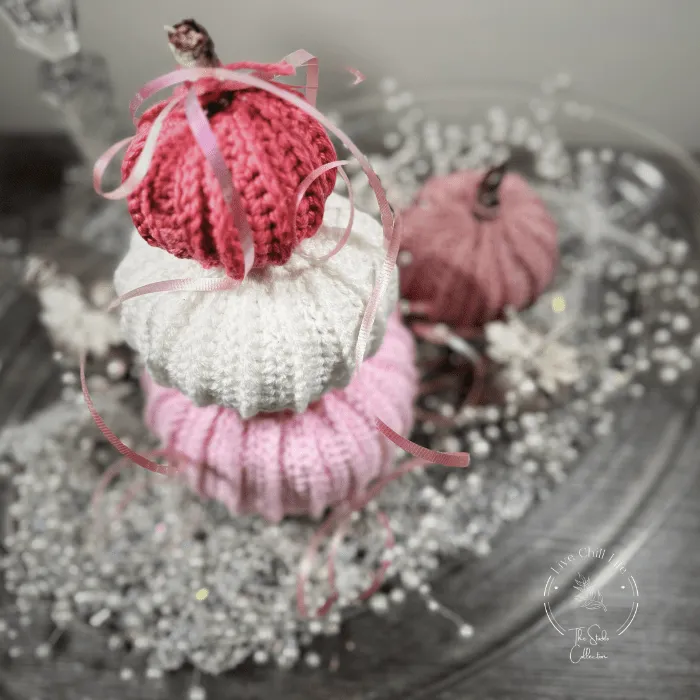
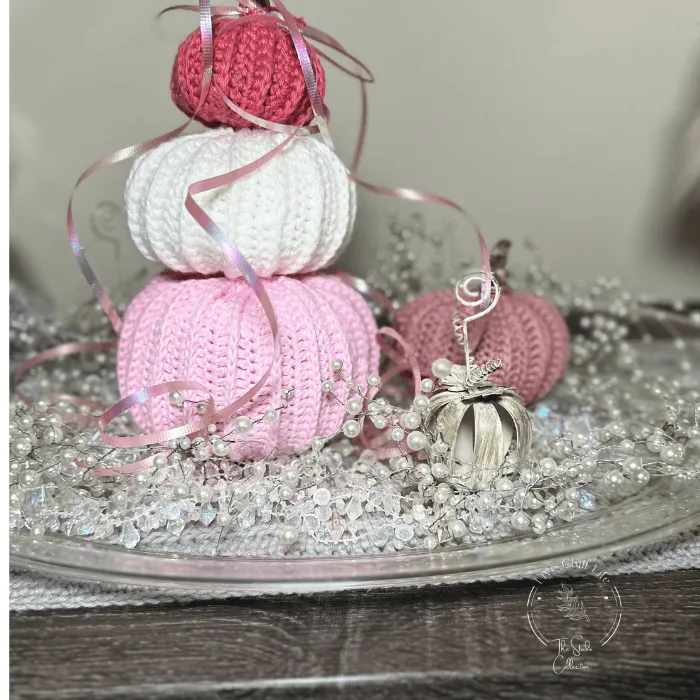
I recommend styling your fantasy scene on a tray so you can move all the components around when need be.
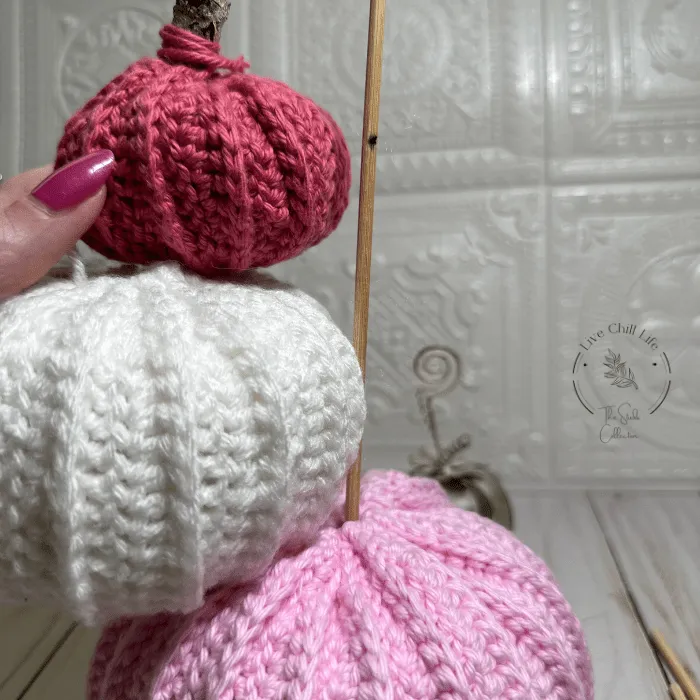
Get a bamboo skewer to keep your stack stacked.
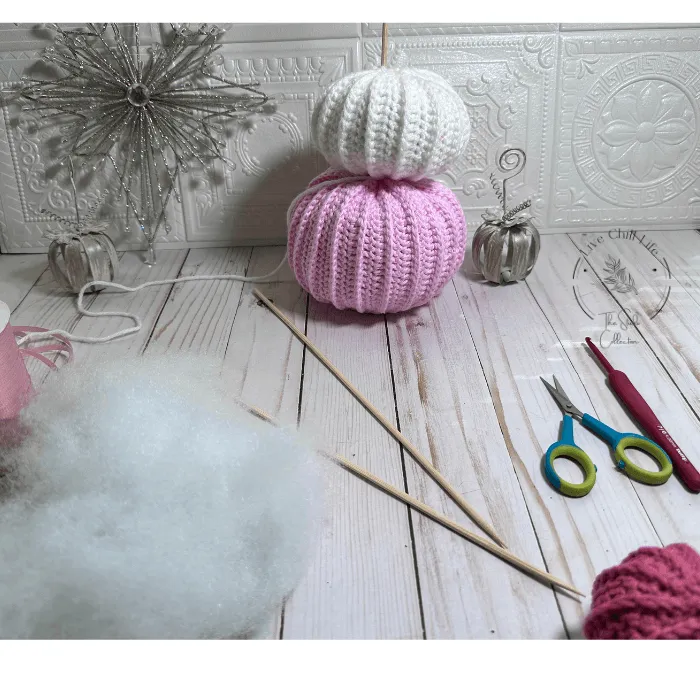
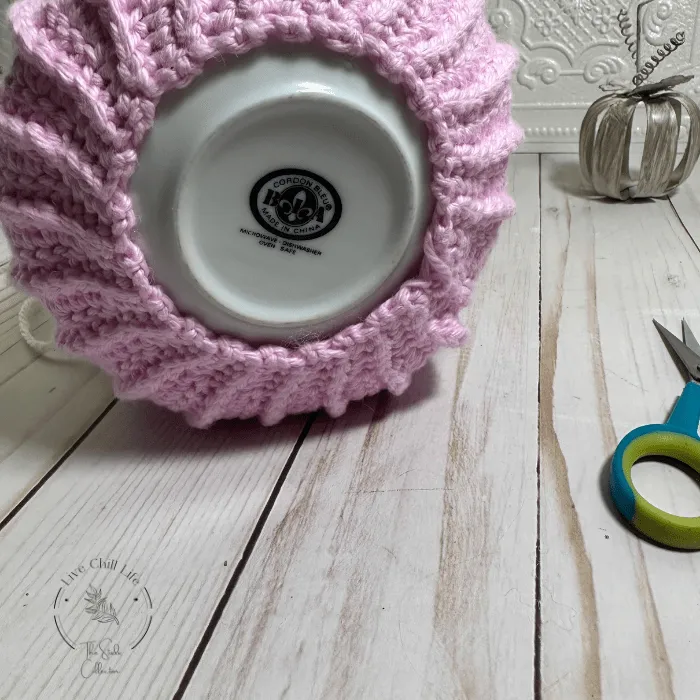
For a stable base, I don’t close up the bottom of the base pumpkin. I used a soy sauce dipping dish. You can try something firm and flat like a thick cardboard round or other small dish.
To secure your crochet pumpkin stack, use a long bamboo skewer stick (the type you use for shish kebab or grilling), marking it with a sharpie just below the total height of your stack. Cut, then stack your pumpkins.
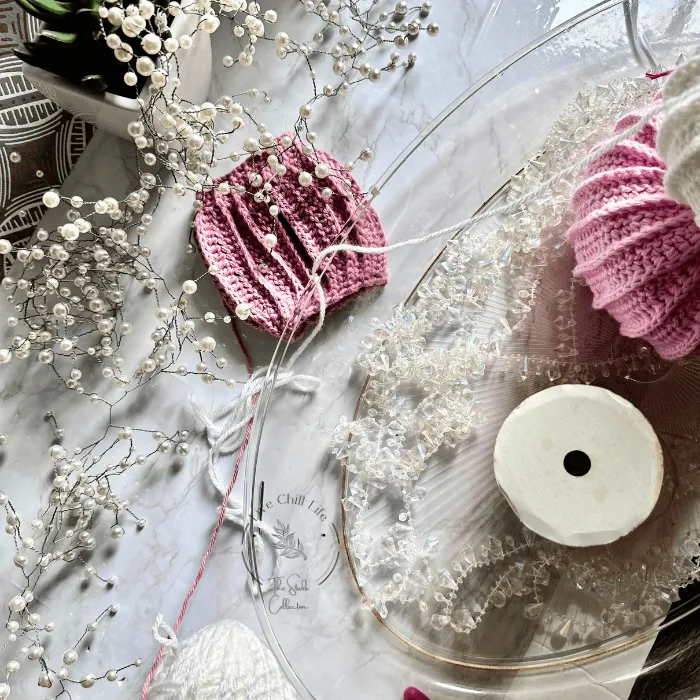
Styling tips for your crochet pumpkins below:
Shown in this image is the Addison crochet table runner (free pattern)
I style these on a clear oval tray to keep all the elements contained and movable if need be. You can find them here or sometimes at the Dollar Tree.
Hobby Lobby and Dollar Tree may have many of these types of items to finish your fantasy pumpkin tray.
Decorating options: pearl spray garland
opalescent pink curling glitter ribbon
aquarium stones (flat marbles) in clear, pink, white or pearl.
You can consider battery fairy lights too for extra sparkle in dim lighting.