Ads allow content creators to provide free useful and compelling content to the public. We may earn money or products from the companies mentioned in this post. See the Affiliates and Disclosures page in the top menu of this website for detailed information.
Learn to read crochet patterns for beginners
If you are new to crochet, figuring out how to read a crochet pattern can be a little overwhelming. Perhaps to the point you feel too intimidated to try.
I am going to teach you to master reading them even if you are new to crochet and knit.
Table of Contents
I was a chef before I became a crochet designer and I liken patterns to reading recipes. They are written instruction to get you to a completed item. Roasting a chicken, baking cupcakes or crocheting a cardigan, whatever it is. The ingredients and instructions get an end result.
As with recipes, some patterns are more complicated than others but should be identified by the designer which skill level they attribute the pattern to.
What is a crochet or knit skill level and which am I?
See this quick guide to crochet skill level
Level 1 is a beginner level. This is a crafter in early stages or one that hasn’t progressed past the most basic 3-5 stitches. No garments that require shaping or colorwork. Dishcloths, simple shawls are examples of what can be made with basic stitches.
Level 2 is more of an experienced beginner. You know the basic stitches like single crochet, half double crochet and double crochet along with 2-3 more such as front or back post stitches or a simple cluster stitch and some seaming. You’ve worked quite a few projects (30+) of varying sizes and worked with different types of yarn and many sizes of hooks. Some simply designed garments may be included in this category.
Level 3 gets into intermediate stitches. These are more complex techniques working in rows below, different stitches in the rows, etc. You know how to do shaping of garments. Although if there is a video tutorial and you’re a very experienced beginner and want to stretch your skills I say go for it. We learn by doing.
Experienced level is the most advanced level. I will quote here The American Crochet Association on what experienced level is:
Projects with intricate stitch sequences, techniques and dimensions; non-repeating patterns, multi colored techniques, fine threads, small hooks. Detailed shaping and refined finishing. Our interpretation of this level includes everything in the beginner, easy and intermediate levels, plus:
- Intricate stitch and row patterns, involved specialty stitches and techniques
- Multi-colored techniques (tapestry, tunisian, fair isle, intarsia)
- Dimension (multiple seams or joins)
- Projects may include: Multi-piece garments, fair isle sweater with multiple specialty stitches and techniques
I also design crochet pattern templates for other designers to use to better help layout patterns that include everything a crochet needs to make a design successfully.
How to read a crochet or knit pattern
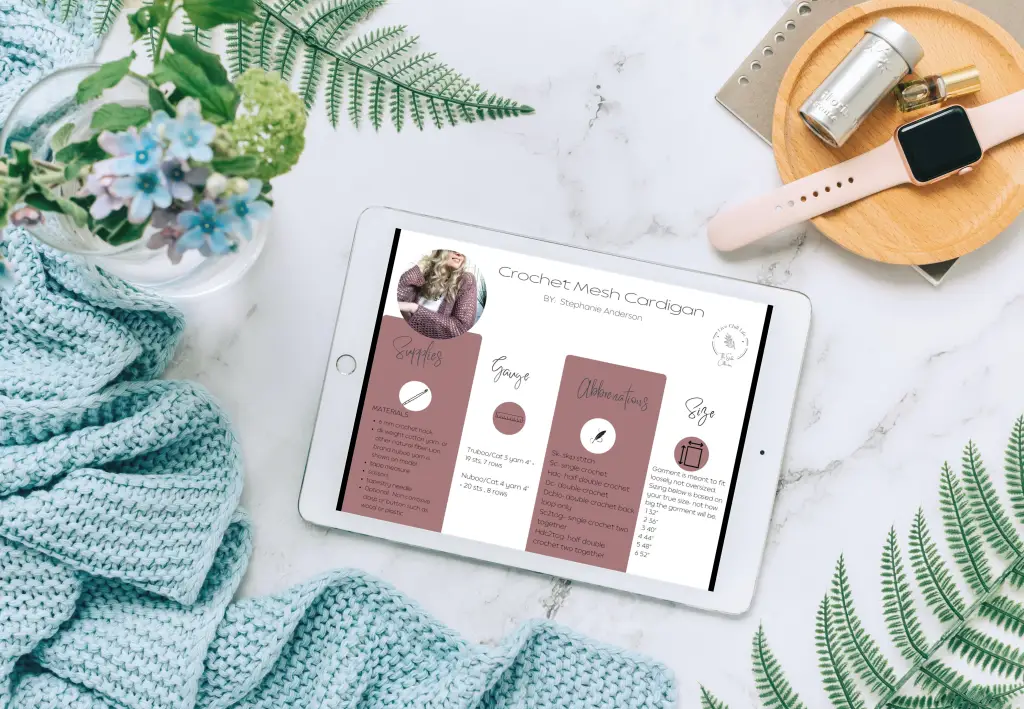
Step 1. Get the lay of the land like you would with a recipe. What do you need to make it-a materials or supply list? What size/category yarn? How much yarn? Does it come in different sizes and if so how much yarn is needed for that size?
What size hook or needles are needed?
What is the gauge?
Is there more than one size?

Step 2. Abbreviations. The designer will write shorthand terms for the stitches used in the pattern. Are they US or UK terms? As you understand what they mean by the legend shown this will begin to demystify what the instructions say.
Reading pattern notes
This gives you special insight to the pattern. The designer will write information about how the pattern is structured, special stitch information, etc. Always read pattern notes before beginning your project.
Step 3. Row by row instruction. This is the part that tends to overwhelm new pattern readers. These instructions explain how each stitch of the row is worked, in what color (if multi color or solid) and how many stitches the row will have at the end.
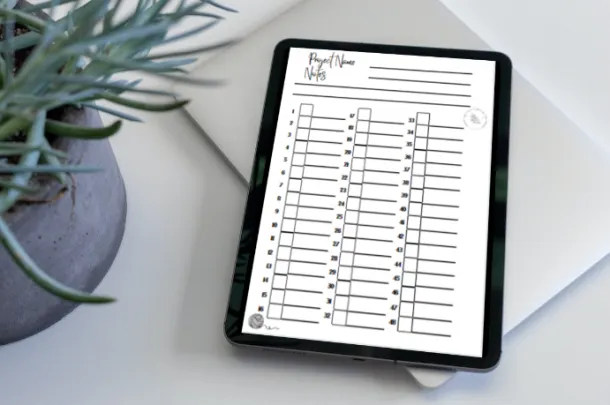
My project tracker page download can help you stay on track without having to fumble with apps.
The designer may indicate if what you’re making is worked from top to bottom, side to side or bottom up.
Step 4: Gauge. This indicates how many rows and stitches are created with the hook and yarn category size used in the pattern. It is recommended to work up a gauge swatch as it can vary based on using a yarn other than what the designer used (some category 4 yarns are thicker or thinner than others for example) and if your tension is different than the designers. For things like blankets it is not as critical but for garments gauge is crucial.
You may like these 5 beginner friendly textured crochet stitches
How to read pattern row instructions
examples of pattern row instructions
Let’s look at some row examples from very basic to more advanced:
1.You will always start with a chain number (crochet) or cast on amount (knitting). If there is more than one size for things like garments or blankets it will be shown as:
Chain xx (xy, xz,) This means size one (size two, size three). If you are working size two you will always work the stitch count of what it says inside the parenthesis for size 2.
In this example it instructs to begin with creating 62 chains. Then work row 1.

Row 1 says to work a double crochet into the 4th chain from the hook. Then work double crochet stitches to the end of the row. This will take the 62 starting chains down to a 60 stitches finished row count.
It also indicated this will be the wrong side of the project. This means there is a front facing side that the project will look it’s best, and looks different from the back. This is often found in garment patterns.
In this next example it is a pattern worked in the round.
working flat and working in the round

Chaining at the start of a row or round, the designer will indicate if that does or does NOT count as a stitch. It can be used to create row height or to created a new stitch. Next, it is indicated to alternate working one double crochet in a stitch, then two double crochet in the next stitch. This will create a size increase of 50%.
Increases and decreases are shaping stitches. Two stitches may be combined to decrease them to one stitch. Increase may have many stitches in one stitch to create a slight or exaggerated increase. These types of stitches are often found in items worked in the round, garments and amigurumi project.
By taking the pattern one row at a time and understanding the terms, patterns are something any newly beginning crocheter or knitter can master quickly. Start with simple patterns and move into the next category after you’ve done 3-5 projects.

