Ads allow content creators to provide free useful and compelling content to the public. We may earn money or products from the companies mentioned in this post. See the Affiliates and Disclosures page in the top menu of this website for detailed information.
Easy crochet pattern for round placemats
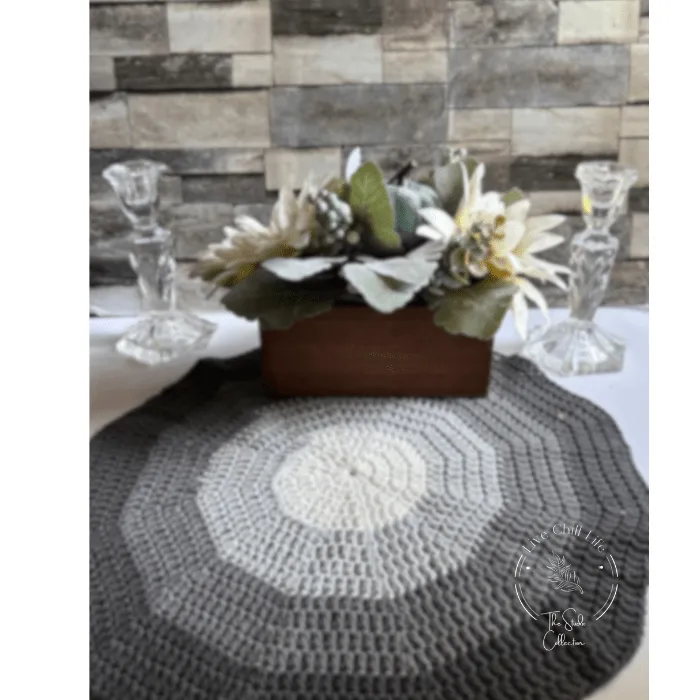
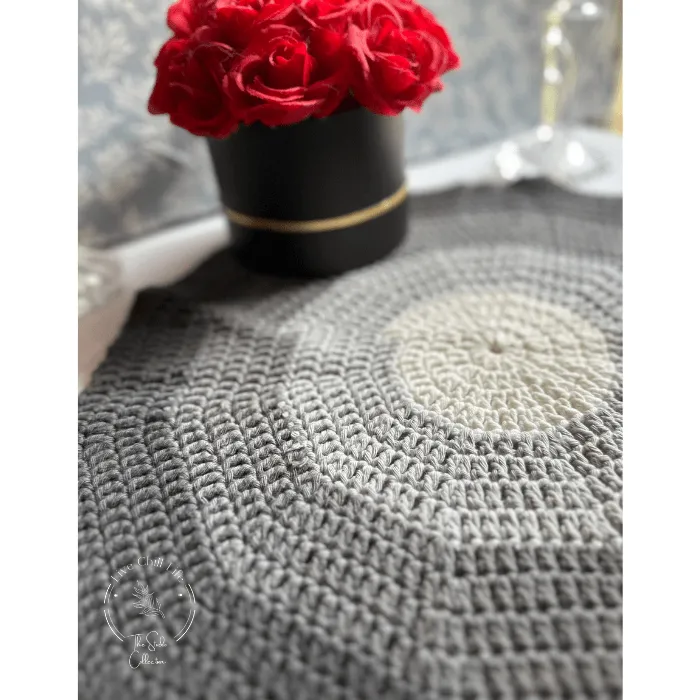
A fun spin on a round crochet placemat! Spiral crochet is different from crocheting in the round because you do not join the round at the end of each row.
Round placemats can add a touch of elegance and visual interest to your table setting. I find they offer a softer, more organic look compared to straight-edged shapes like an expected rectangle.
This quick and easy free crochet pattern is a beginner friendly project you can do in a single day. If you can double crochet you can make this placemat. It’s also a project you can use leftover yarn for because you don’t need much for each round. You can get very creative with color combinations that suit your decor.
If you like a clean minimalist look this is a beautiful modern crochet design that will compliment your table, vanity or bar style.
Table of Contents
I love a round placemat. Something about laying the table with a round placemat peeking out from a charger or round plate is so pretty to me. Contrasted with the straight lines of flatware and my rectangular centerpiece vase it gives so much visual interest to a tablescape.
Round crochet placemats are also a great space saver because they take up less room. No worry of overlapping especially when using a larger number of place settings, as they create more defined individual spaces without doubling over on one another.
You may find these posts helpful
- How to tie off a crochet project
- One skein crochet projects
- How to soften acrylic yarn
- How to read a crochet pattern
- How to pick yarn for a project
- What is your crochet skill level
- Which are the best crochet hooks
- 5 tips for mastering crochet as a beginner
- How to read a yarn label
- 5 essential tools every beginner needs
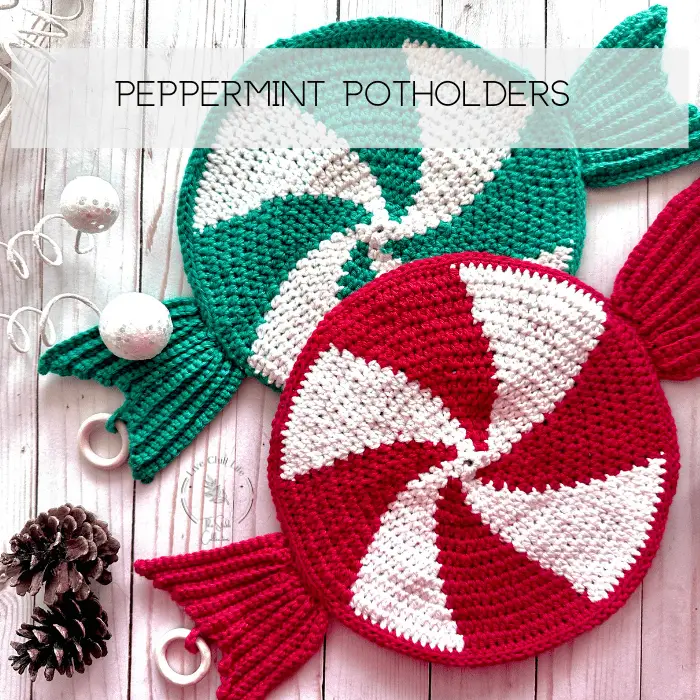
This spiral technique is used in the Peppermint crochet Christmas potholders. It’s easy!
What yarn is best for a round crochet placemat pattern
Placemats of all types should be made with cotton yarn. Acrylic yarn is heat sensitive and a hot plate or bowl set upon it has a chance of melting. Yikes! Yes acrylic yarn is made from petroleum and it will melt when heat is applied.
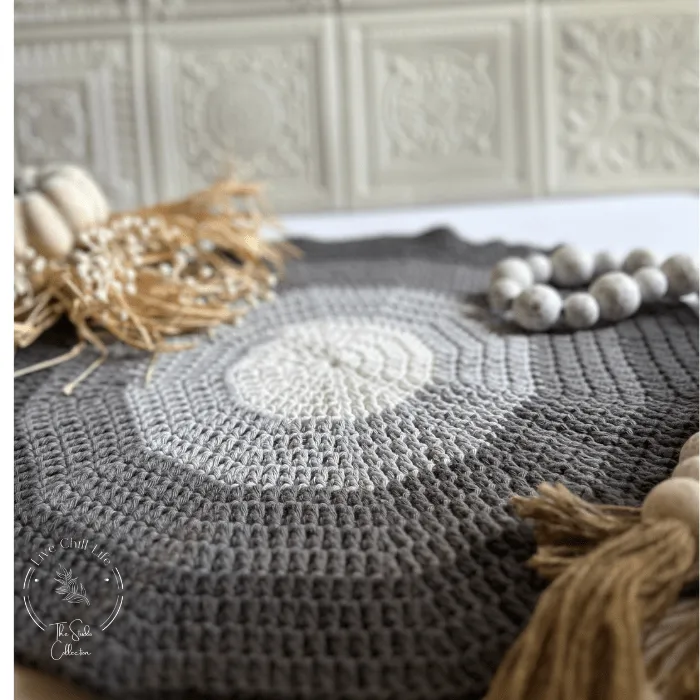
For this design I used four colors, all from Paintbox cotton in cotton aran and 5.5 mm crochet hook. This creates a soft flexible placemat that lays flat.
Finished piece will measure 17” in circumference
You may like these free crochet kitchen patterns
Materials needed to crochet a spiral placemat
This pattern uses 4 colors of cateogry 4 yarn.
A stitch marker will help you keep track of rounds because you won’t have the slip stitch spot to denote a new round is being worked.
A 5.5 mm crochet hook will keep the stitches smooth and flexible.
Use a tapestry needle to weave in any remaining ends.
This pattern creates a soft flexible placemat that lays flat.
Yarn colors shown from Paintbox cotton aran:
- Paper white
- Stormy Grey
- Slate Grey
- Granite Grey
TIP: Using a stitch marker, hairpin, or safety pin (something you can easily move each round) is needed to keep track.
Crochet spiral placemat pattern instructions
Using a 5.5 mm hook in the paper white color, chain 3. In third loop from hook make 11 dc so that you have 12 dc total at the end of this round.
Round 2. Work two dc into top of first stich of last row. Mark the first of the two dc with a stitch marker. Continue to work two dc in each stitch until end of round.
Round 3. Take stitch marker out and work a dc into stich and replace marker. Work two dc into next stitch. Then 1 dc, then 2 dc. Repeat alternating single dc and two dc around to end.
Round 4. work 1 dc into first and second stitch. Work two dc into third stitch. repeat one dc, one dc then two dc sequence to end.
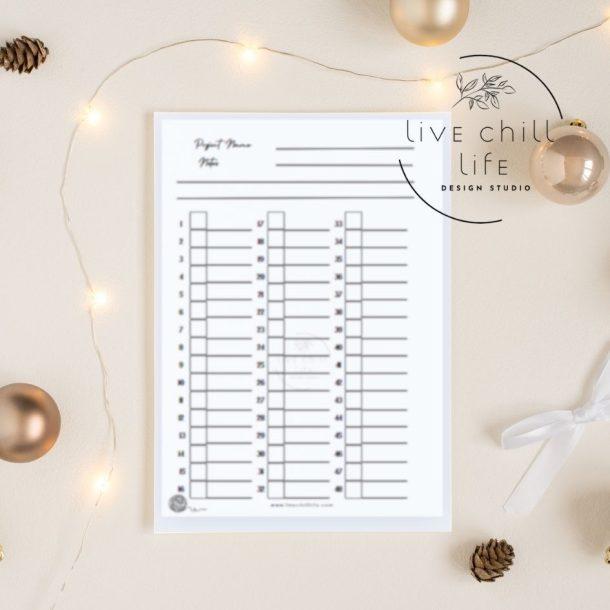
Try my project tracker page for free!
Round 5. Change to Stormy Grey. work a single dc into first three stitches then two dc into fourth stitch. Repeat one dc three times and two dc in every 4th stitch.
Round 6. Work one dc in first four stitches and two into fifth stitch around to end.
Round 7. Work one dc in first five stitches and two into every 6th stich to end.
Round 8. Work one dc into first six stitches and two in every 7th stitch to end.
Round 9. Change to Slate Grey. Work one dc into first seven stitches and two in every 8th stitch to end.
Round 10. Work one dc into first eight stitches and two dc into every 9th stitch to end.
Round 11. Work one dc into first nine stitches and two dc into every 10th stitch to end.
Round 12. Work one dc into first 10 stitches and two dc into every 11th stitch to end.
T-shirts and project totes for crocheters available in my Etsy shop!
Round 13. Change to Granite Grey. Work one dc into first 11 stitches and two dc into every 12th stitch to end.
Round 14. Work one dc into first 12 stitches and two dc into every 13 stitch to end.
Round 15. Work one dc into first 13 stitches and two dc into every 14th stitch to end.
Round 16. Work one dc into first 14 stitches and two into every 15th st until four stitches remain.
In last four stitches, Decrease row height by working one hdc in next two stitches then a single crochet into final two stitches. Slip to join and weave in ends.
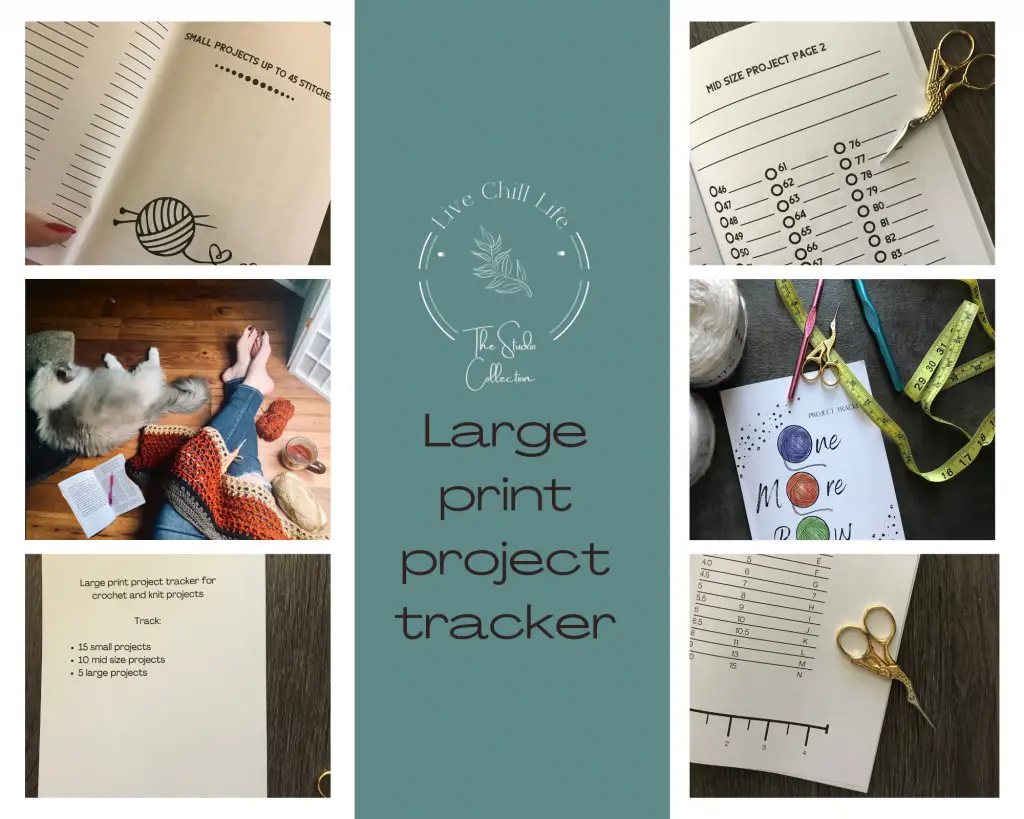
I designed project trackers! This is the large print version for tired eyes. So much easier than using apps, scraps of paper or a plain notebook.
Three project sizes, a handy ruler and hook guide inside the cover and plenty of rooms for notes in each pattern.
A handy 9″ x 6″ size.
Buy it here.
Regular size print here.