Ads allow content creators to provide free useful and compelling content to the public. We may earn money or products from the companies mentioned in this post. See the Affiliates and Disclosures page in the top menu of this website for detailed information.
How to crochet a hook organizer pattern
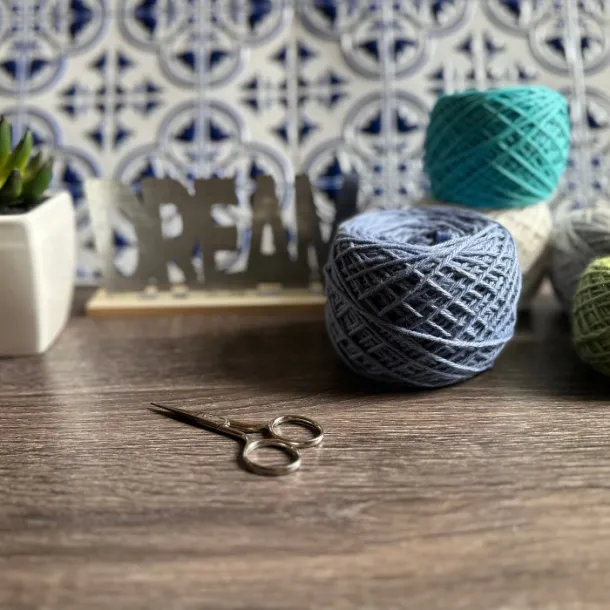
A large size crochet hook organizer free pattern. I designed this because commercial hook organizers do not hold all of my hooks! By the time you buy a set like this, add in a few pretty or special ones here and there you can accumulate two dozen hooks in a flash!
Table of Contents
This crochet hook organizer is customizable not only for how many hooks you would like to store but also the ability to make some wider slots and some slimmer slots to snuggly hold all your prized crochet hooks.
This is for a comfortable beginner due to the unconventional pocket making style. You should be comfortable with basic stitches, yarn tension and joining rows.
You may find these posts helpful
- How to tie off a crochet project
- One skein crochet projects
- How to soften acrylic yarn
- How to read a crochet pattern
- How to pick yarn for a project
- What is your crochet skill level
- Which are the best crochet hooks
- 5 tips for mastering crochet as a beginner
- How to read a yarn label
- 5 essential tools every beginner needs
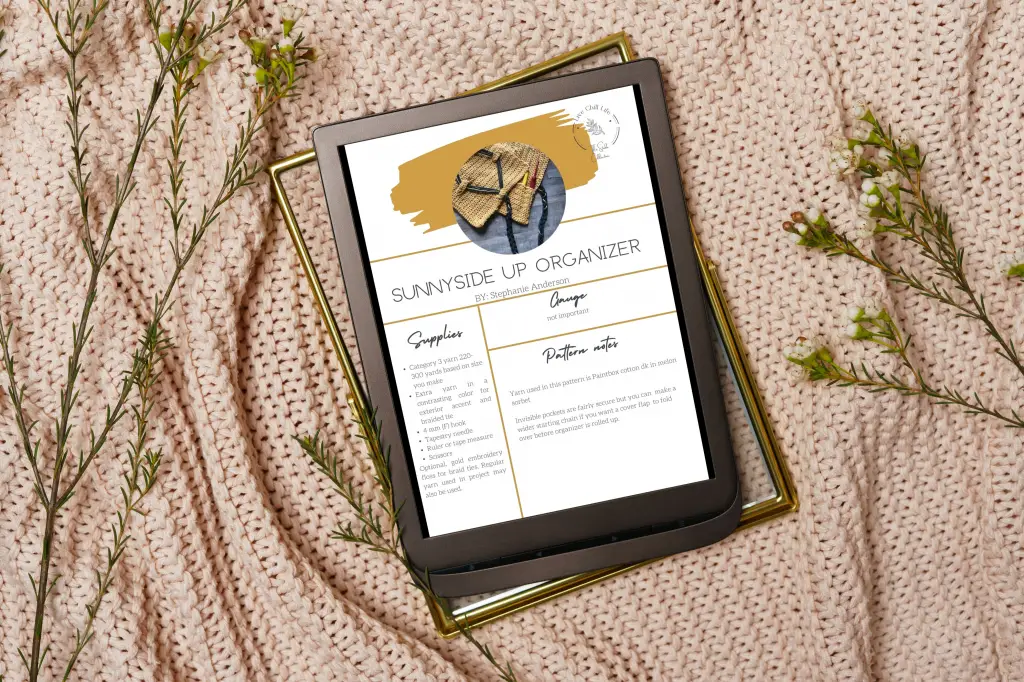
Crochet hook organizer pattern
Materials:
- Category 3 yarn 220-300 yards based on size you make
- Extra yarn in a contrasting color for exterior accent and braided tie
- 4 mm hook (F) (tulip 4mm crochet hook that I use)
- Tapestry needle
- Ruler or tape measure
- scissors
- optional gold embroidery floss for braid ties, regular yarn may also be used.
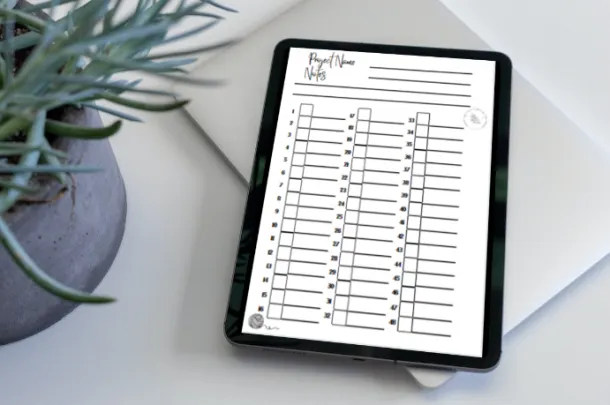
Check out my project trackers!
Check off style tracking with room for a note on each row.
Large print and regular print available. Large print is great for tired eyes.
Sections for small, medium and large projects so you don’t waste any pages.
See the Shop my Books section.
You may also like the harvest crochet home set free pattern
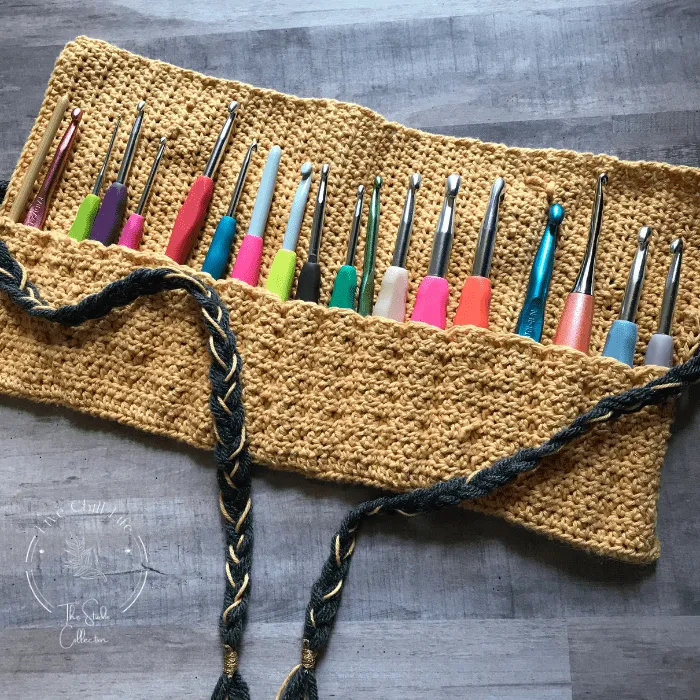
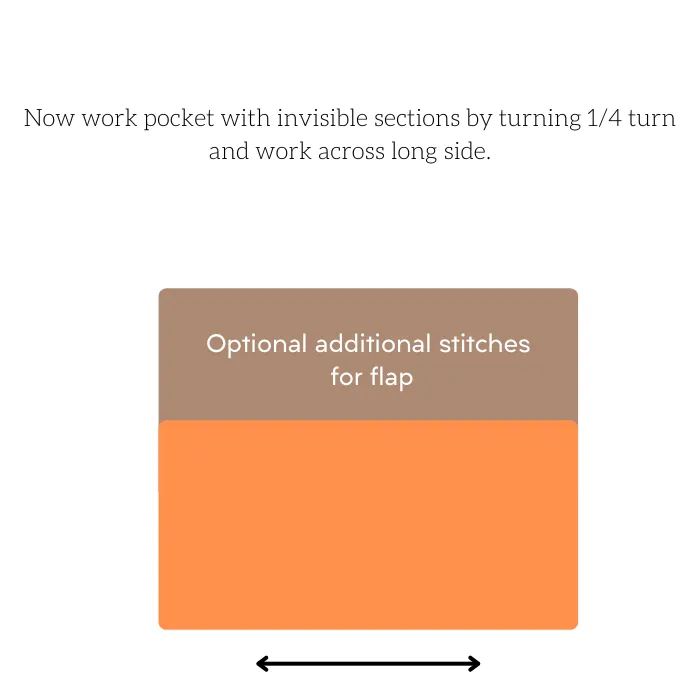
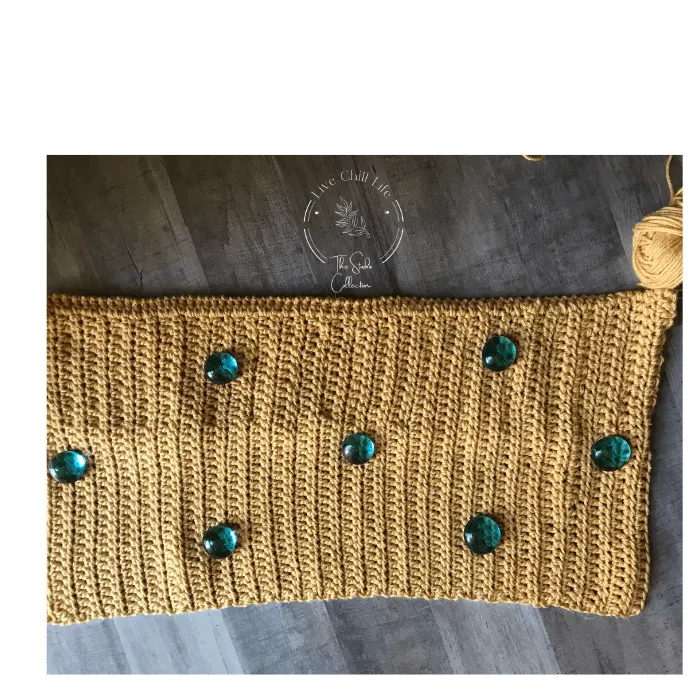
Yarn used in this pattern is Paintbox cotton dk in melon sorbet. Category 4 yarn in graphite used for outside accent and braid tie. Invisible pockets are fairly secure but you can make a wider starting chain if you want a cover flap to fold over before organizer is rolled up. See notes below on how to do this.
US Terms:
SC – single crochet
HDC – half double crochet
yo – yarn over
st – stitch
ch – chain
Video tutorial at end of post
How to customize your crochet hook organizer
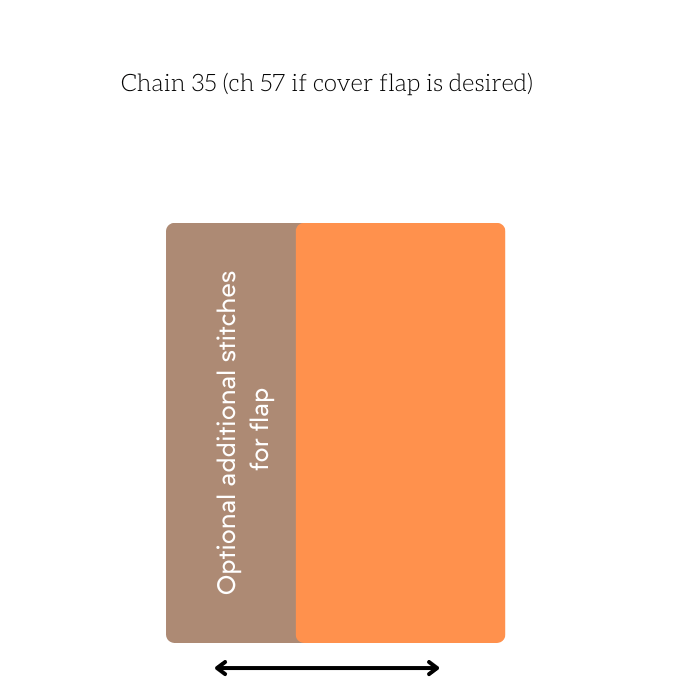
Ch 35 (if you want a foldover flap, chain 57 and allow for more yarn yardage . This will give approximately 5” cover flap over your hooks) Second chain from hook, hdc across, turn.
Ch 1 (34 sts). Hdc across finishing last hdc in ch 1 from previous row. This will keep your edges straight. Repeat til rectangle is the length that accommodates the amount of hooks you need to store.
Length in image is 14.5” inches and holds approximately 19-20 hooks. Allow ¾” per hook on average.
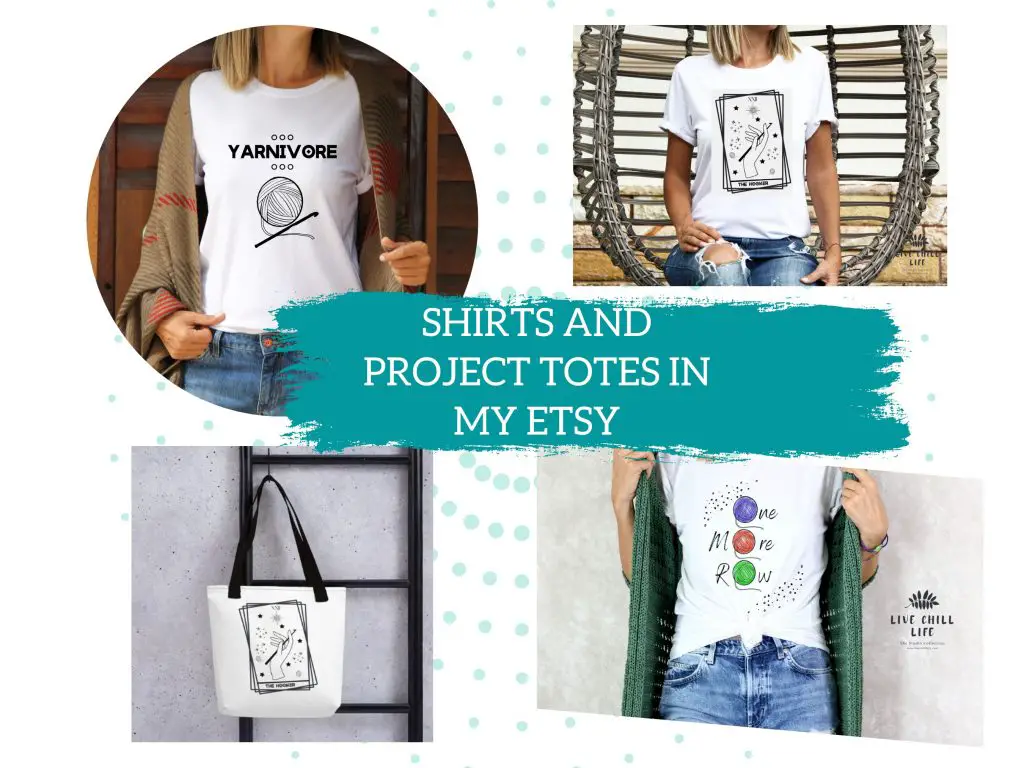
T-shirts and project totes for crocheters available in my Etsy shop!
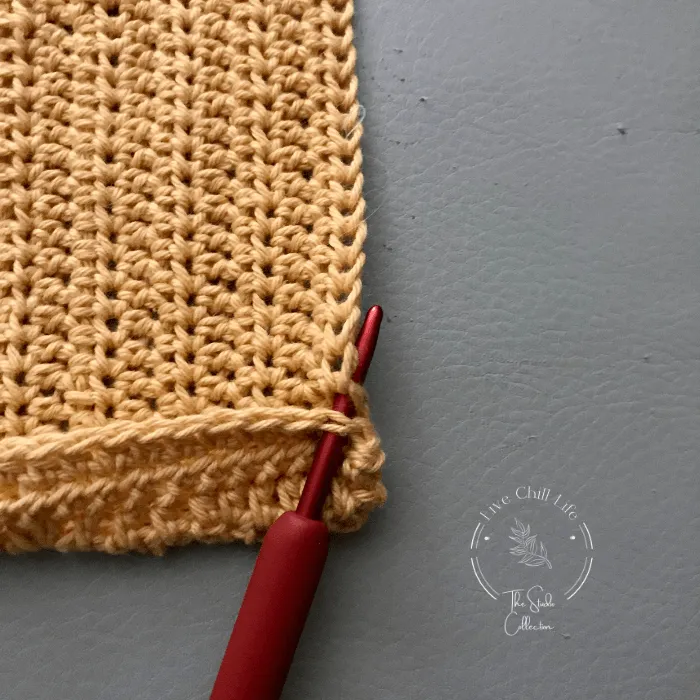
Ch 1 and turn to long side. Hdc across edge. Ch 1 slip st into stitch above. Size shown has 73 hdc sts across. Row 2: HDC across. Finish row by slipping into corresponding stitch above on short side row as shown in figure 1 below.
This is creating the pocket. Finish each row like this. Keep mindful as you go back and forth you will slip into 2 stitches above to accommodate the previous row worked.
Row 3: Working in back loop only, HDC to create the curve.
Row 4: HDC across Make sure on this row you work into the top of the stitch, you may have to turn your work a bit so that row faces you as shown in video.
Create invisible pockets:
Row 5: *hdc 3. On 4th st, Yo, go through stitch and connect to corresponding stitch in main body. Yo pull through.* Repeat *to* end. Do smaller spaces of 2 hdc between if desired for narrow hooks.
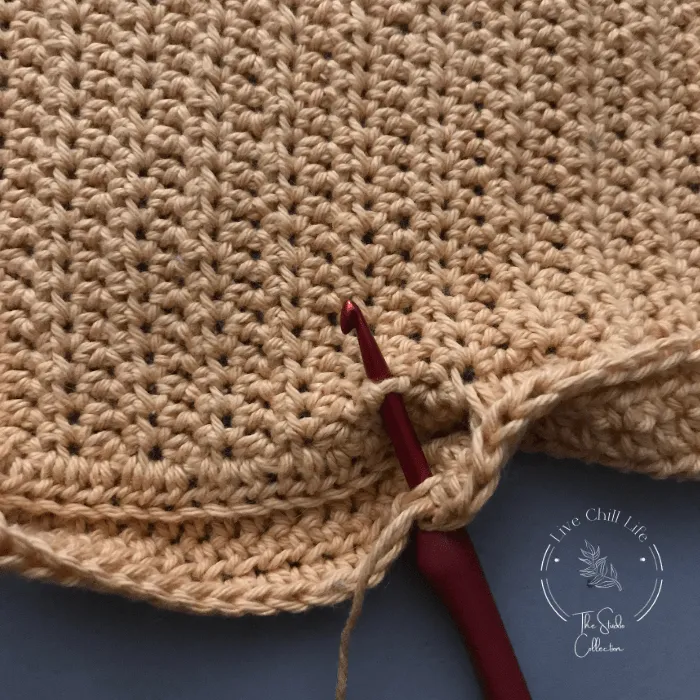
Row 6: HDC across.
Rows 7-12: Alternate row 5 and 6
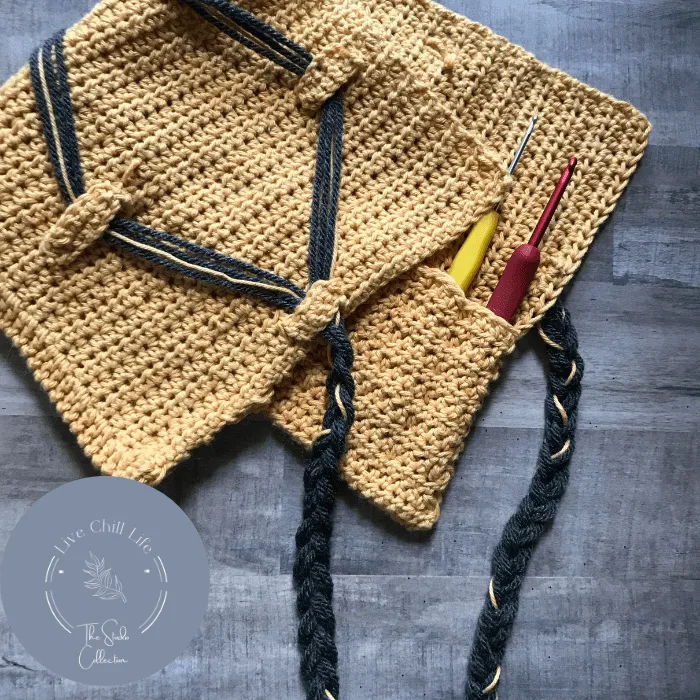
Work the external tie detail
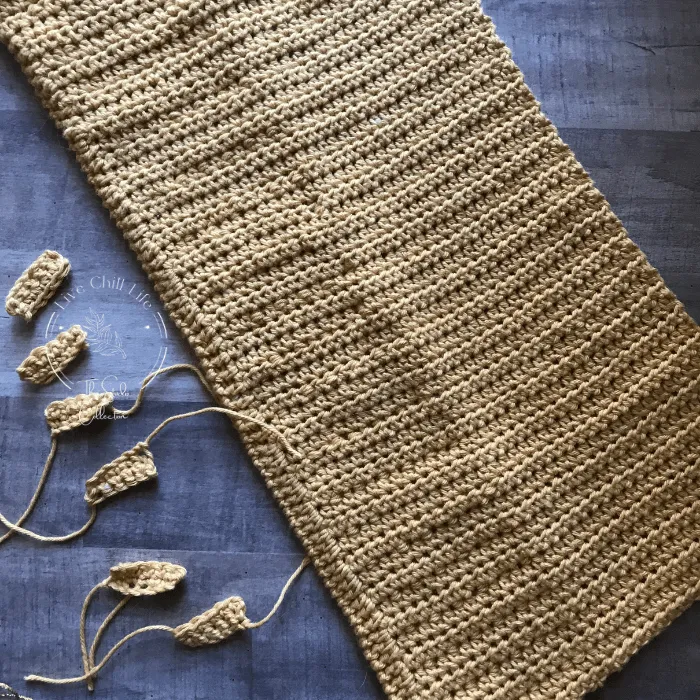
Make 7
Ch 6. in second ch from hook work 5 sc. Ch1 turn. SC across. Secure and weave in ends.
Using tapestry needle, attach top and bottom of tabs (to allow yarn strands to pass through) where shown in image below. Use tiny invisible knots to secure and weave in end before cutting yarn. Reminder if you made a longer base to create a flap, turn the flap down so it is not included in the placement of exterior.
Create 6 even lengths of contrasting color yarn (shown, each length is 36”), plus two strands of the yarn used for body of organizer.
Group yarns 3 each contrasting color with one each of the body color.
Feed them through tabs as shown in video leaving same amount of free strand length on each side. Divide yarn for braiding: Three sets of 2 strands of contrasting color, two of the three sets will have one strand of body color. Braid snuggly then secure with invisible tassel knot (shown in this video).