Ads allow content creators to provide free useful and compelling content to the public. We may earn money or products from the companies mentioned in this post. See the Affiliates and Disclosures page in the top menu of this website for detailed information.
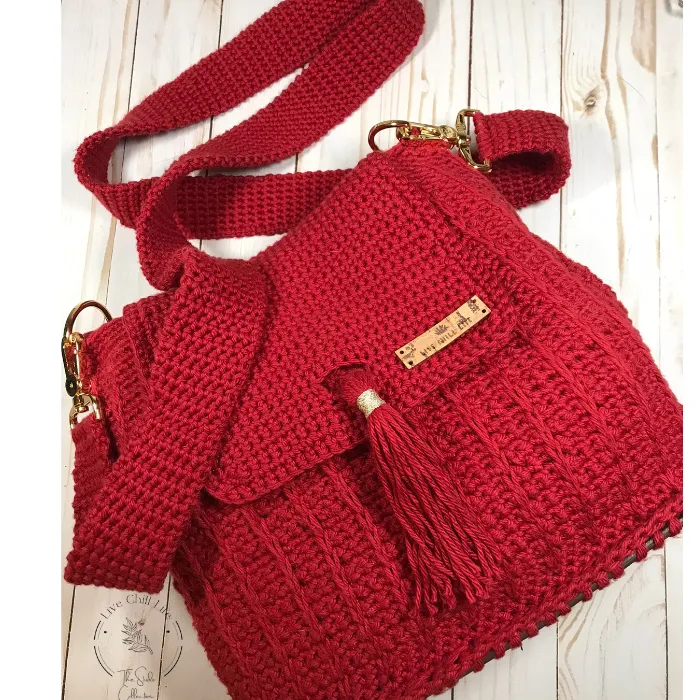
Tunisian bag strap using a regular crochet hook
Make this Tunisian crochet bag strap with a standard crochet hook!
If you are new to Tunisian crochet, it is a unique crochet technique that combines elements of both knitting and crochet. With its distinctive look and texture, it opens up a world of possibilities for creating beautiful and functional items.
Tunisian crochet is done with either a long (12″ or longer) Tunisian crochet hook or a Tunisian hook that has a cable attached with an anchor on the end. The cable hook is used for bigger projects like Tunisian crochet garments and blankets.
This stitch simple Tunisian stitch creates a dense and durable strap that is perfect for everyday use. Not to mention how beautiful it is. Tunisian crochet is always easy to spot because of it’s woven and elegant look compared to traditional crochet stitches.
Table of Contents
The Tunisian simple stitch is a low-stretch bag strap as it has reinforced stitches that rely on each other for strength.
You are able to do this Tunisian style crochet with a regular crochet hook because you will only be working 6-8 stitches which easily fits onto standard crochet hooks.
To keep strap from stretching out, chose a hook slightly smaller than your yarn recommends. For a standard category 4 yarn which will call for a 5 or 5.5 mm hook, use a 4 mm or 4.5 mm.
You may also like my thermal stitch strap. It also looks woven and has minimal stretch.
You may find these posts helpful
- How to tie off a crochet project
- One skein crochet projects
- How to soften acrylic yarn
- How to read a crochet pattern
- How to pick yarn for a project
- What is your crochet skill level
- Which are the best crochet hooks
- 5 tips for mastering crochet as a beginner
- How to read a yarn label
- 5 essential tools every beginner needs
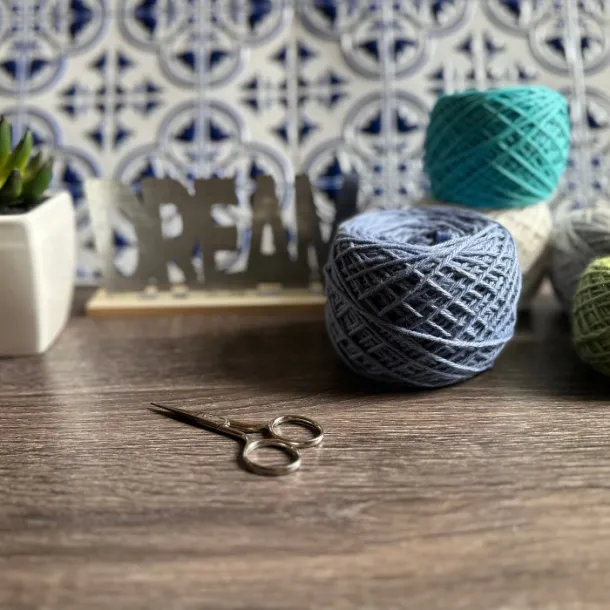
Materials needed to make a Tunisian crochet bag strap:
(Video tutorial at end of post)
Category 4 yarn
4 mm crochet hook
Scissors
Tapestry needle
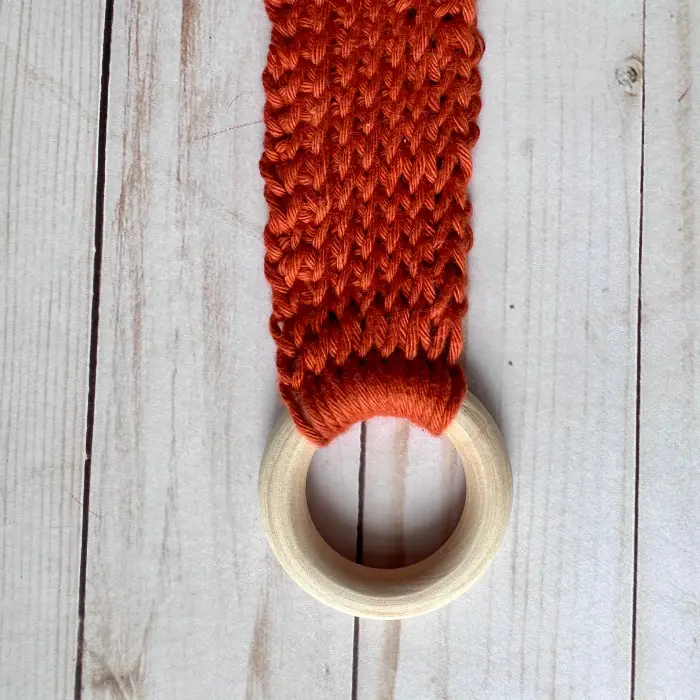
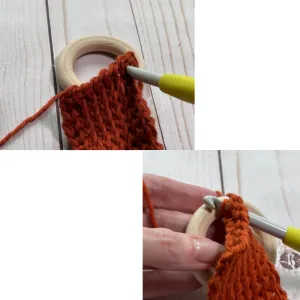
Bag hardware (for this demo I am using these wooden rings)
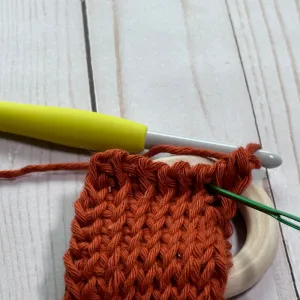
How to work the Tunisian crochet bag strap
Step 1: Attach yarn to hardware with a chain. Draw up a loop, pull through one. Draw up a loop pull through one (3 loops on hook), continue to do this until you have up to 8 loops on hook.
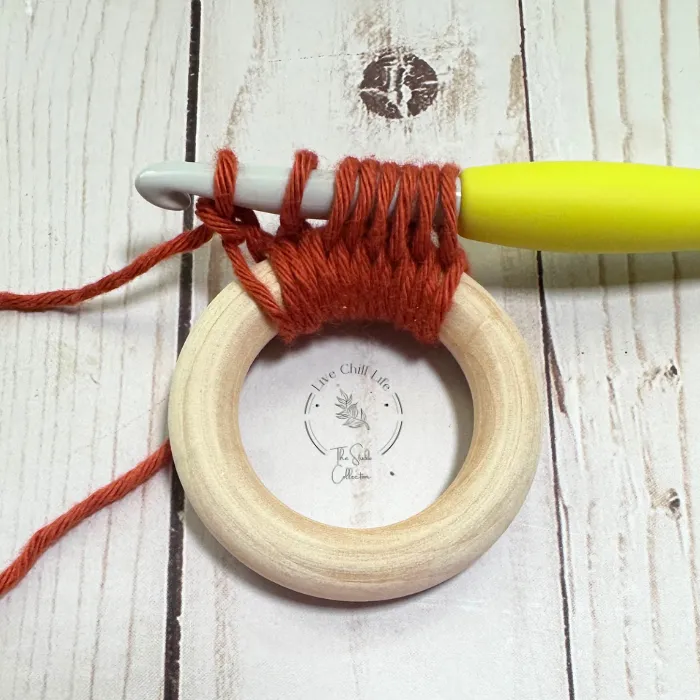
This loop count you will have for each row before doing the return pass.
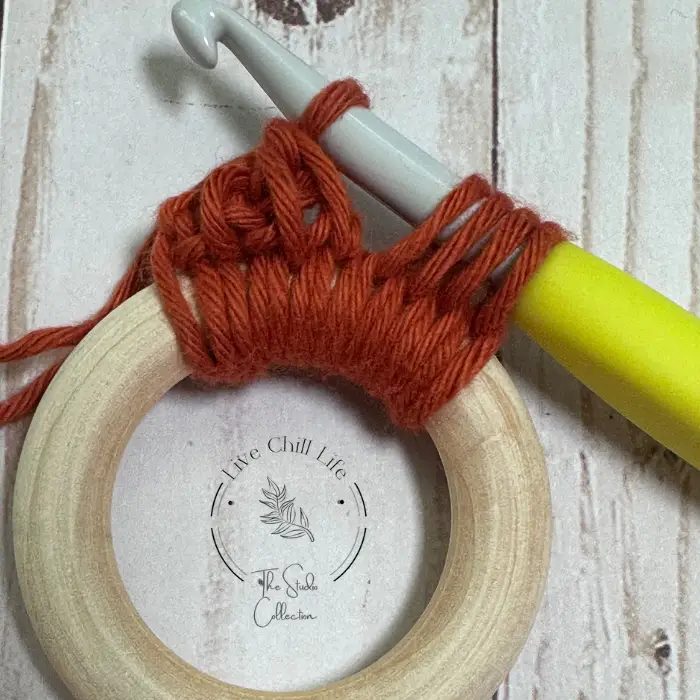
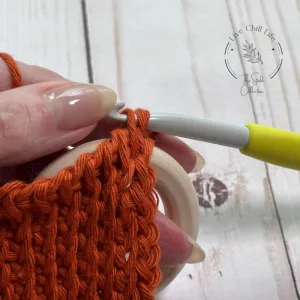
Step 2: Yarn over, pull through one. *Yarn over, pull through two.* repeat * to * to end. One loop on hook.
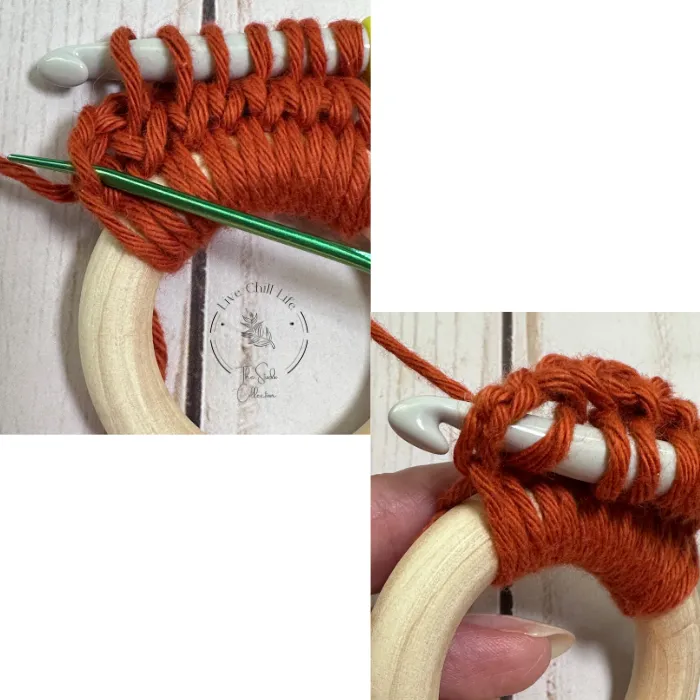
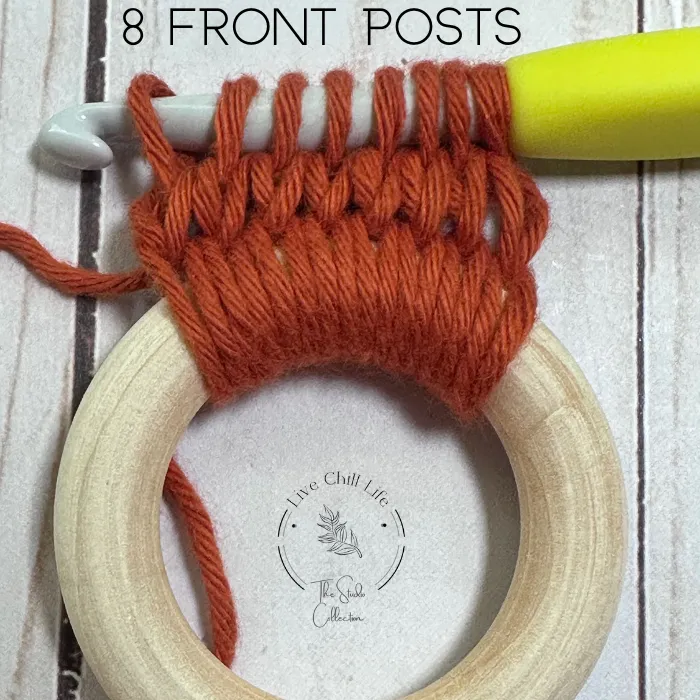
Step 3: Look at the front posts across. You now need to add 7 more loops to your hook to get 8 total.
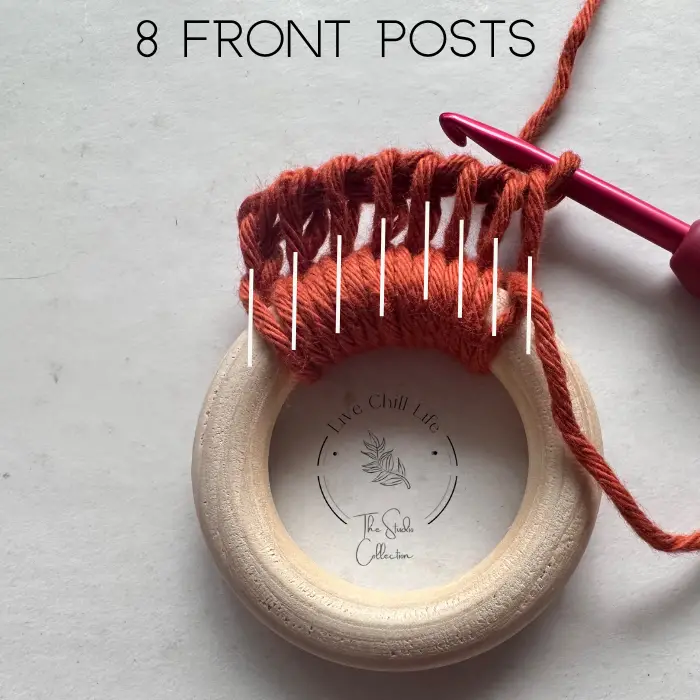
To do this, skip that very first front post. Working into the second post, use your hook to scoop the front part of the stitch by coming into it from the left. Look behind this front part of the stitch to see the back part of it. Place your hook between these and hook the yarn from behind and bring it through (between the stitch as shown in image below)
When you have 7 loops on hook you will be at the end. This can be confusing. It is the longer looking side stitch. You will go in from the right, turn work to the side to get the back side of the stitch. You will see the entire V on your hook.
Hook yarn from behind and bring it through.
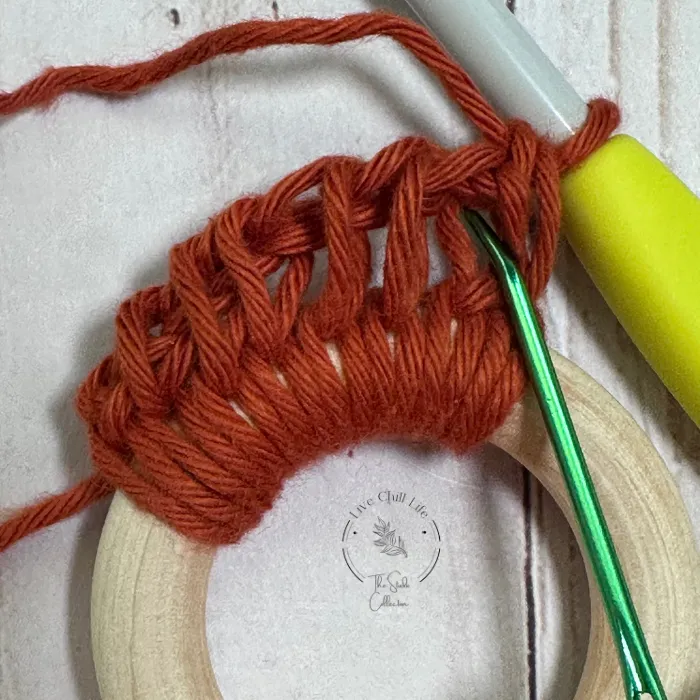
8 loops should be on your hook now. Repeat as you did with the first return pass: yarn over, pull through one. *Yarn over pull through two*. Repeat * to* until you reach the end of the row. One loop on hook.
Continue the sequence from beginning until your strap is the length you’d like.
Attach other end of hardware to Tunisian bag strap
To attach to opposite end hardware, you will insert the hook on the right side of the stitch rather than the left side which you have been working from until this point.
Tunisian strap video tutorial
Single crochet stitches onto the hardware.
Adjust stitches around then cut a long tail to secure and weave in.
See video tutorial on youtube