Ads allow content creators to provide free useful and compelling content to the public. We may earn money or products from the companies mentioned in this post. See the Affiliates and Disclosures page in the top menu of this website for detailed information.
Learn to crochet a crochet chicken hotpad with this free pattern
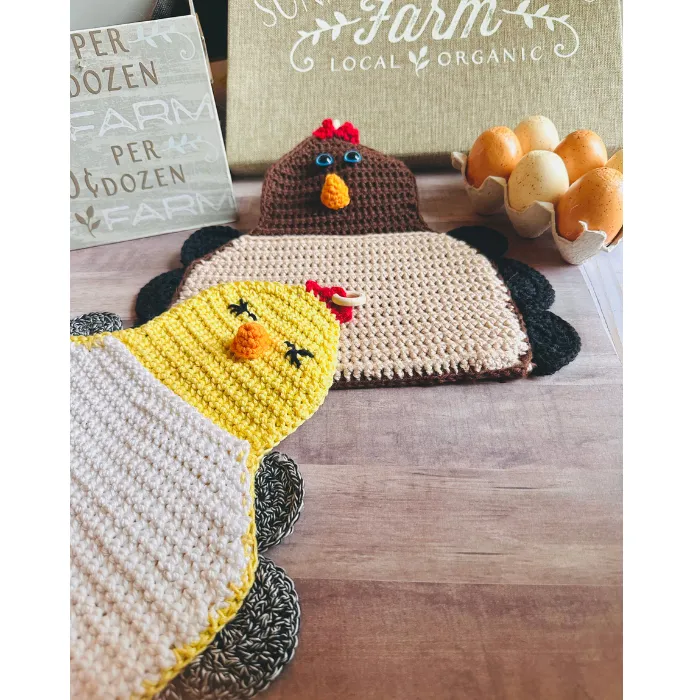
This crochet potholder is made with a thick stitch designed to look like a hen and rooster. Simply change up the colors to work this crochet chicken potholder pattern to get the look you’d like. This is nearly a double thick stitch so it is heat-safe for quick pick-ups (not longer holds of hot pans for more than 8 seconds)
This pattern uses the linked single crochet stitch.
The front breast pocket allows your hand to slip in like a glove if you want to use them as a hot pad or simply hang to display in your kitchen.
Customize the look of your hen and rooster face using different types of eyes along with a simple beak. The wood ring is worked directly into the redhead chicken comb for convenience. I put hardware on all my potholder designs!
Check out these free potholder patterns: 10 free crochet potholder patterns
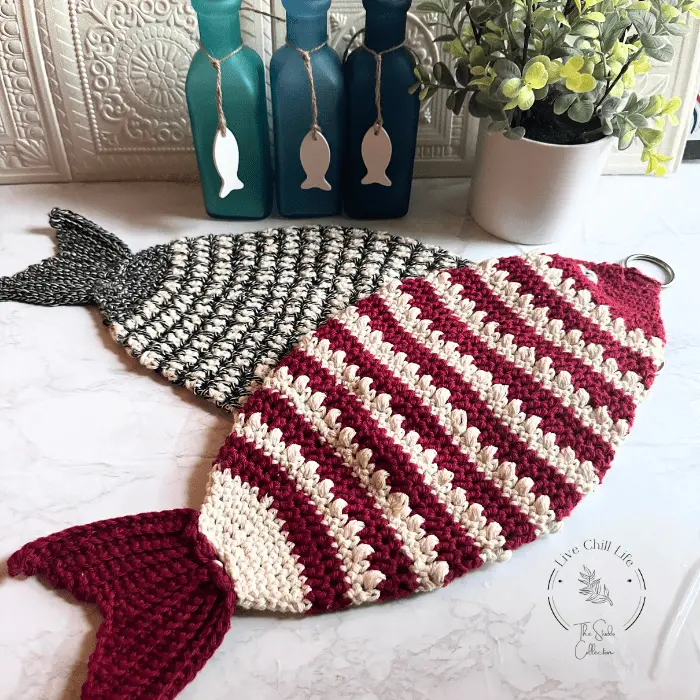
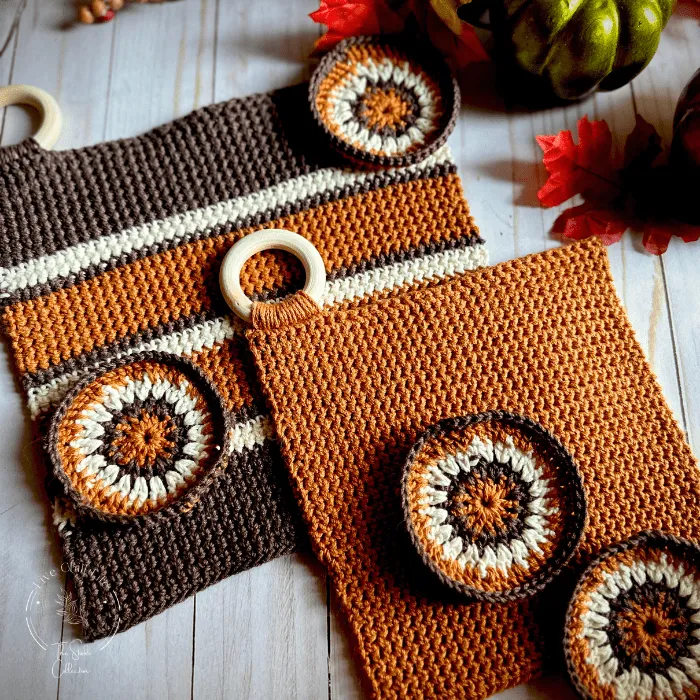
Crochet thermal stitch potholder striped set
The finished measurement of this potholder is approximately 9.5″ W x 11″ H without the comb and hanger hook.
Table of Contents
Materials to make crochet chicken potholder
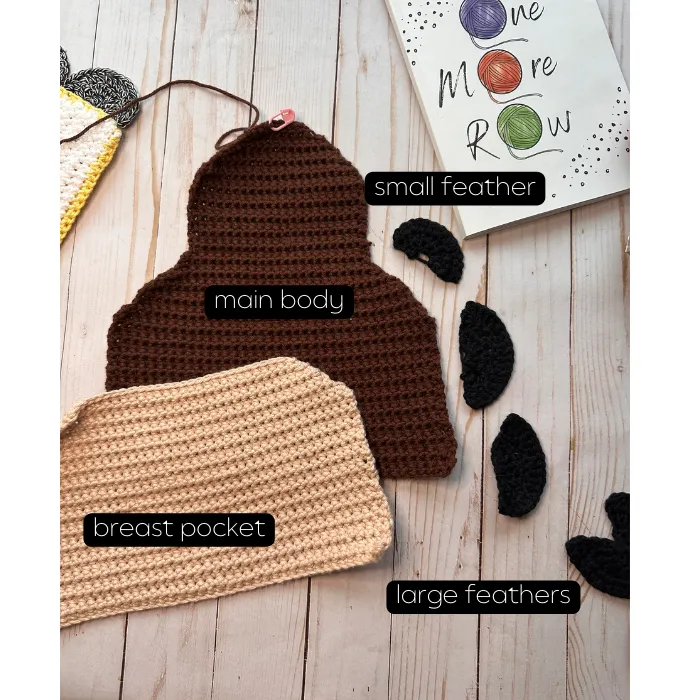
Category 4 100% cotton yarns in shades for body, breast pocket, feathers/wings and accent colors for eyes, beak and head comb. Plan on 190 yards for body and breast pocket plus a small amount for feathers. (Breast pocket 83 yards, Main body 100-105 yards)
Shown: Hen: Lion brand 24/7 cotton in lemon and white, feathers, knit picks dishie in black twist yarn.
Rooster: Hobby Lobby I love this cotton in brown and antique white.
plus extra yarn for beak, eyes and any decorative stitches you may want to add.
- 4 mm crochet hook
- tapestry needle
- scissors
- small wood rings for hanging (I am using some from this set)
- safety eyes if desired- not heat save but the head generally won’t be touching hot surfaces
Download my single-page project tracker for this to keep up with the rows and decreases.
US terms
SK – skip stitch
LKSC – linked single crochet
sc- single crochet
Crochet main body
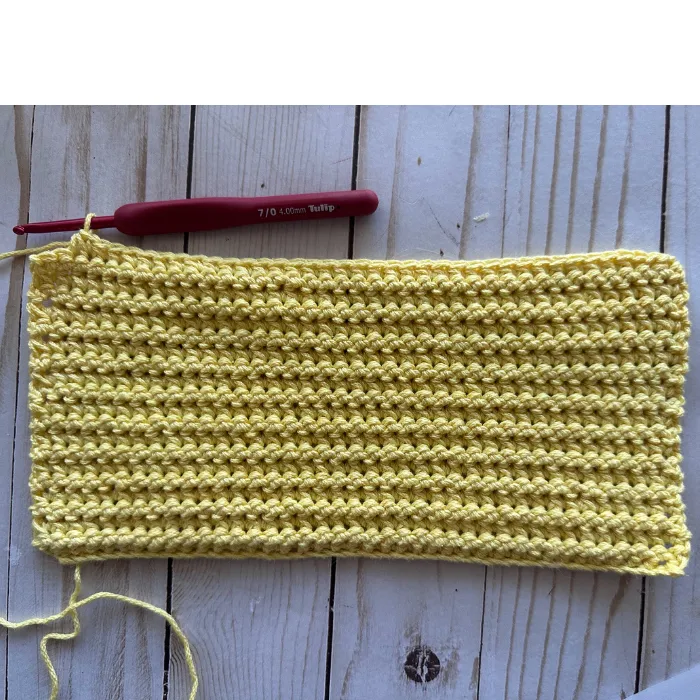
Using cat 4 cotton yarn, with body color, ch 40 with 4 mm hook. check measurement, it should be about 9.5″. Thicker category 4 cotton yarn may have to be more in the range of 37-38 sts for this measurement.
Row 1: Turn, in second ch from hook, sc across.
Row 2: ch 1 turn. sc in first. then work LKSC across row. 39 sts.
Rows 3-21: repeat row 2 it will be 4.5″ at this point
Row 22: decrease. slip stitch first two sts. then work linked sc across row, leaving last two sts unworked as shown in image. 35 sts
row 23: ch 1, work sc in first then begin linked sc across row – do not work into last two slip stitches. 35 sts.
Row 24: linked sc across row.
Row 25: decrease. Skip over first stitch and make first sc in second stitch then work linked stitches across row. When there are 2 sts remaining, sk first of the two and work final lksc with last stitch.
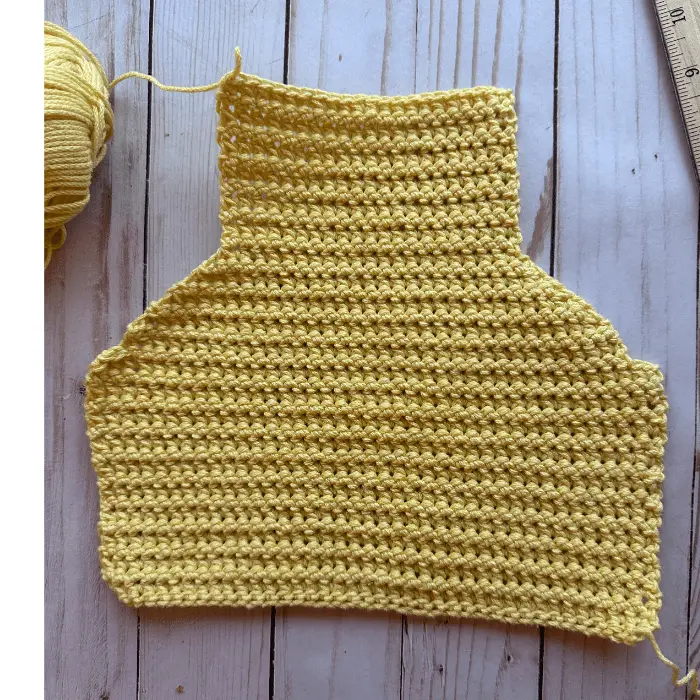
26-29: repeat decrease as in row 25. Make sure to go all the way over to the end of the last stitch (the one that is stretched over the first skipped stitch) so that you get a gentle slope in the decrease rows. This should be approximately 5.5″ wide now, no shorter than that.
Rows 30-40: work linked sc rows (21 sts)
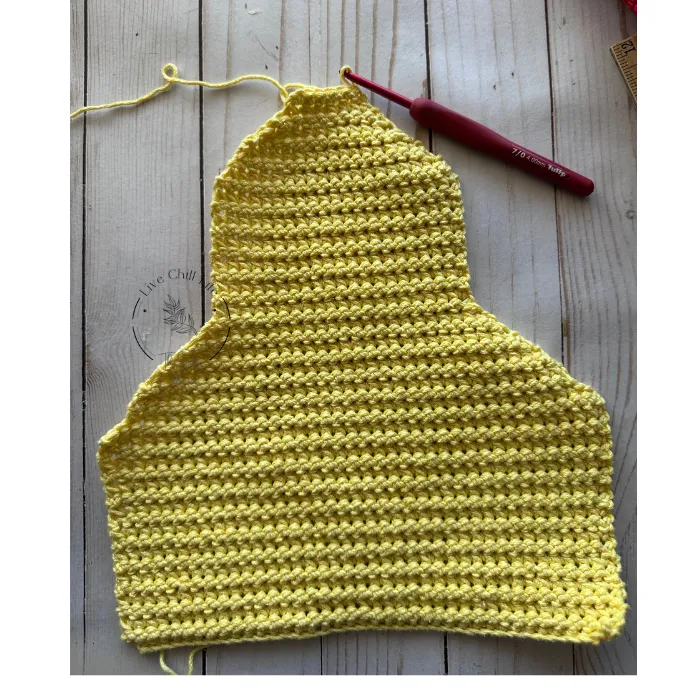
Row 41-48: work decreases as row 25 instructs
Row 49: sc across row then slip stitch across top.
hold last stitch open with a stitch marker while you work the breast pocket.
Make front pocket
Follow instructions for main body rows 1-34. Slip stitch across top row.
Make feathers
Top wing (small) make 2.
With feather color
In magic circle work 6 sc. Ch1 turn.
Row 2: 2 hdc, 2 hdc, 1 hdc, 2 hdc, 2hdc, 2 hdc (11 hdc)
Row 3: ch 1, dc ,dc , 2 dc, dc , dc , 2 dc, dc, dc, 2 dc, dc, dc (14 dc)
Cut yarn and weave in ends securely.
Bottom wing Make 4.
In magic circle, work 6 dc.
Row 2: ch 1 turn. 2 dc, 2dc, 2dc, dc, 2 dc, 2 dc (11 dc)
Row 3: ch 1 turn. 2 dc, dc, 2 dc, dc, 2 dc, dc, 2 dc, dc, 2 dc, dc, 2 dc (17 sts)
Seam panels together and attach feathers
Put crochet hook back in the loop held open at the top of the main body where stitch marker is. Sc around edge, working breast pocket in. To allow enough of a pocket opening for hand double check that it is wide enough or don’t connect top 2-3 rows if you want the opening more generous.
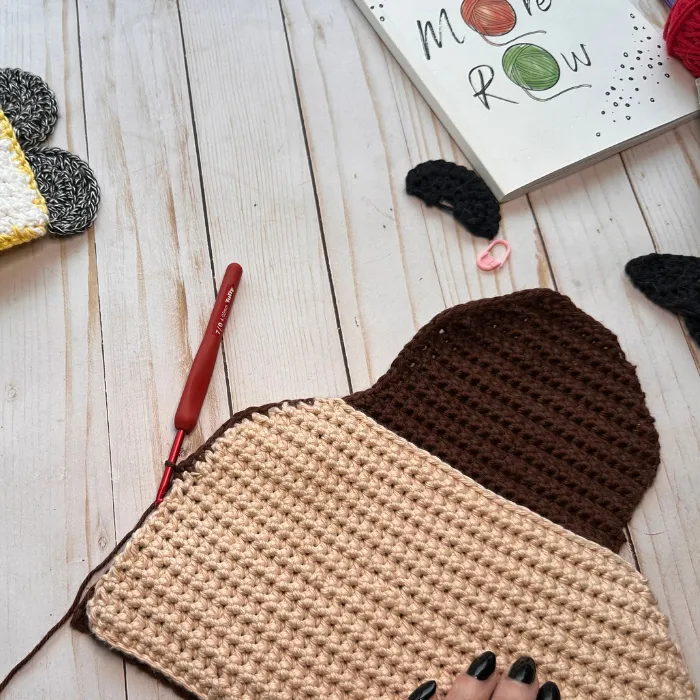
Attach feathers as shown in image using tapestry needle and body color of chicken.
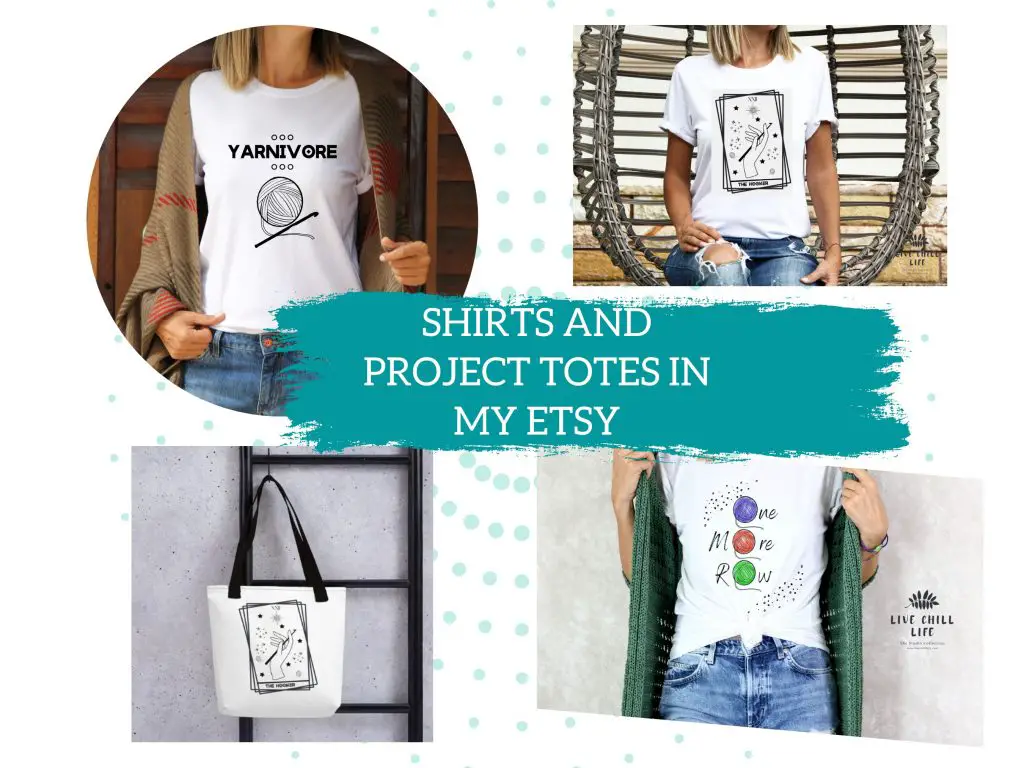
T-shirts and project totes for crocheters available in my Etsy shop!
Beak and eyes
For eyes you can stitch on lashes using black yarn and tapestry needle for the hen look or use safety eyes.
To make beak:
create a magic circle. work 6 sc into circle. do not slip to join rounds.
Round 2: sc in first, 2 sc in next, sc, sc, 2sc, sc (8 sts)
Round 3: sc in first, sc, 2 sc, sc, sc, sc, 2 sc, sc (10 sts)
Round 4: sc, sc, sc, 2 sc, sc, sc, sc, sc, 2 sc, sc (12 sts)
Leave long enough tail to sew into a potholder. Pinch and shape to look like a beak then attach with tapestry needle.
Make comb and attach hook
Locate top 6 central stitches. Attach red yarn with 4 mm hook. ch 4 then bring hook down into next st, ch 5, bring hook down into next st. Ch 7 then cut long tail and thread wood ring over the ch 7 before brining down into next stitch. Ch 5, put hook into next st, ch 4 then slip into next stitch. cut yarn and weave in ends.
Chicken potholder video tutorial
Part 1
chicken potholder video tutorial on Youtube
Part 2