Ads allow content creators to provide free useful and compelling content to the public. We may earn money or products from the companies mentioned in this post. See the Affiliates and Disclosures page in the top menu of this website for detailed information.
Easter egg crochet hot pad free pattern
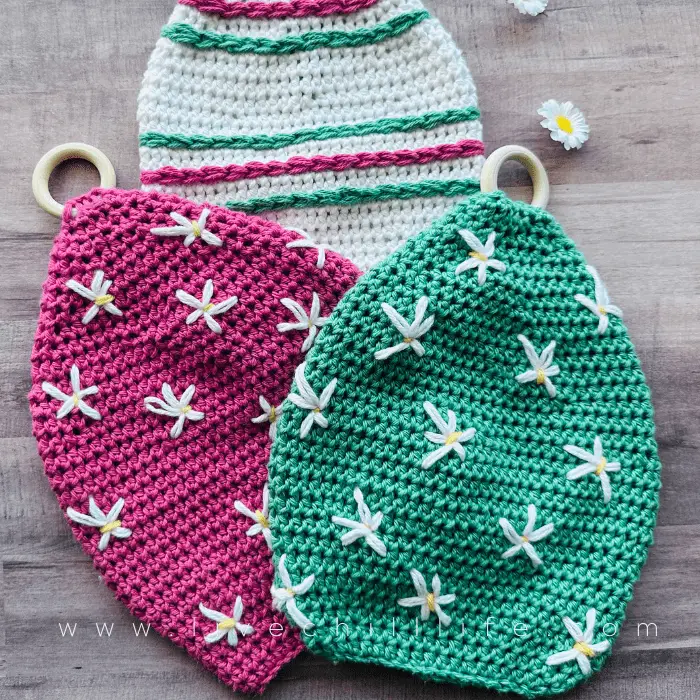
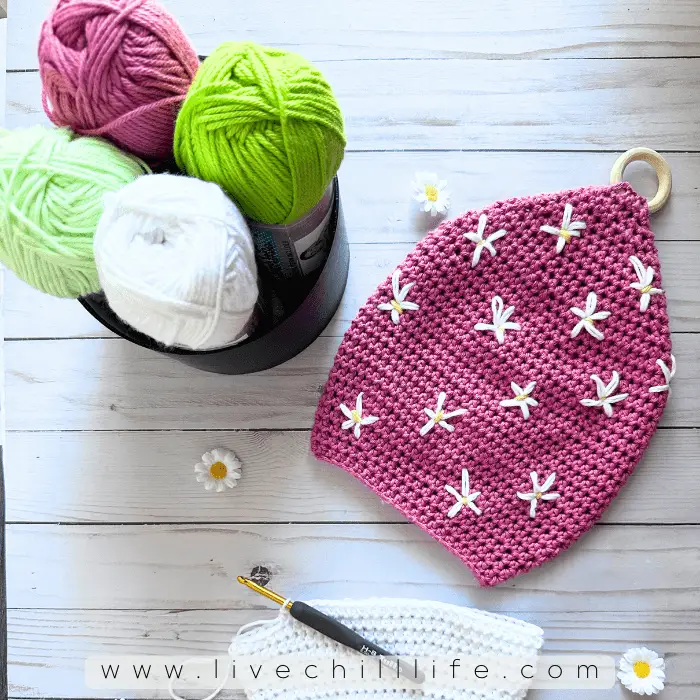
An easy crochet Easter potholder pattern that looks like whimsical colored eggs. It is simple yet impactful. These beginner friendly double thick hanging potholders work up fast to bring a breath of fresh Spring into your crafting.
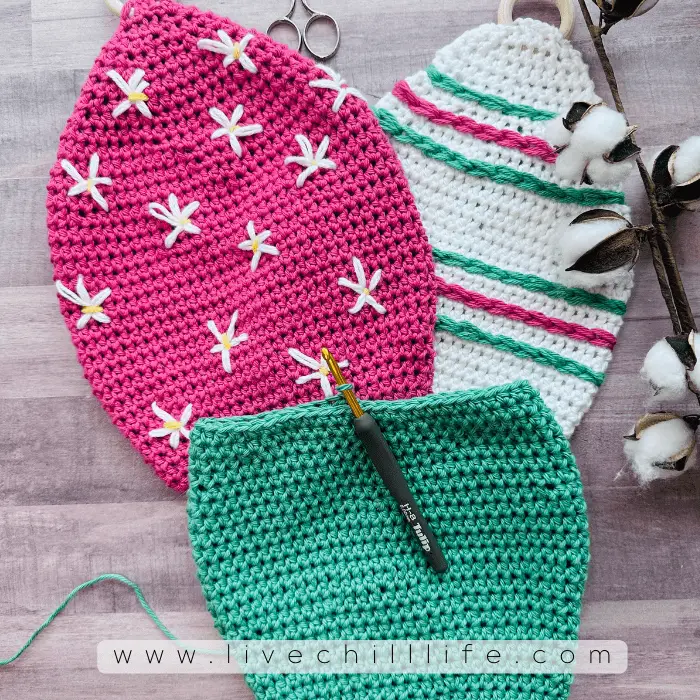
Get creative with the beautiful shades of seasonal pastels and floral brights which bring life to these happy potholders.
Pattern is worked in the round so they are naturally double thick for strong heat protection. A generous size of 10 x 8.5 gives hand protection. Or use them simply as a way to brighten your kitchen for the season.
You may sell finished items made with this pattern.
You may like : 10 free crochet potholder patterns
Table of Contents
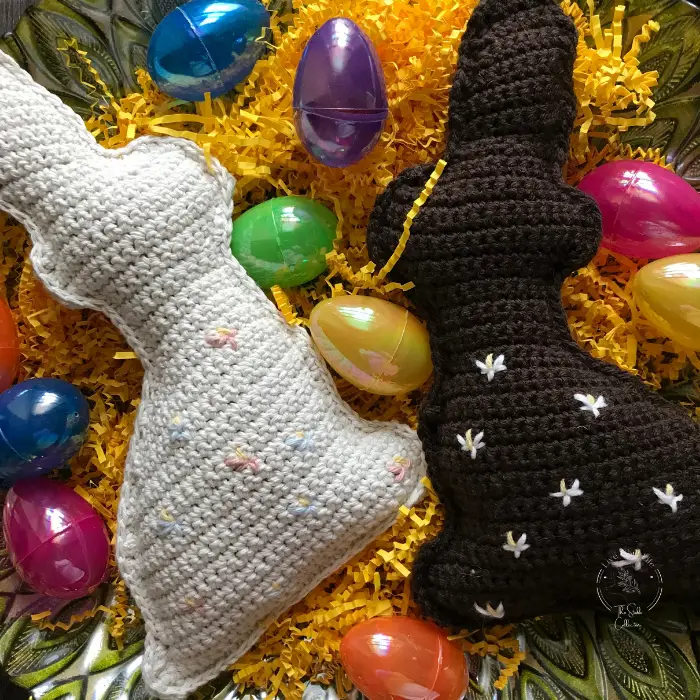
You may also like this free pattern for crochet chocolate bunnies.
Get the ad free PDF:
or on
Ravelry:

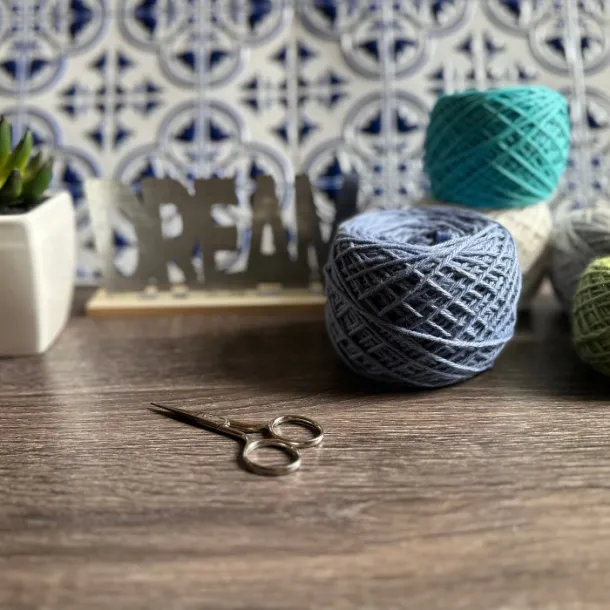
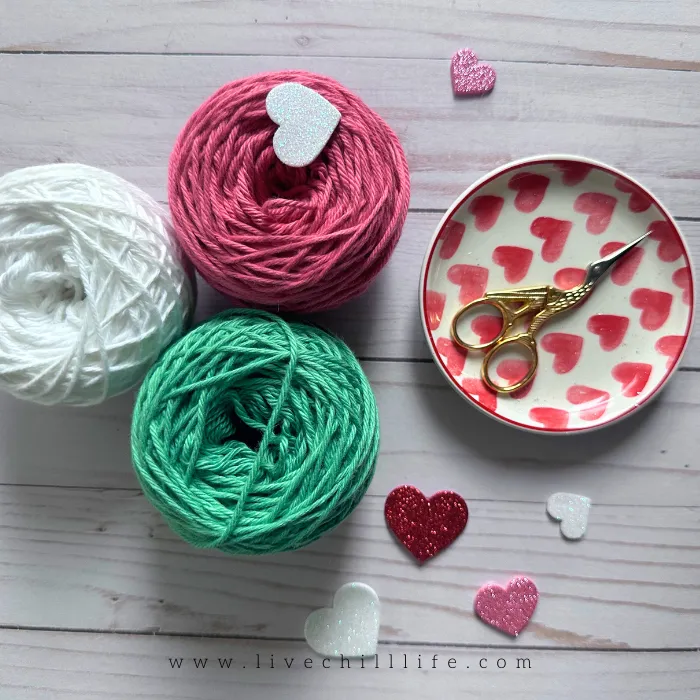
Materials needed to make a crochet potholder
For each potholder:
Main body 110 yards category 4 cotton yarn (shown knitpicks dishie in Begonia, Jade and White) Plus small amounts of alternate colors for decoration
Other yarns: Hobby Lobby I love this cotton, Lily Sugar n’ Cream, Paintbox cotton aran
- 5 mm crochet hook
- Tapestry needle
- scissors
- wood rings to hang approx 1.5″ (I use rings from this set)
- Optional stitch marker, hair pin or different color yarn strand to mark start of round
Crochet Easter potholder pattern
Follow along with video tutorial to understand the first and second round, increases and decreases and when to start the decorative stitches. Youtube tutorial link. Embedded video at bottom of post.
US Terms: hdc -half double crochet, dec (decrease by inserting hook into stitch, draw up a loop, insert hook into next, draw up a loop, y/o pull through all three loops) inc– work 2 hdc into one stitch
You may want to download my small project tracker page to use with this pattern.

Evenly space all increase and decrease stitches
Begin by chaining 46 sts. In third ch from hook, work hdc. Continue hdc across row. Bring chain around from the left to meet where you hook is. Starting tail will be facing down. 44 sts
Round 2: y/o and work hdc into first stitch (do not slip to join), this will join the rounds and the bottom will look slightly jagged. 44 sts At end of round, turn inside out before moving on to round 3.
Round 3: Inc 4 evenly spaced increase stitches . 48 sts
Round 4: Inc by 7 sts. 55 sts.
Round 5-8: hdc around . 55 sts
Round 9: Inc by 6 sts. 61 sts
Round 10: Inc 5 sts. 66 sts
Round 11-15: hdc around. 66 sts
Round 16: Dec 4 sts. 62 sts
At this point, if making the striped version you will start to work the lines now and gradually add the others as you work more rounds.
Round 17-18: hdc around . 62 sts
Round 19: dec by 4. 58 sts
Round 20: hdc around. 58 sts
Round 21: dec by 4. 54 sts
Round 22: dec by 4. 50 sts
Round 23: dec by 4. 46 sts
Round 24: dec by 4. 42sts
Round 25: dec by 6. 36 sts
Round 26: dec by 4. 32 sts.
Round 27: dec by 2. 30 sts
Round 28: dec by 4. 26 sts
(if making wildflower design, add them now so you have access inside from both top and bottom)
Round 29: dec by 4. 22 sts
Round 30: dec by 4: 18 sts
Round 31: dec by 3. 15 sts
Round 32: dec by 3. 11 sts. Cut long tail to attach wood ring.
Bring wood ring in , skip first stitch and work 3 cross over stitches (connect stitch to stitch on opposite side leaving wood ring in between) leaving last st pairing unworked. Check to see that wood ring looks centered before securing loose end.
Decorate potholder with stitches
To make wildflowers, create a a 10′ long double length of white yarn. Make a big knot at the end of the strand and use to anchor (big enough that it won’t pull through the space). Work 5-6 petals in uneven lengths to add an organic look as shown. As you move the yarn from section to section make sure there is enough slack so the potholder doesn’t pucker.
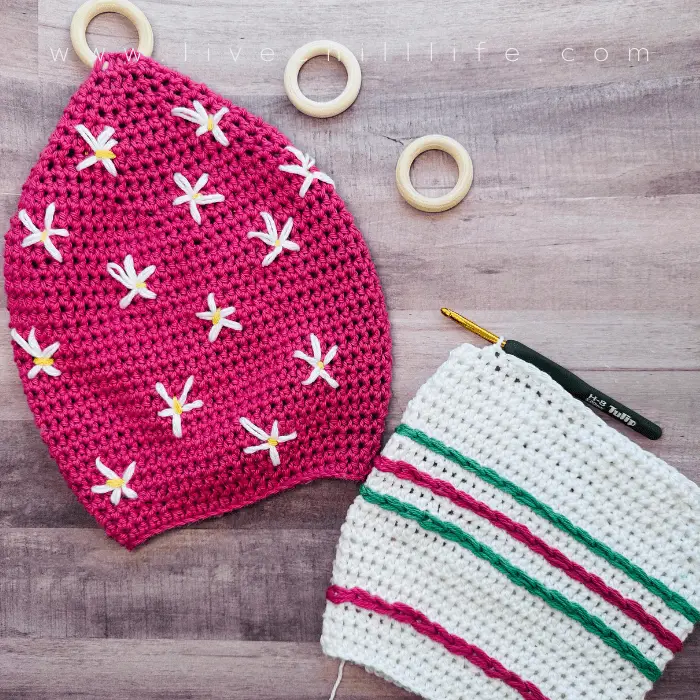
Finish flowers with yellow yarn to accent center of each flower.
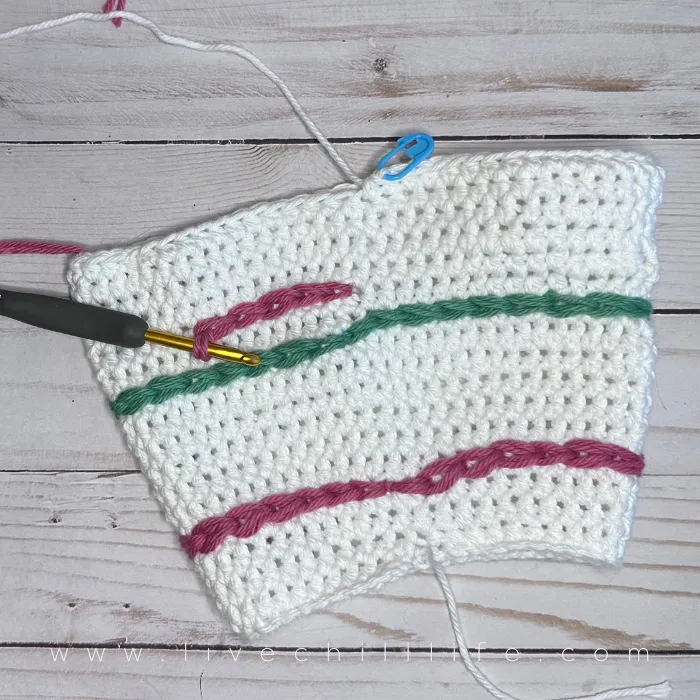
How to work stripes
To work horizontal stripes, make a 10′ (10 feet) double length of yarn. Place the center of that doubled yarn inside the potholder and bring it up with the hook. Hook through every second space leaving slack so the potholder doesn’t pucker.
Because this is worked in a spiral, use the last two stitches to slant downward toward the starting stitch. Pull yarn all the way through and knot inside to secure. Trim away end. See video tutorial.
You may like these free Easter crochet patterns
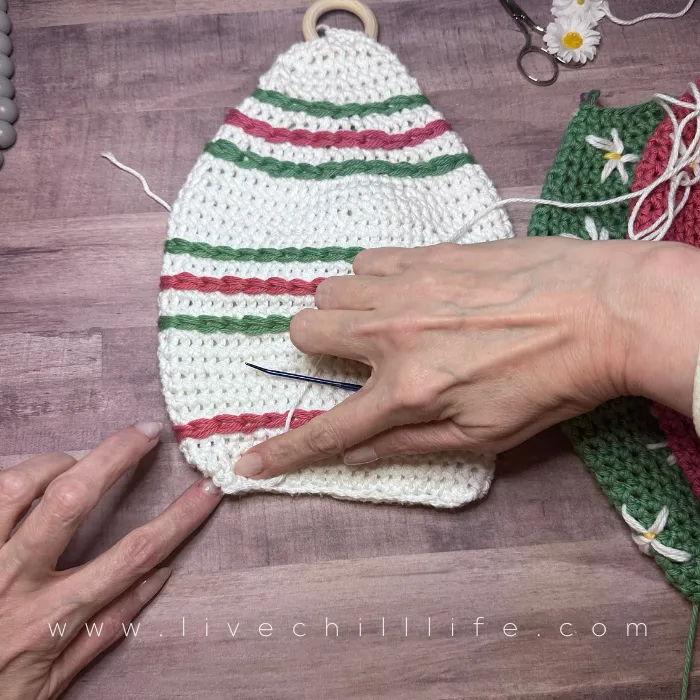
Finishing potholder
To close the bottom you will work some shaping along with closing up the bottom using a tapestry needle.
With main color yarn, thread the tapestry needle single strand. As shown in image, fold in side of bottom and begin to work stitches back and forth (not around) staying under the bottom most stitch.
See how to naturally color your Easter eggs without dye