Ads allow content creators to provide free useful and compelling content to the public. We may earn money or products from the companies mentioned in this post. See the Affiliates and Disclosures page in the top menu of this website for detailed information.
DIY Roman shade
Roman shades are a great way to add a stylish touch to any room. Unfortunately, they can be expensive and difficult to install. But with a little bit of DIY ingenuity, you can create an elegant DIY Roman shade for under $20 in just a few simple steps. Learn how to make your own Roman shades that are renter friendly with this easy tutorial!
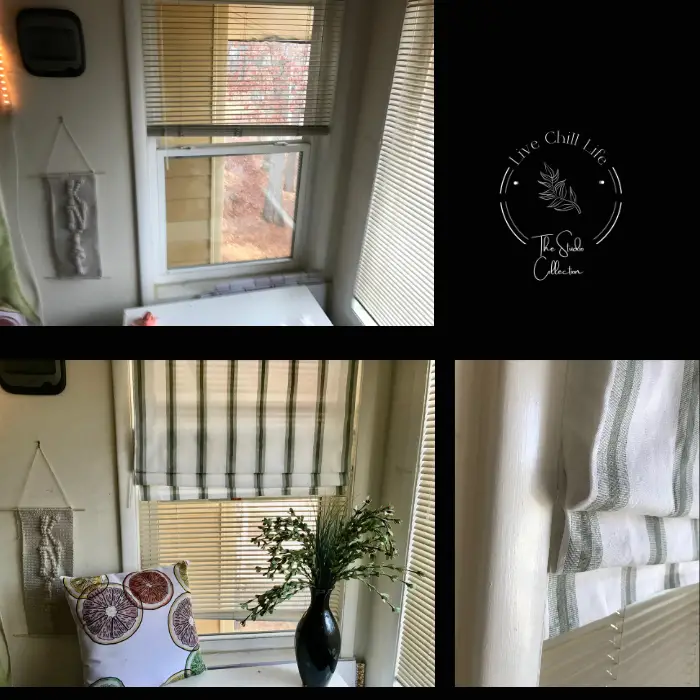
I did these window treatments to reset my Youtube filming background in one area of my at-home office. My windows were in need of some sprucing up anyway so this was a great excuse to do some DIY crafty window treatments in the form of a stylish roman shade.
Of course I have some before and after eye candy for you near the end of the post!
A renter friendly window treatment (option)
Roman shades fit inside of a window frame vs. curtains which mount on the outside of the frame.

This shade is mean to be attached directly to metal blinds so it is renter friendly, however if you do not have blinds you may use a third tension rod to connect it to the inside of your window frame.

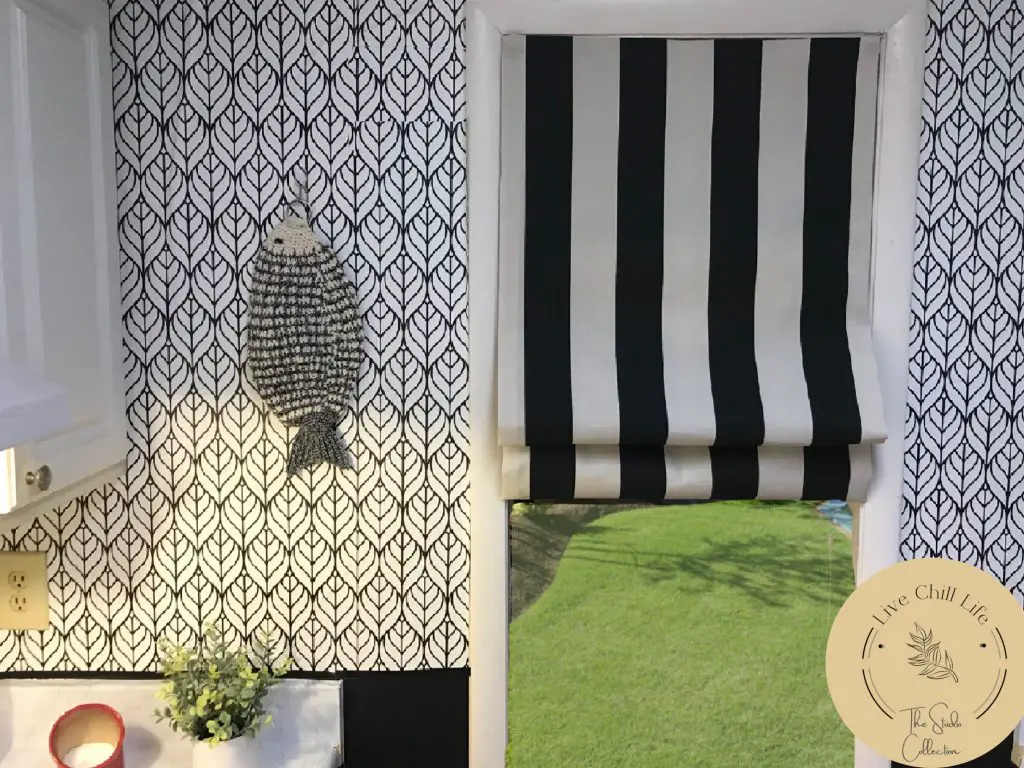
This black stripe version was only $11 total!
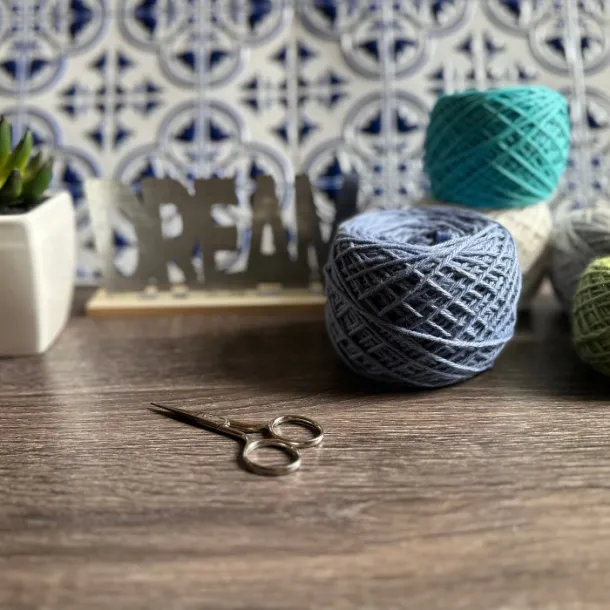
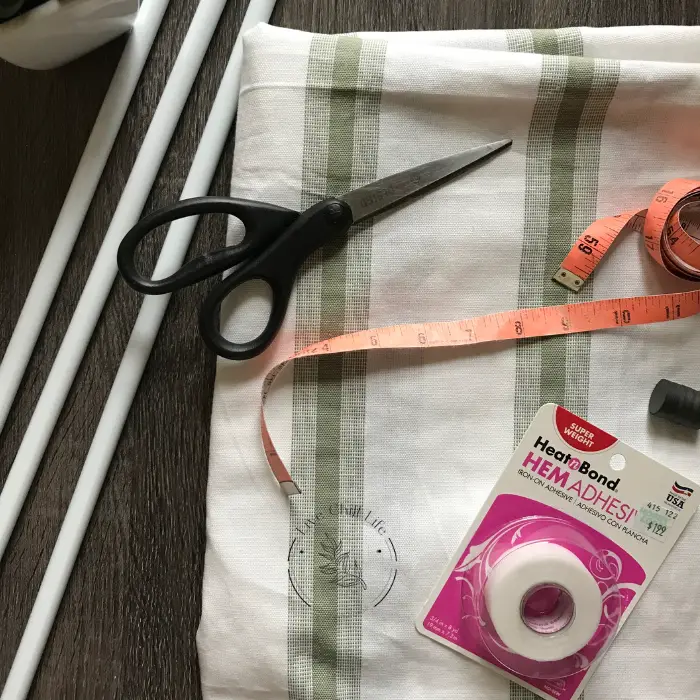
Supplies for budget DIY roman shades
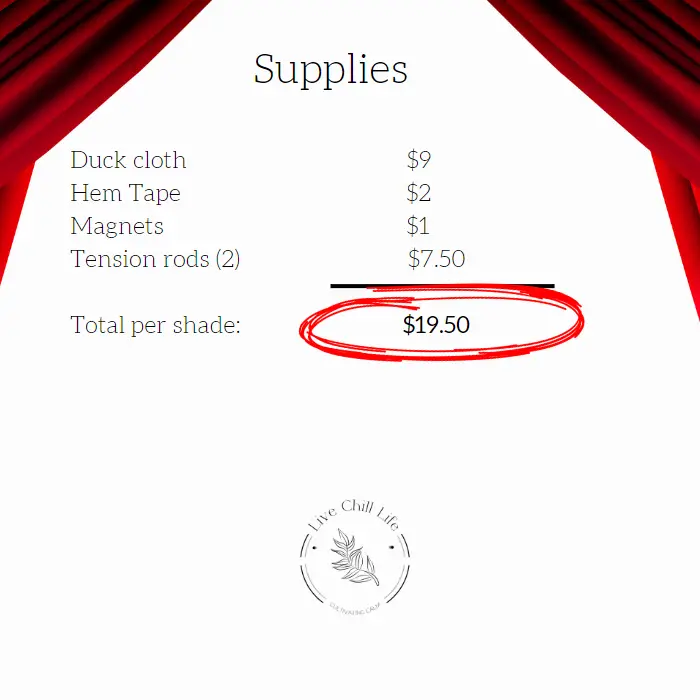
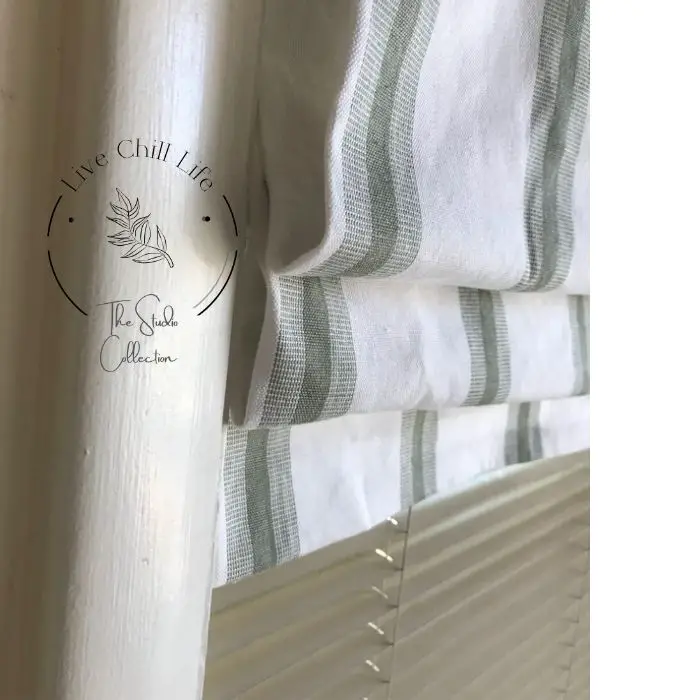
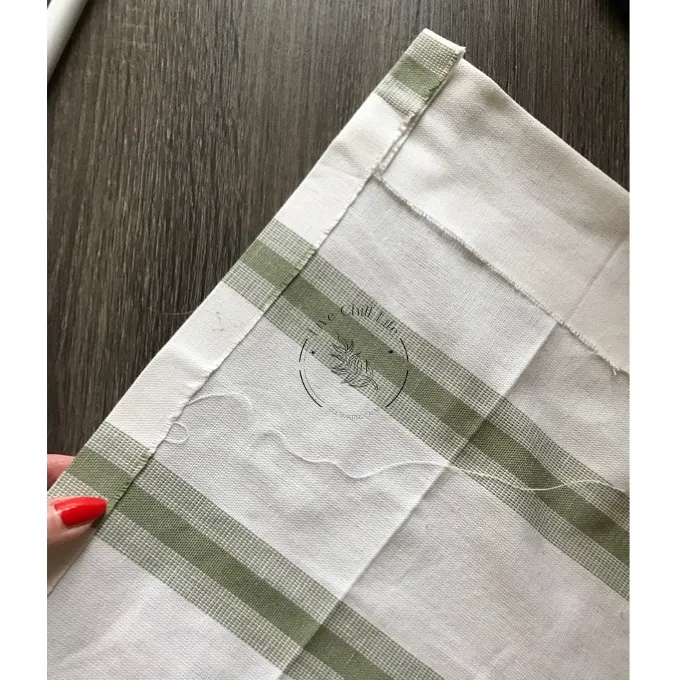
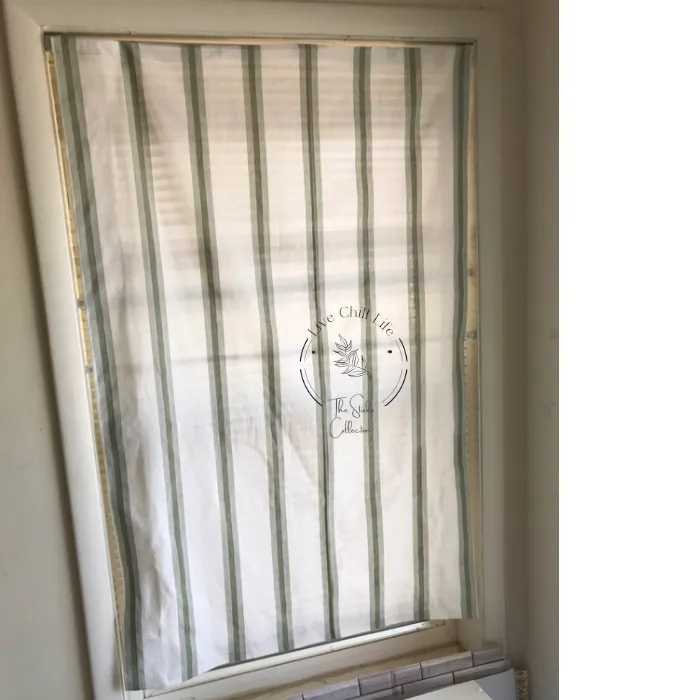
I used duck cloth, a cotton canvas, for my shades. I had a particular design I wanted which is the soft green stripes. To make it no sew, I used hem tape which is activated by the heat of an iron (or your flat iron if you don’t have an iron) and magnets are used to connect the shade to metal blinds.
The tension rods I used come in a pack of 6. At the time of purchase that worked out to $3.25 each. I have seen them at Walmart for under $4 each but when I needed these for my project they were entirely sold out. Amazon to the rescue!
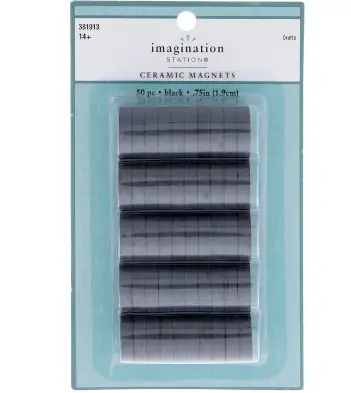
These are the magnets I used. Where I live they can be found at Hobby Lobby and Walmart. 50 for $6 not on sale. Sale price even better!
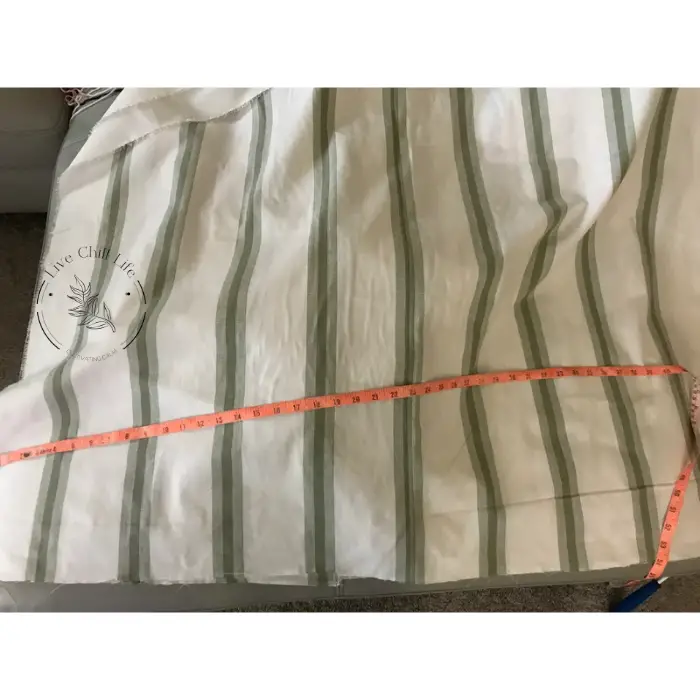
Step 1: Measure the window width and length inside the frame. You will likely want the full length of the window covered as an option even if you think you just want it for a pretty window treatment.
If you chose a stripe make sure you have enough of solid color on either side so it fits your window without looking lopsided and allow an inch or two on either side to create a seam.
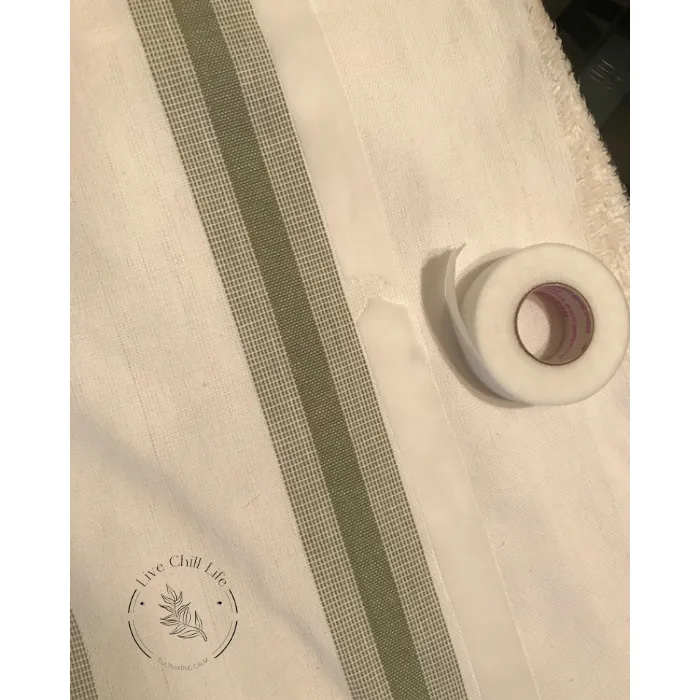
Step 2: Using heatbond fabric tape create a seam along the bottom and sides of fabric panel.
Set up window for fabric panel
Step 3a:
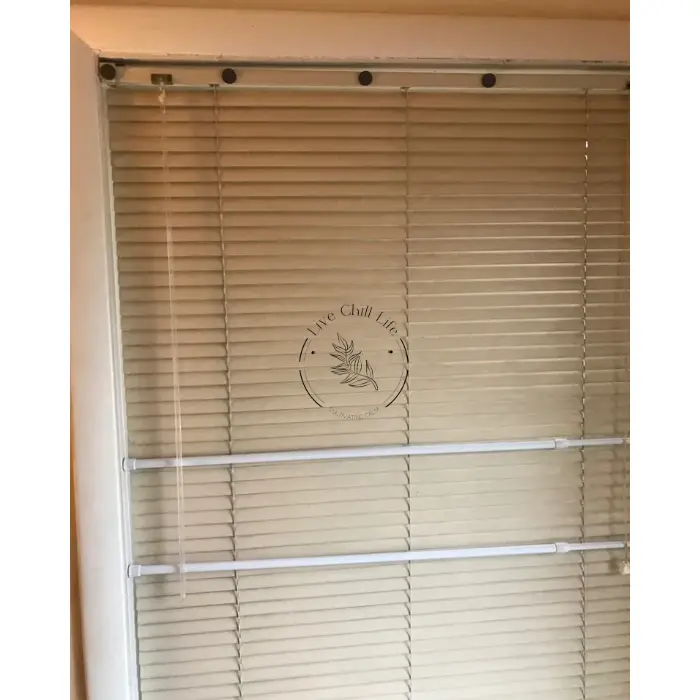
Put two tension rods in place. Attach several magnets along the top of metal blinds. Use a third tension rod if you do not have blinds already installed.
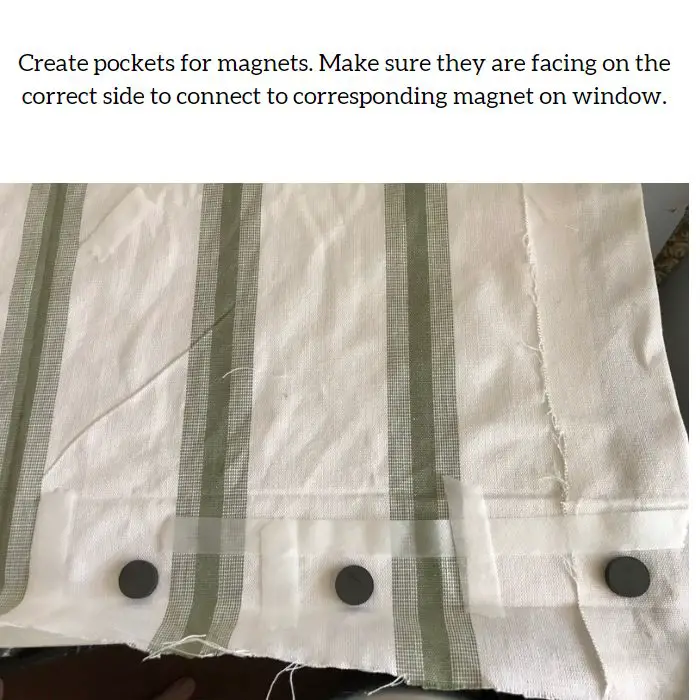
I recommend testing out how many magnets you will need. 5-6 is enough for the weight of the duck cloth. They may not hold something much heavier but certainly cotton craft fabric, silky and other thin fabrics will be just fine. Heavier brocade may be too heavy.
To test, fold over a flap and match up the corresponding magnets to create a bond by sandwiching the fabric between two.
You may like home decor color trends
Step 3b:

Attach roman shade and drape in tension rods to desired length
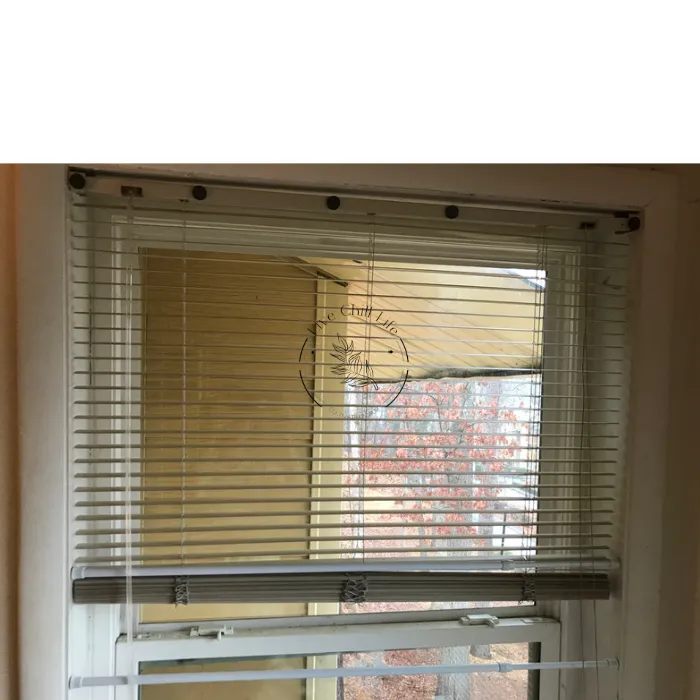
Once attached put entire panel behind both tension rods then draw up fabric between each and smooth the bottom seam so it lays flat and even.
Before and after window treatment
Buy the citrus pillow here.