Ads allow content creators to provide free useful and compelling content to the public. We may earn money or products from the companies mentioned in this post. See the Affiliates and Disclosures page in the top menu of this website for detailed information.
Amigurumi cat ears simple crochet free pattern
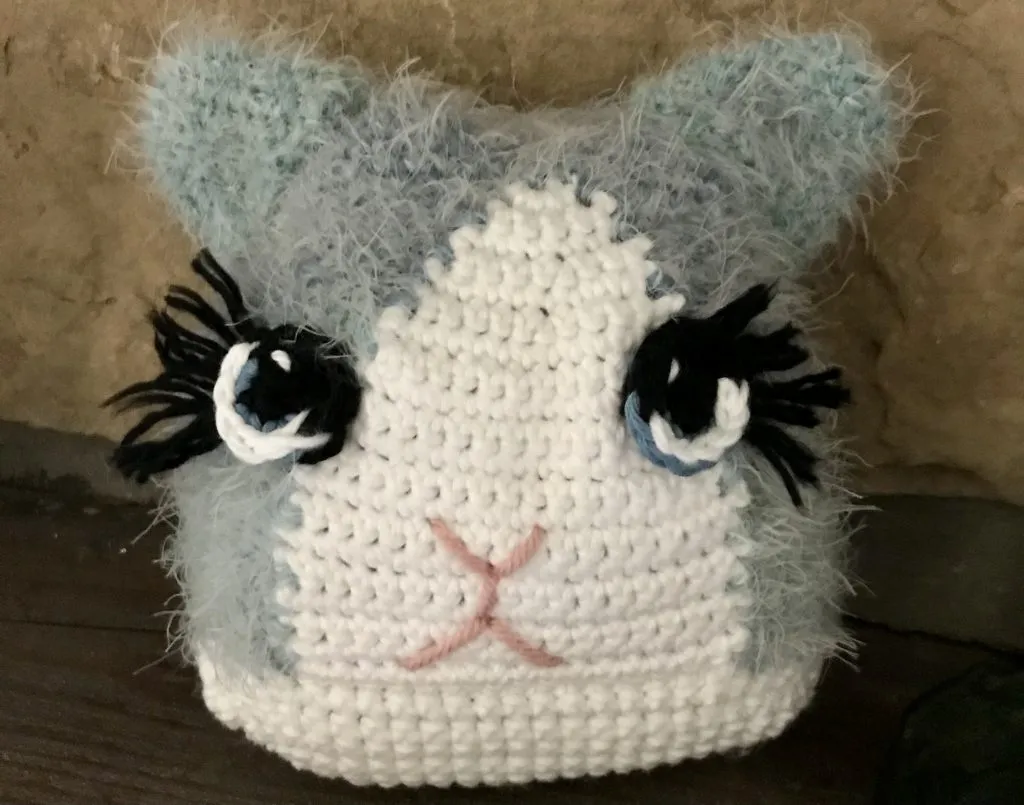
Do you need cat ears for your amigurumi cat crochet project? This simple crochet ear pattern works for some different types of animals but I am using them for cat ears. Try them for zebras, giraffes, hippos, cats, lions, and more.
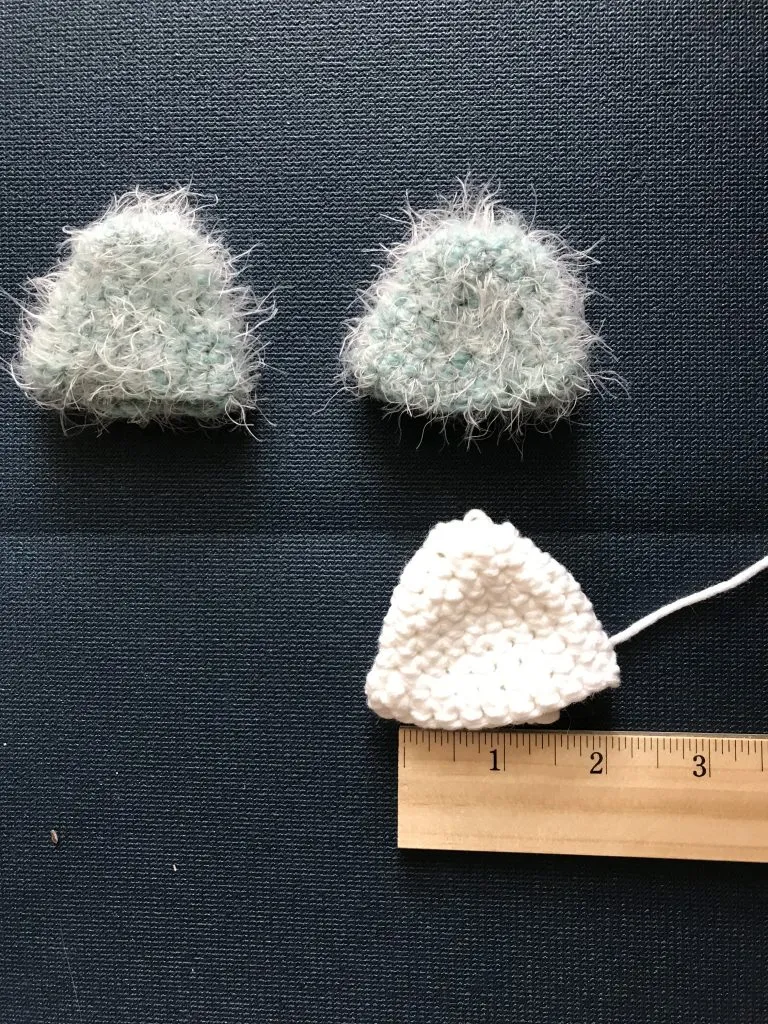
The base is approximately 2″ wide. You will have the option to make a more narrow pointed ear with a slimmer base as an option outlined below.
Table of Contents
Materials used to crochet cat ears
In the image I have worked up a standard category 4 cotton white yarn to show how it looks without the fluff. My project is a fluffy cat so I have fluffy ears for it! You can modify the increase to make a more narrow pointed ear if that better suits the animal you are crocheting.
You will need
- category 4 yarn or yarn used for existing project
- 4.0 – 4.5 mm crochet hook or size needed to obtain gauge for your pattern (a slightly smaller hook than the yarn label recommends is used to keep ears stiff enough to hold their shape) – see how to read a yarn label.
- scissors to cut yarn
- tapestry needle to attach cat ear and weave in ends
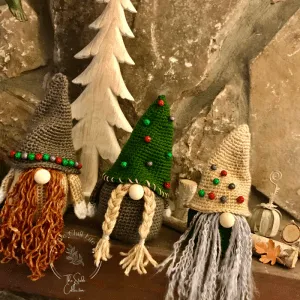
You may also like this crochet gnome free pattern. It also uses the cone shape for the gnome hats much like the cat ear crochet technique.
How to customize amigurumi crochet cat ear size
If you want to crochet a very pointy cat (or animal) ear, only increase one stitch per round. The pattern below has an increase of two stitches per round.
You may also like these 10 crochet patterns for cat lovers.
The fluffy ears accompany the ragdoll cat head pattern here.
How to crochet cat ears
Supplies:
- 4 mm crochet hook
- category 4 yarn to match your project
- scissors
- tapestry needle
Create a magic ring.
Work 6 single crochet into the circle. Tighten the ring snugly, then mark the stitch . I like to use a piece of yarn because it’s easier to move as you complete each short round. Safety pins slip out easily too rather than fumbling with locking markers.
Do no slip stitch at end of round , simply move the marker.
Evenly space the increases in increase rounds.
Round 2: increase 2 stitches to 8.
Round 3: increase 2 stitches to 10.
Round 4: increase 2 stitches to 12.
Round 5: increase 2 stitches to 14.
Round 6: increase 2 stitches to 16.
Round 7: increase 2 stitches to 18.
Round 8: sc around. 18 stitches.
Round 9: increase 2 stitches to 20.
Round 10: increase 2 stitches to 22.
Round 11: Increase 2 stitches to 24. Cut yarn and secure end before attaching to project.
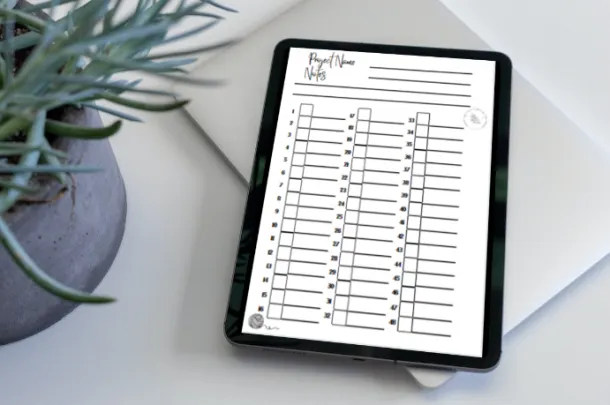
I designed project trackers! This is the large print version for tired eyes. So much easier than using apps, scraps of paper or a plain notebook.
Three project sizes, a handy ruler and hook guide inside the cover and plenty of rooms for notes in each pattern.
Buy it here.
Regular size print here.
I have had bad eyesight since age 18 so large print is a godsend when you can’t see apps and dark yarn, let alone going from one to the other on a crochet-a-thon during a netflix binge.
Live Chill Life only recommends products personally after trying and is a participant in the Amazon Services LLC Associates Program, an affiliate advertising program designed to provide a means for sites to earn advertising fees by advertising and linking to Amazon.com