Ads allow content creators to provide free useful and compelling content to the public. We may earn money or products from the companies mentioned in this post. See the Affiliates and Disclosures page in the top menu of this website for detailed information.
How to Crochet a Cute Egg-Shaped Easter Bunny Face – Free Pattern & Step-by-Step Video Tutorial
Welcome to this adorable and easy crochet pattern for creating a cute Easter bunny face in the shape of an egg! Whether you’re new to crochet or a seasoned pro, this simple and fun project is perfect for adding a bit of festive charm to your Easter celebrations.
I used a crochet stitch that mimics a furry look without having to use plushie yarn, which can be difficult to work with as it is hard to see stitches.
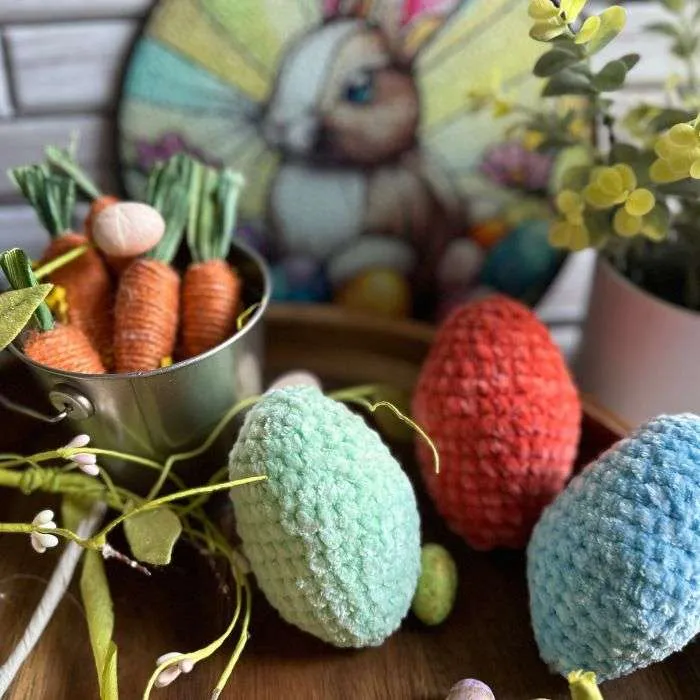
See my plushie quick and easy Easter eggs pattern and other Easter patterns here.
With this step-by-step instruction and a helpful video tutorial, you’ll have your very own egg-shaped Easter bunny face ready in no time. This free pattern is not only a great way to practice your crochet skills but also makes a delightful decoration or gift for the season. So grab your yarn, and let’s get started on this egg-cellent crochet adventure!
See the bunny suncatcher here.
Finished project measures approximately 12″ high, 5″ wide
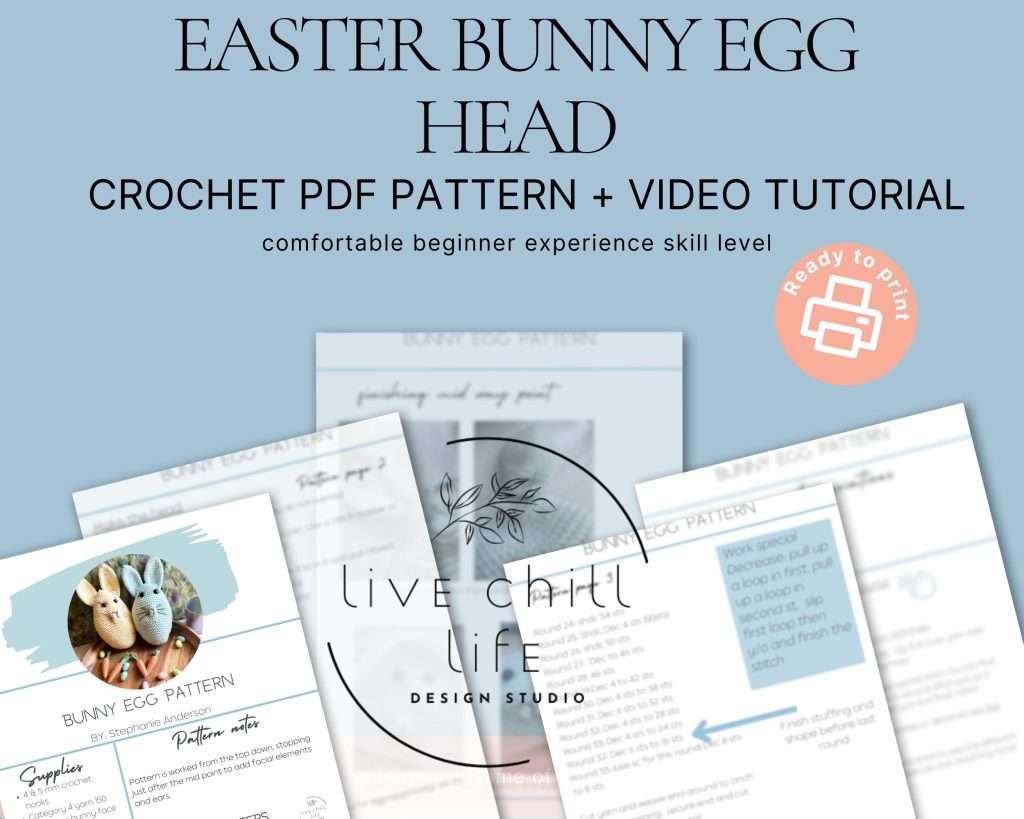
Table of Contents
Bunny face pattern notes
Pattern is worked from the top down, stopping just after the mid point to add facial elements and ears.
Head and ears are worked in a continuous round. Do not slip to join unless instructed.
Materials to make a crochet bunny face
For this pattern you will use the following materials:
- 4 & 5 mm crochet hooks
- Category 4 yarn 150 yards per bunny face
- Polyfil or other filling (paper shreds, cotton, cat hair, etc) see this post on natural and free polyfil alternatives
- Safety eyes (I used these glitter style) 16 mm or 20 mm
- Optional flower buttons for ears (or bows) These are similar to buttons shown in image
- Tapestry needle
- Scissors
- Scrap yarn to keep track of rounds
Yarn shown is Hobby Lobby I love this yarn in Cream and Glacier
Crochet terms used in this pattern

Project steps
- Make Ears
2. Make Body to halfway point
3. Work face details (attach ears, eyes and stitch face features)
4. Stuff and finish body (finish stuffing and shaping before final round)
5. Work ear setting stitch and face indents
Make rabbit ears

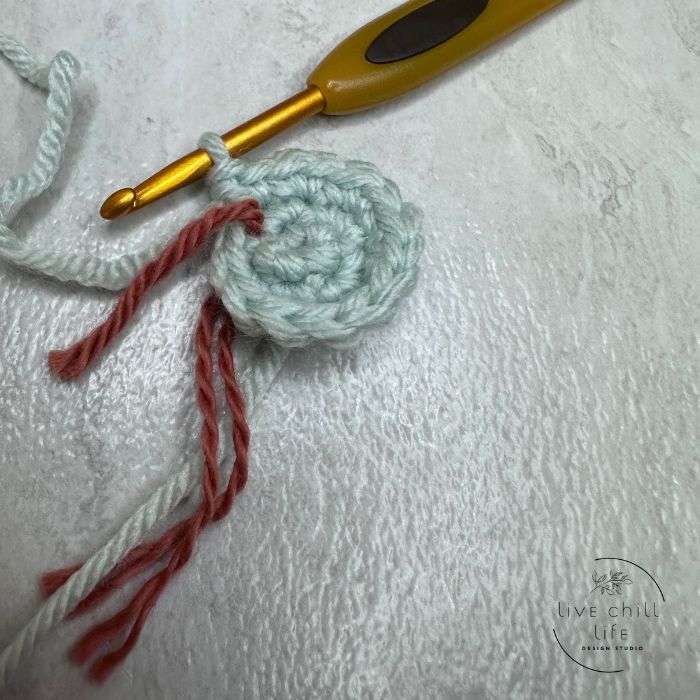
Use a piece of scrap yarn to keep track of rounds.
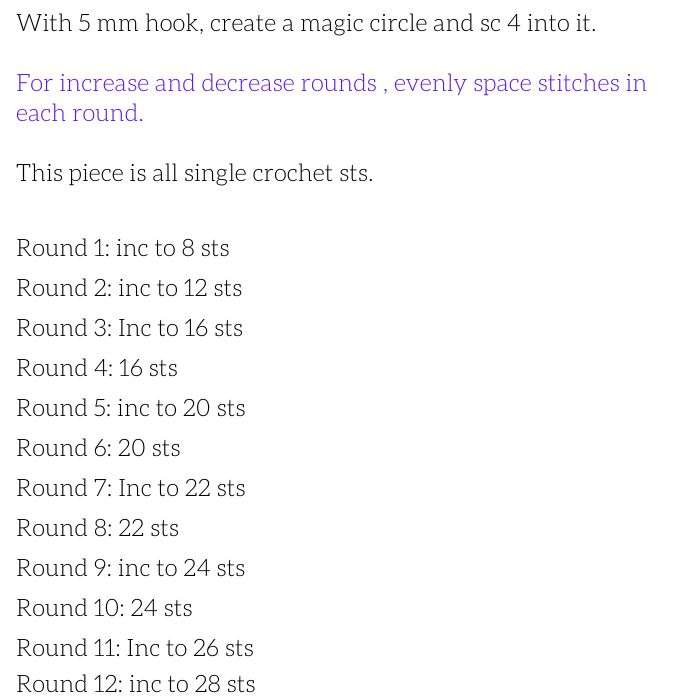
see how to work an invisible sc decrease
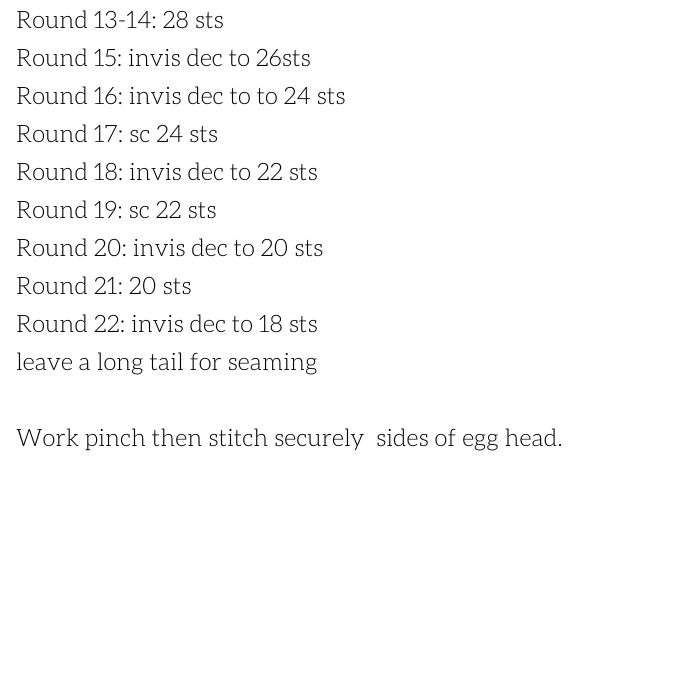
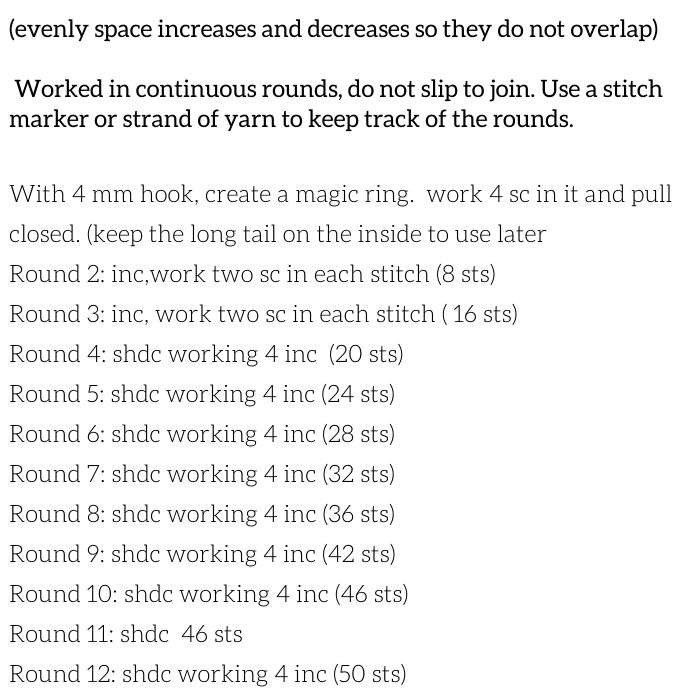
Crochet rabbit face pattern

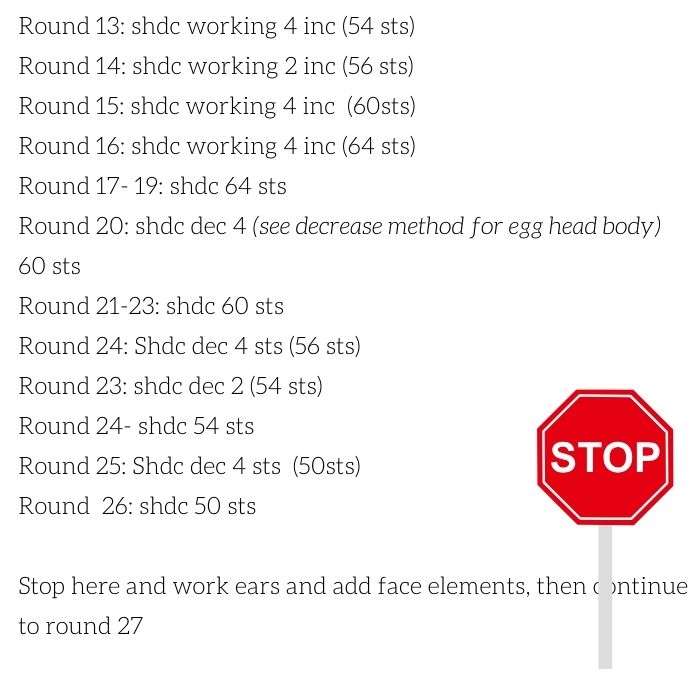


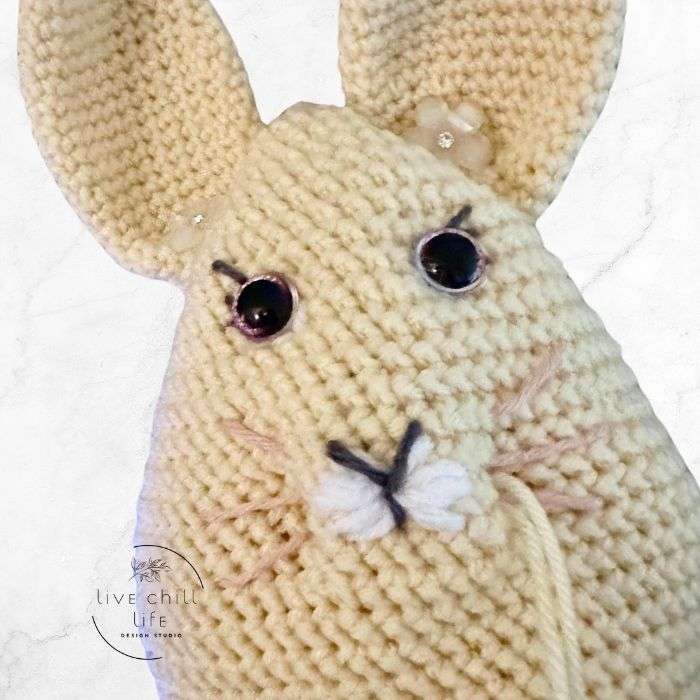
Use tapestry needle to work eyelashes, snout and whiskers.
Attach ears to side of head (the slanting will be fixed after stuffed) .
Indents are worked after bunny face is stuffed.
Stuff top half then continue finishing rounds.

Finish stuffing and shaping before working final round or you won’t be able to fit your hand/fingers in!
Work the indents
See video tutorial to indent snout (and eyes if desired)
Use a similar method to keep ears straight up as shown in tutorial. Attach decorative button to base of ear if using.
Crochet bunny face video tutorial
Check out these crochet easter egg potholders too!