Ads allow content creators to provide free useful and compelling content to the public. We may earn money or products from the companies mentioned in this post. See the Affiliates and Disclosures page in the top menu of this website for detailed information.
How to crochet a large rose
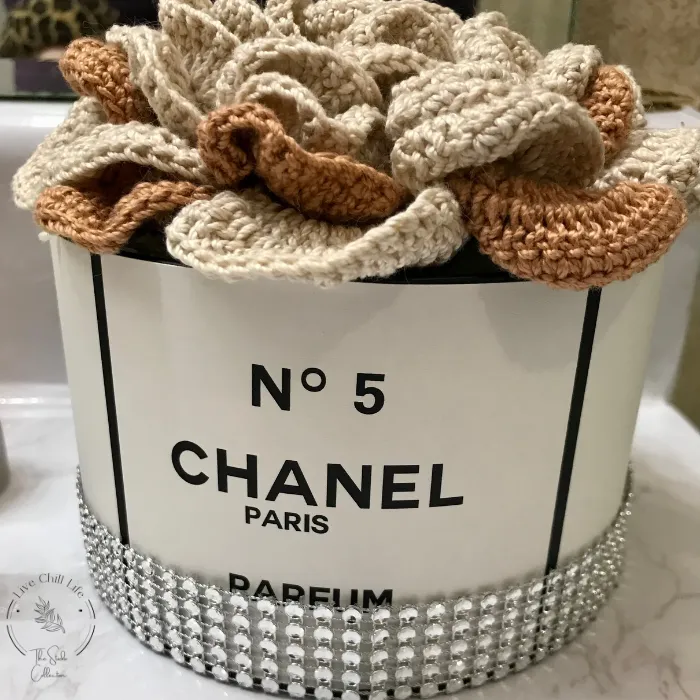
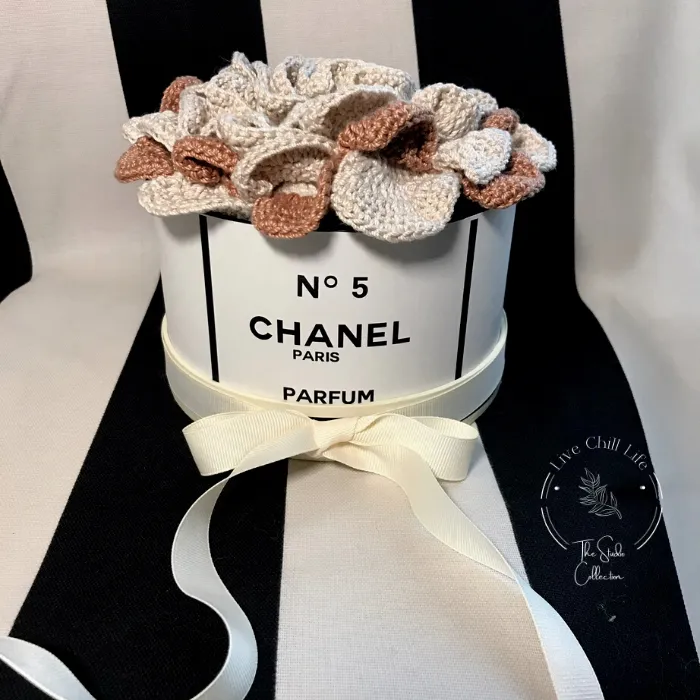
In this free crochet flower pattern you will learn how easy it is to make a designer style flower box filled with a crochet rose!
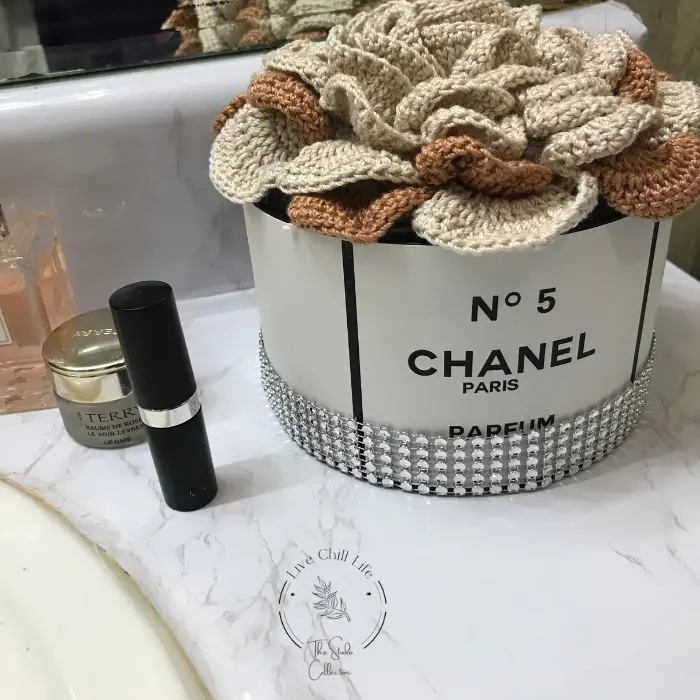
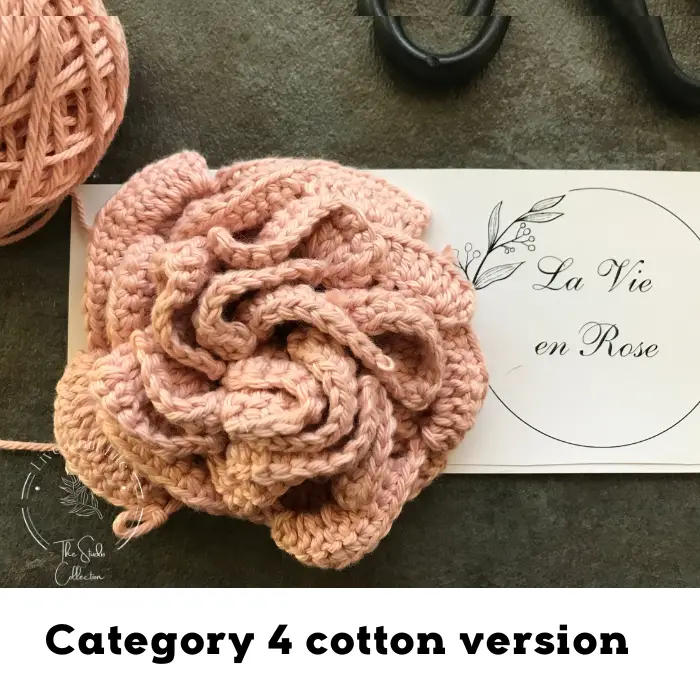
For the pattern I use a fine yarn / crochet thread to look more elevated to go with the designer inspired box. I have an image of one made with category 4 cotton yarn to give you an option. I know some people find crochet thread hard to work with.
Table of Contents
The cuff I am using is designed for people who have access to only a black and white printer, no cricut or other specialty crafting supplies. Easy Peasy! (print a test sheet first) The free PDF download is in the body of this post.

You may also like this post on several different types of crochet flower patterns
the crochet rose pattern has petals worked into a flat base.
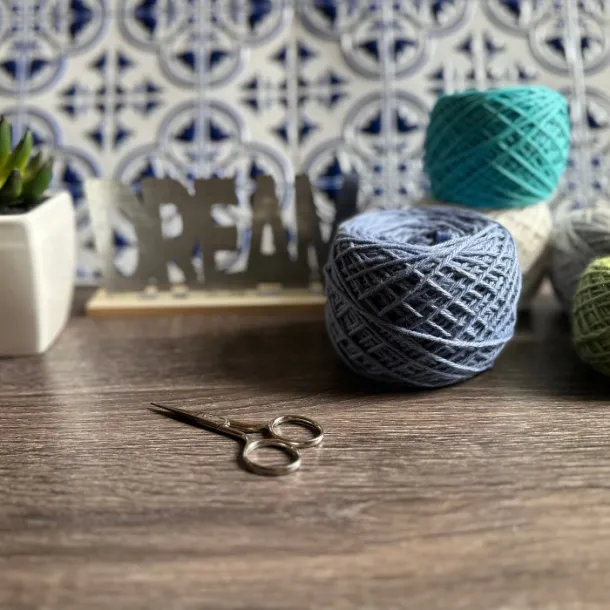
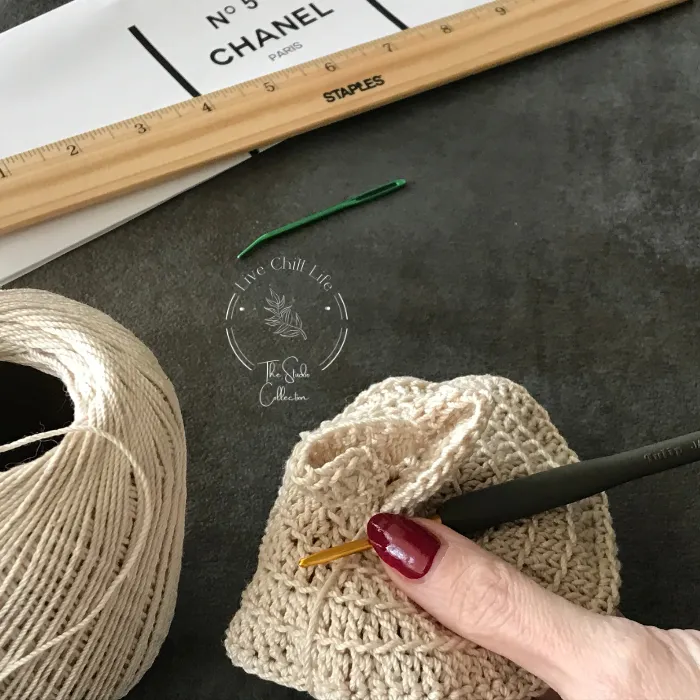
Materials used for this project:
- 2.75 – 3.25 mm crochet hook
- Aunt Lydia’s crochet fashion thread or similar yarn (I am using shade Natural and copper mist) You will need just over one full skein for this size flower
- Pipe cleaner
- florist foam (dollar tree has it!)
- Florist round box
- Bling or rhinestone ribbon (or a simple satin/grosgrain) optional
- hot glue gun or other clear adhesive to attach ribbon and secure florist foam inside box
- Scissors
- Tapestry needle
- Collar for box – Download available in the body of this pattern to fit 3.5″ = 4″ high flower box
- Optional crystals to adorn bouquet
US Terms:
- SC- single crochet
- BLODC – back loop only double crochet
- DC – double crochet
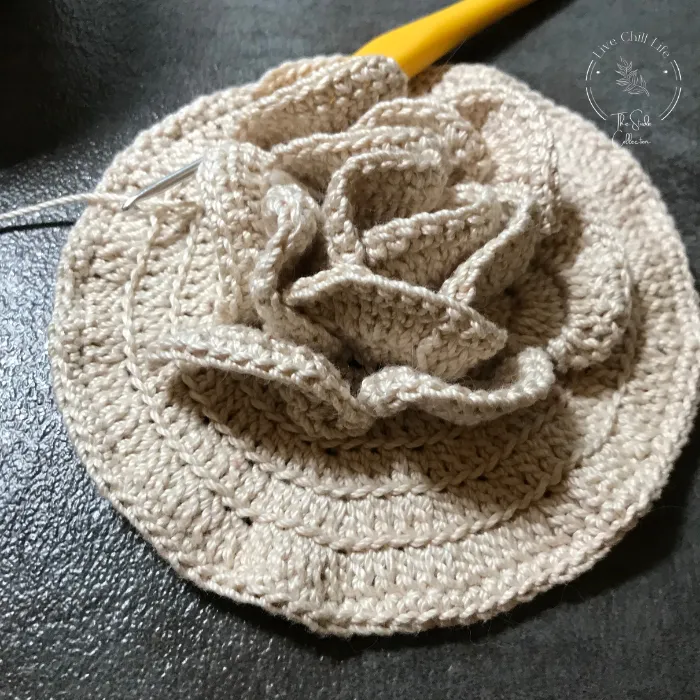
Work the crochet rose free pattern
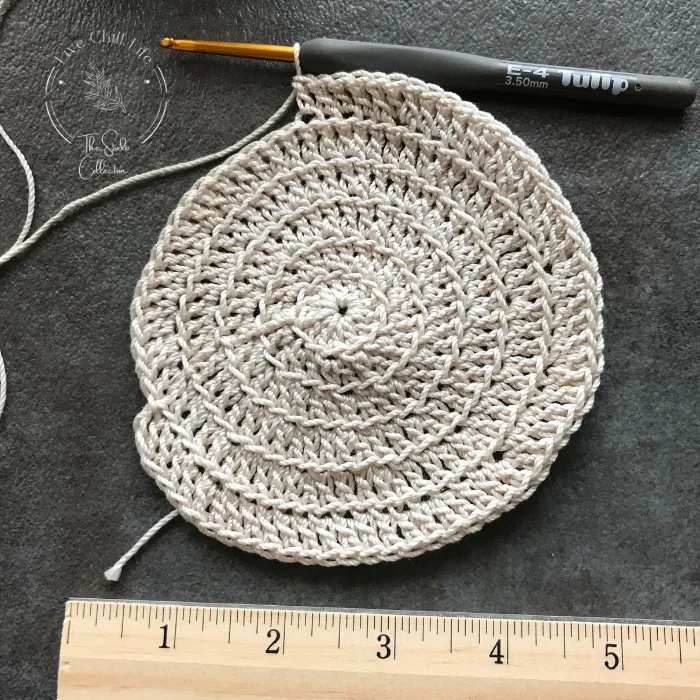
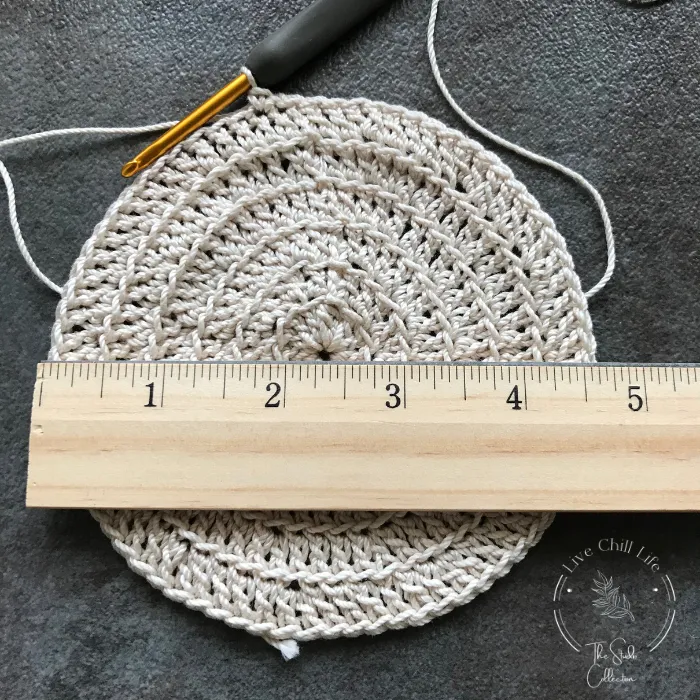
Make a flat circle that is just slightly smaller than the top of the box. The box I am using has a 5.25″ opening so I will make a circle at or just under 5″.
Video tutorial at end of this post.
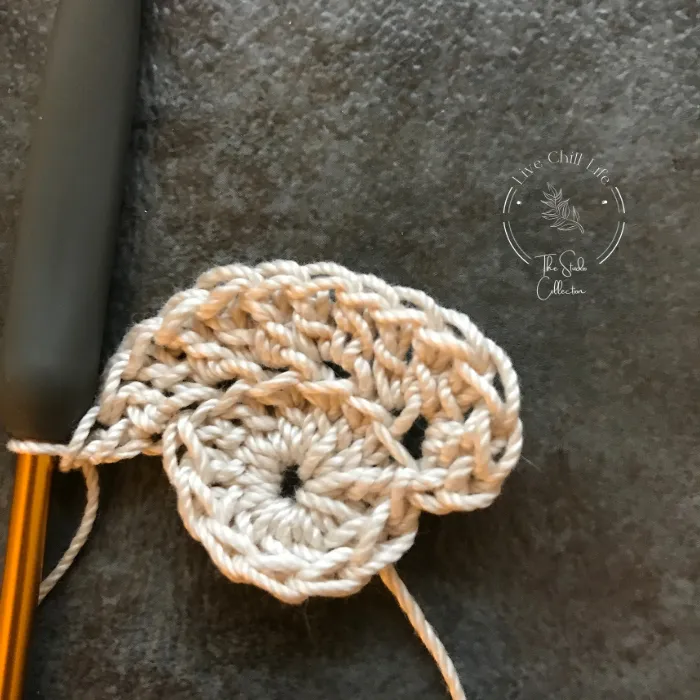
Begin by making a magic ring. dc 12 sts into the ring.
Ch 2. BLODC in first, 2 BLODC in each after to total 24 sts.
Ch 2. BLODC in first two then two BLODC in next. Repeat to end. 36 sts
Ch 2. BLODC in first three, 2 BLODC in next. Repeat to end. 48 sts.
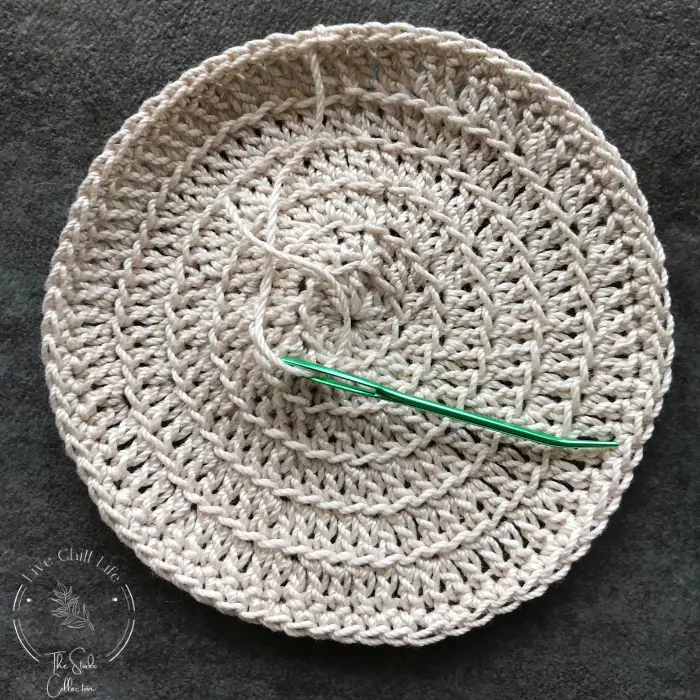
Continue incremental increases until your circle is as wide as needed for your rose.
Finish with a ch 1, sc around.
Crochet rose petals tutorial
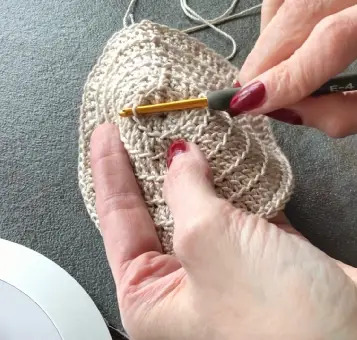
Insert the yarn one of the first round front loops that was left exposed and tie a knot to secure but leave enough space to insert the hook so that it acts as a slipknot. Chain 3 and work a dc into that loop, then work two more dc into same loop. Work three dc into each of the next two sts.


Second row of petal: ch 3. dc in second stitch. Work 2 dc in each of the next stitches. Ch 1 turn.
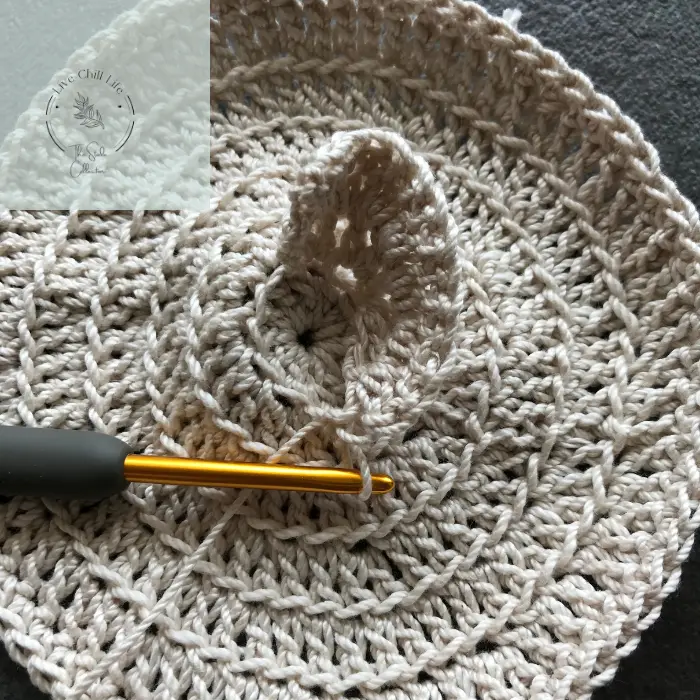
Third row of petal: sc across row. Move hook down to base and count 4 sts over and slip into that 4th stitch. Ch 3 and work 3 dc into that same stitch and begin next petal.
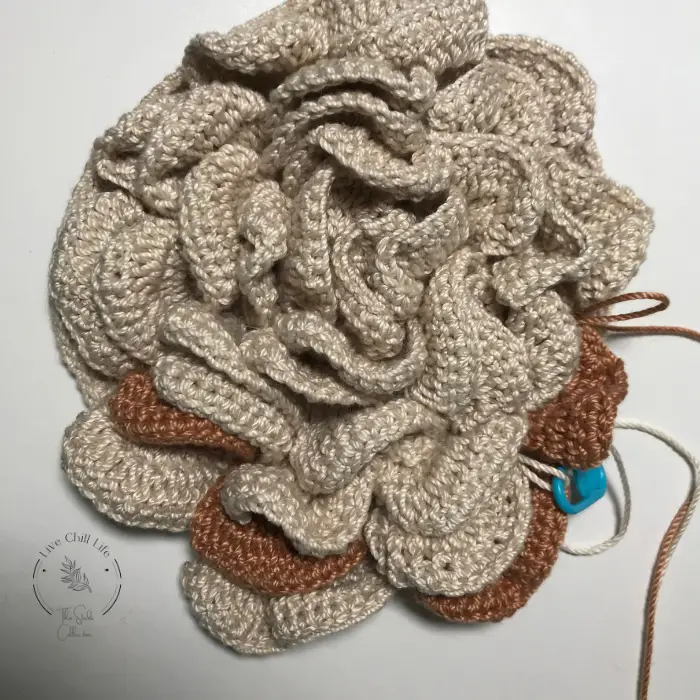
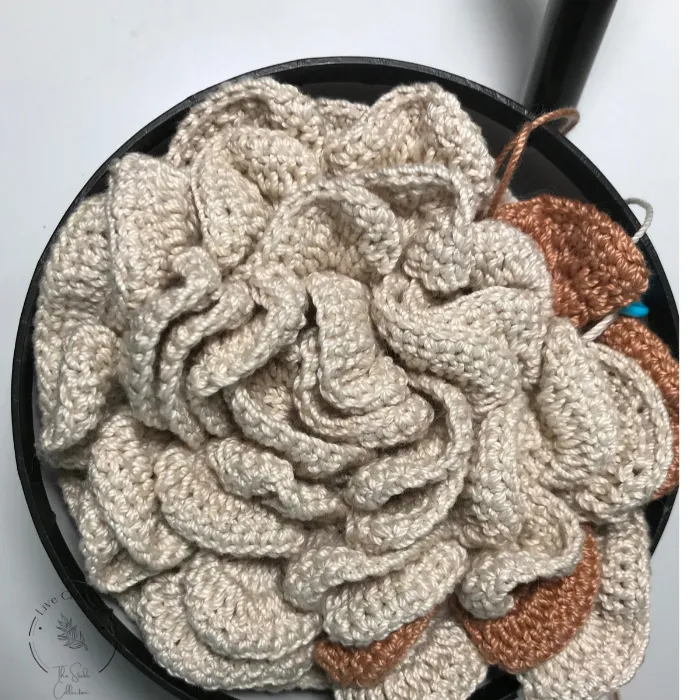
Repeat this for each round until petals fill the round. If you would like to alternate last two rounds with different colors as shown you can do that by moving the working yarn between those rounds without cutting it.
Last round at the sc edge, work 2 dc into 5 stitches for a wider petal. You could also do a leaf green for the final outside edge for a leafy look.
T-shirts and project totes for crocheters available in my Etsy shop!
Prepare florist box for rose
Print collar for box, trim and attach. Print a test collar first before using higher quality paper to ensure fit. Use thicker paper that is still printer friendly like matte photo paper.
If using bling ribbon, attach with hot glue.
Fill the box with florist foam and secure to base (or other filling you like) so the bloom perches atop the box. I put a little puff under the center of the bloom for a little bit of lift. If using floral foam, I suggest inserting a pipe cleaner through the center of the bloom and bend to secure. Adjust center petals to hide it or use a bling accent as shown. Trim pipe cleaner before pushing it into floral foam.