Ads allow content creators to provide free useful and compelling content to the public. We may earn money or products from the companies mentioned in this post. See the Affiliates and Disclosures page in the top menu of this website for detailed information.
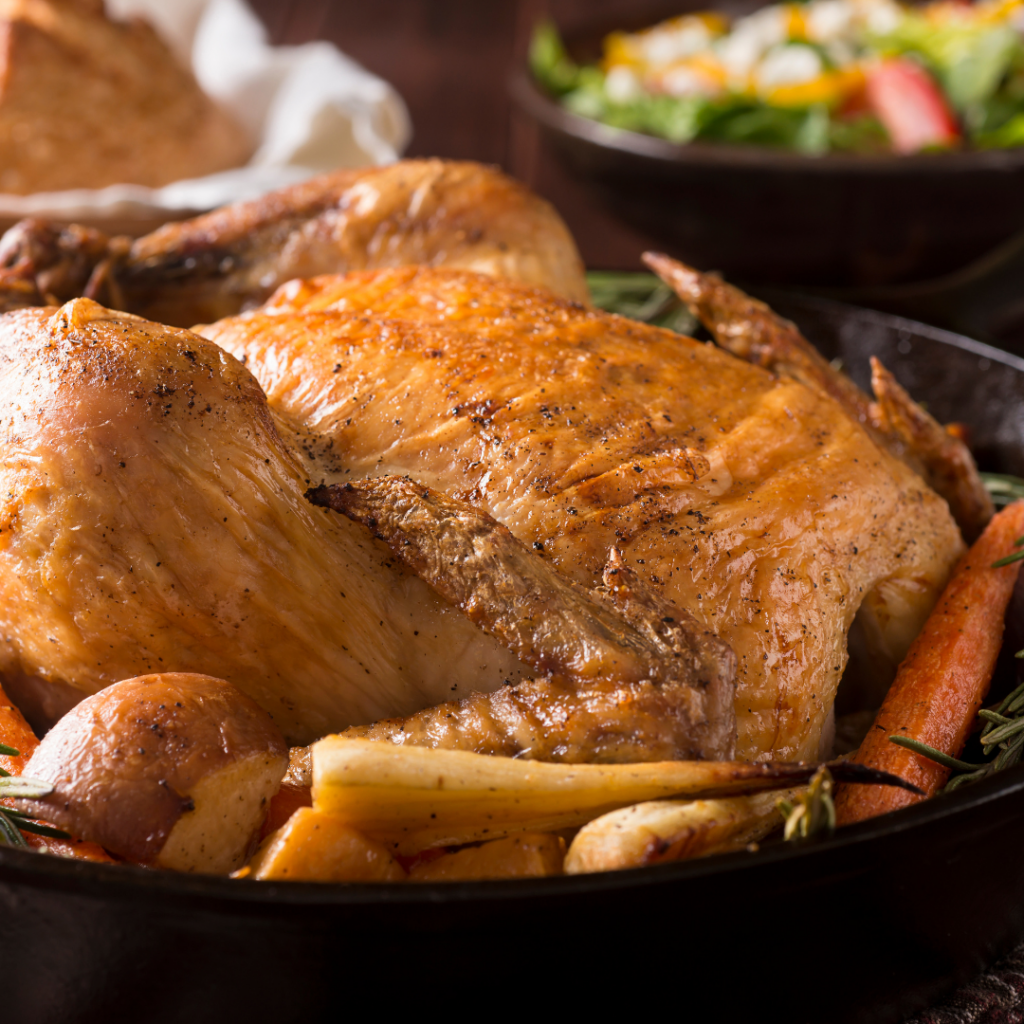
If you’re tired of nonstick pans becoming everything-sticks pans in just a few months of use, consider cast iron. They are affordable, last a lifetime and are truly nonstick with the right care.
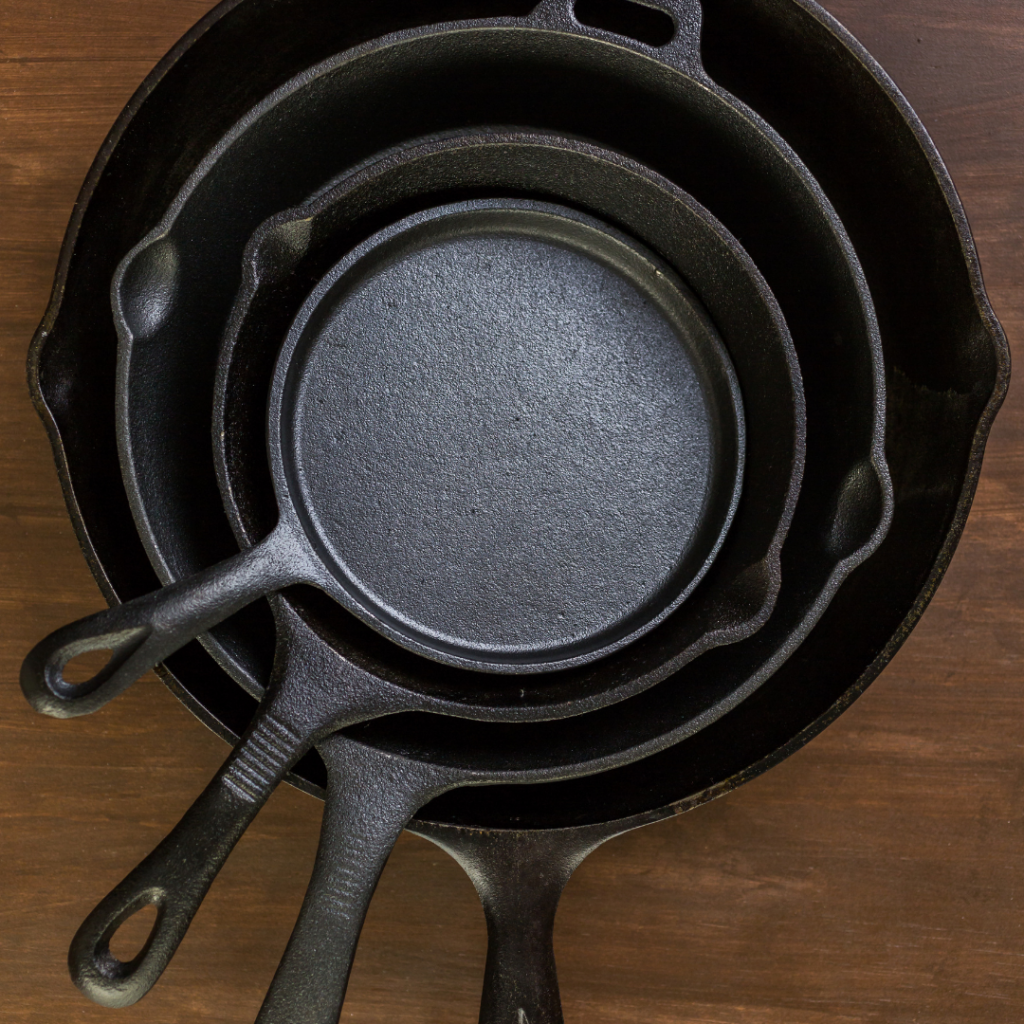
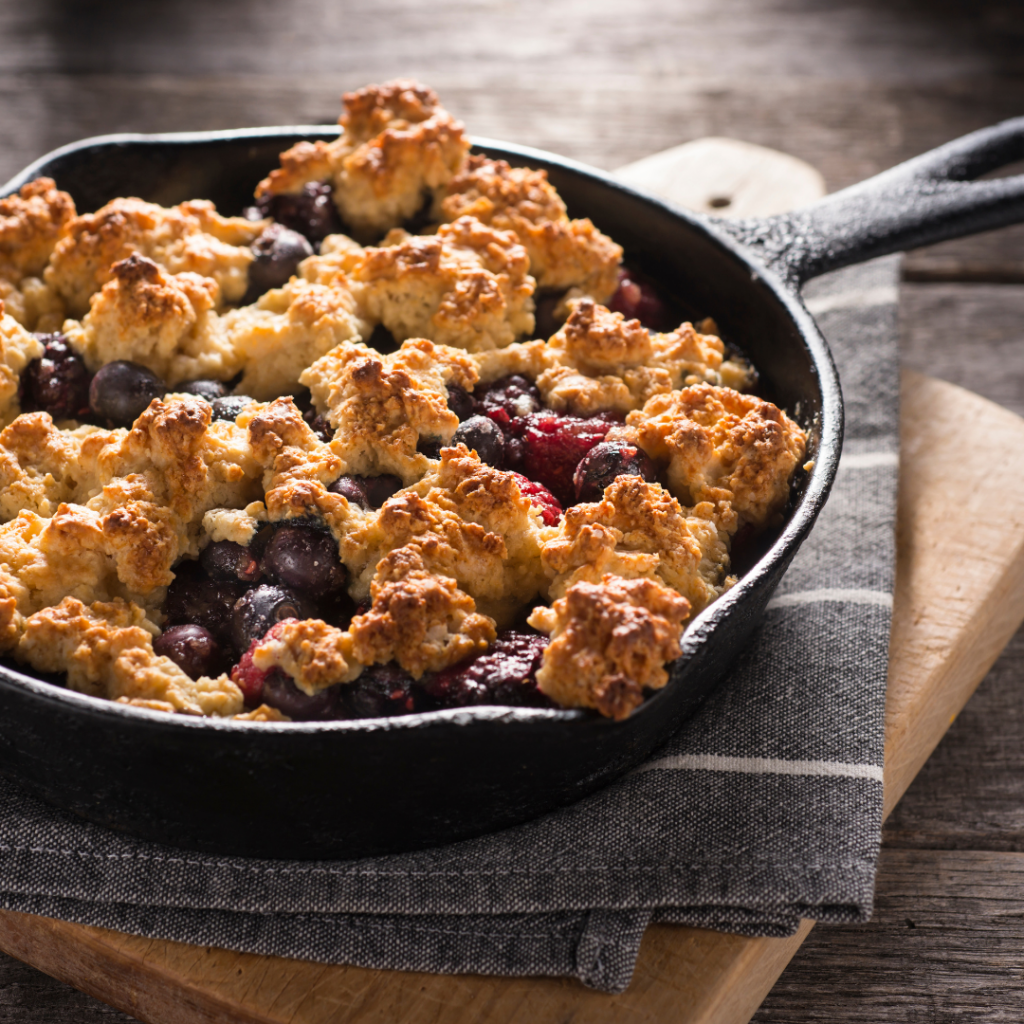
I have two basics that I use nearly everyday. One or both stay on my stove because I use them sometimes multiple times per day.
Lodge cast iron are the pans I have had for a few year now. If you are new to cast iron you are in for a treat. These gems seem old fashioned but keep in mind they have stood the test of time. Nonstick pans come and go. Some pans warp, scratch and don’t conduct heat well. Cast iron in so many instances is, arguably, the best option.
How to restore a secondhand cast iron pan
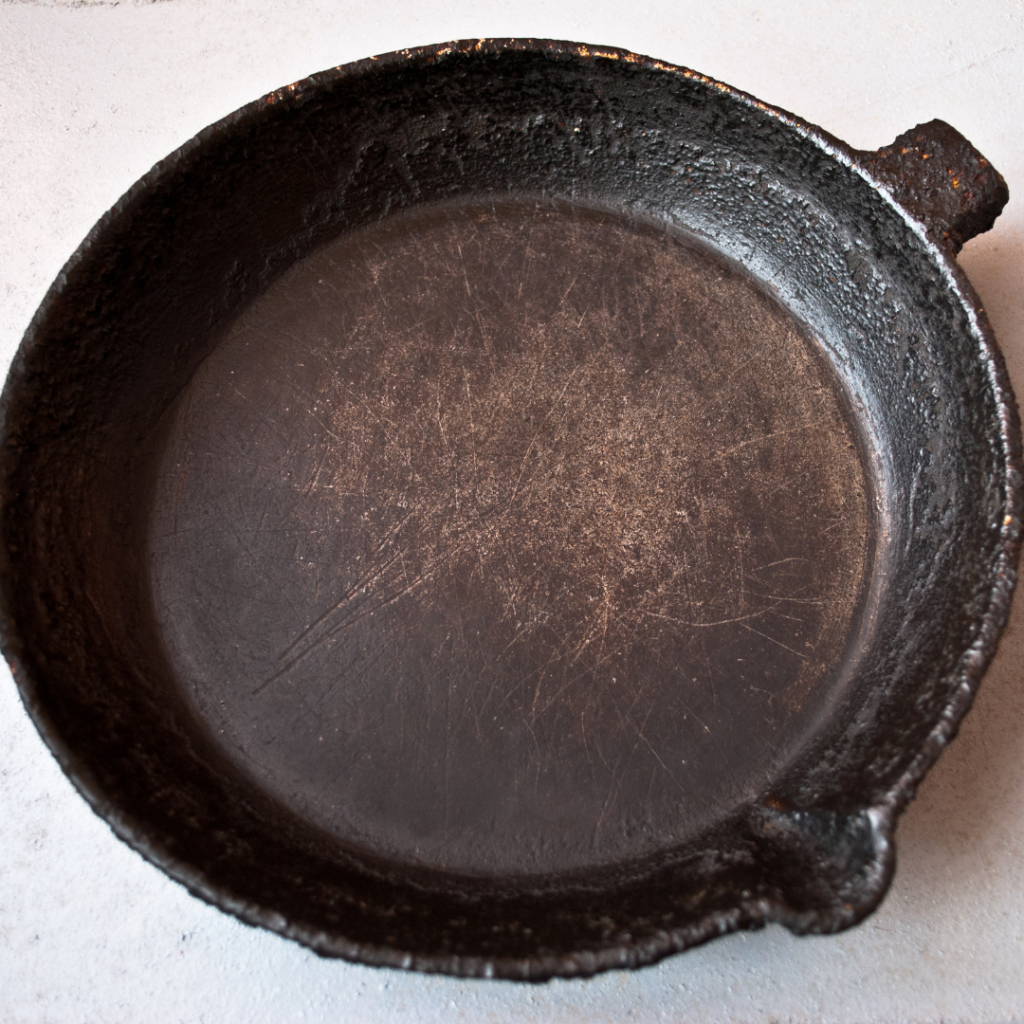
So you found one at a garage sale, charity shop or a hand me down that has seen better days? Now what? Let’s get your diamond in the rough ship shape so you can get cooking.
If your pan has some rust spots steel wool is the fix. Use a little elbow grease and the rust will come away. Then wash with warm soapy water and dry immediately after so it doesn’t rust again.
If it still seems to have an old seasoning remaining from the former owner that will need to be stripped off if the steel wool didn’t take care of that. Use easy off (or any lye based oven cleaner) then place the pan in a trash bag overnight away from pets. It should be easily wiped away the next day but if it isn’t, repeat the process.
Then the seasoning process begins.
Seasoning cast iron
This is a process of building thin layers. Think of it as make your own nonstick coating. Once the process is done that is it. You won’t have to do it again. Crisco is my favorite way to season believe it or but pure flax oil or avocado oil will do just fine.
Do this process either with a new from the store pan or the cleaned reclaimed pan.
Start early enough in your day that you have hours to repeat the oiling and heating process. It’s not much hands on time, it just needs to be repeated often.
Step 1. Put a teaspoon or so of oil in your pan(s) and completely cover the interior with the oil using a paper towel or soft lint free cloth. Using another clean dry cloth, remove any residual oil then put in a cold oven then set it to 425F. Once they are heated up, bake them for a full hour (set a timer). Turn off oven and allow them to come to room temp slowly as the oven cools down.
Step 2. About 2 hours later remove them from the oven using a pot holder as they may still be warm to the touch. Repeat the oiling process. Do this 5-8 more times over the course of two or three days before using your pan to cook food. The pans will look dark with a smooth and even finish.
Buy cast iron handle covers as soon as you get your pan
You will need something to cover the handle so you don’t burn yourself. Especially early on when you’re not used to a constant hot handle the risk of burning your palm is very high.
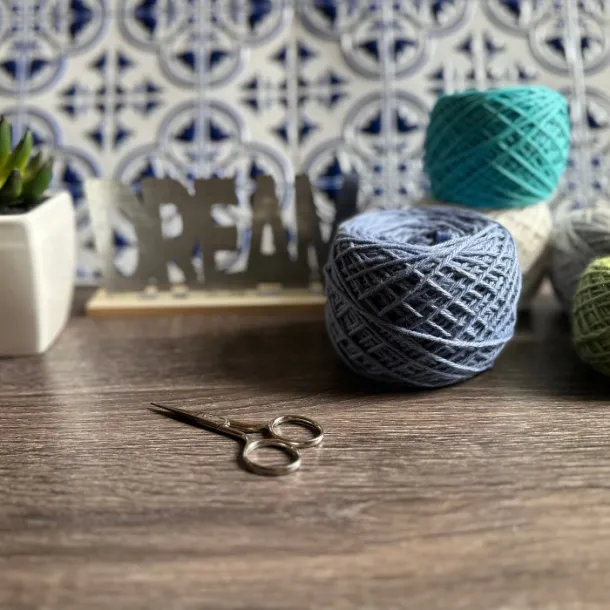
The entire pan gets hot, not just the cooking surface. You have options here. I crochet covers for mine. I will give your some ideas and options.
Leather is a great option. It will discolor over time if that matters to you but that well worn look goes with the iron pan esthetic. Silicone grippers are washable but if you have used silicone pot holders you know they can get slippery. The quilted fabric would be my choice. If I didn’t crochet my own handle covers that is the route I would go.
Crochet dishcloths are my favorite for wiping out my cast iron.
Cast iron caveats
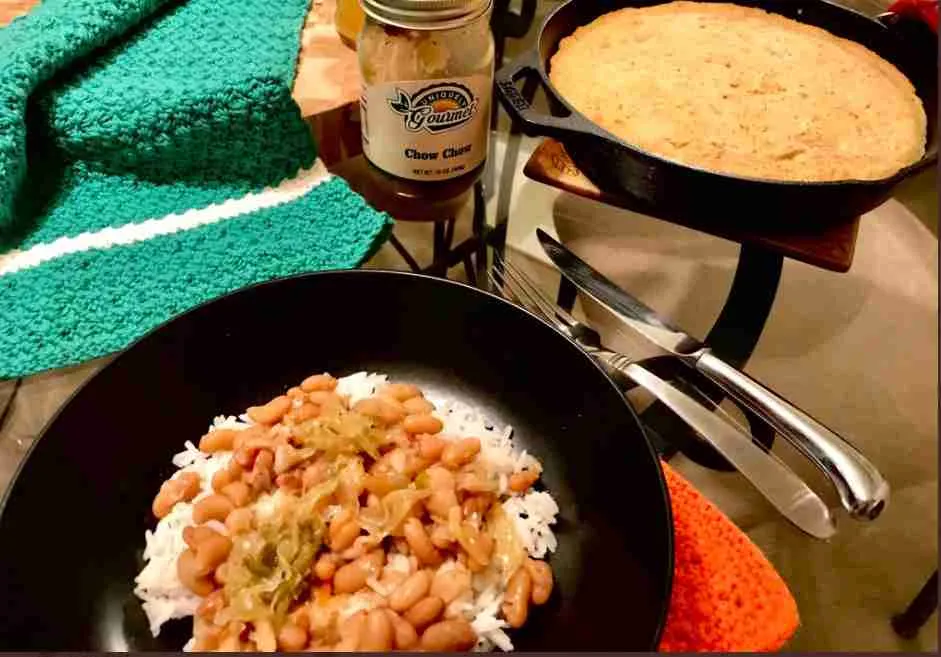
Iron and acid don’t mix well so I find dishes made with tomato or lemon aren’t great. I can taste the clash of iron and acid in them. A big disappointment was when I made buttermilk cornbread in it to have with beans and the flavor was awful from the reaction of buttermilk and the pan. Skillet cornbread yes, buttermilk skillet cornbread, no.