Ads allow content creators to provide free useful and compelling content to the public. We may earn money or products from the companies mentioned in this post. See the Affiliates and Disclosures page in the top menu of this website for detailed information.
How to crochet a swiffer cover
A crochet mop cover may become the most used item you ever make! It is so convenient to have several of these on hand. You get to use your favorite cleaner, homemade or store bought, and not add to the landfill.
Simply slip one over your swiffer, put your cleaner and a bit of water on the floor, let the crochet mop cover soak up and the texture of the cover helps to loosen any dirt and scrub up grime. I just love them!
I have a few yarn options for you to use in case you want them to be a stash buster!
For kitchen and cleaning items cotton is the best choice. For this pattern you can use category 3 or category 4 yarn. If you don’t mind them not being perfectly pretty, try really stash busting by using up bits of cotton yarn in all the colors you have leftover. Use that as your “ugly” one that you know you use only for bleach disinfecting.
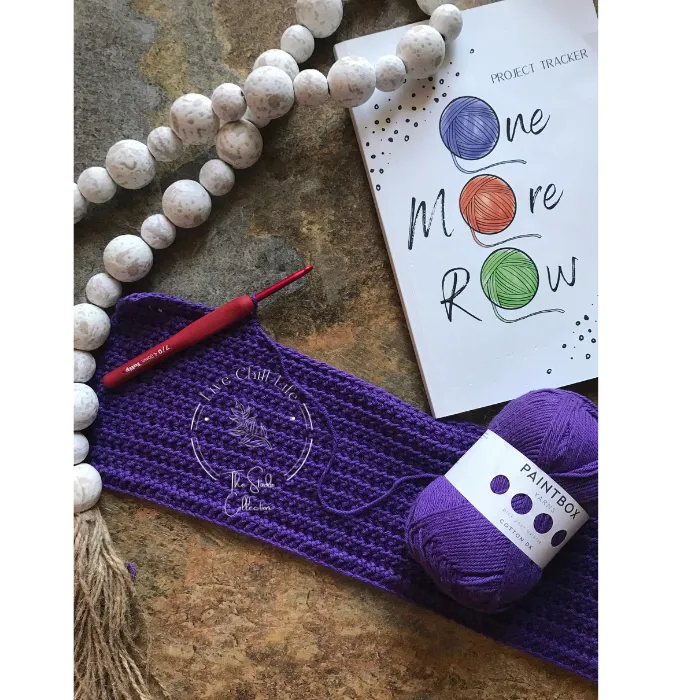
Crochet mop cover using category 3 yarn
Materials for a crochet mop cover using category 3 yarn (how to read a yarn label)
- 4 mm crochet hook
- Category 3 cotton yarn, dk weight 130-140 yards
- Tapestry needle
- scissors
- measuring tape
Ch 76
Row 1: In second stitch from hook work a hdc. Continue hdc across row to end. 75 sts. Maintain 75 sts throughout. Ch 1 turn. Measure to be sure your row is 16″. Better to go slightly bigger than it be too short.
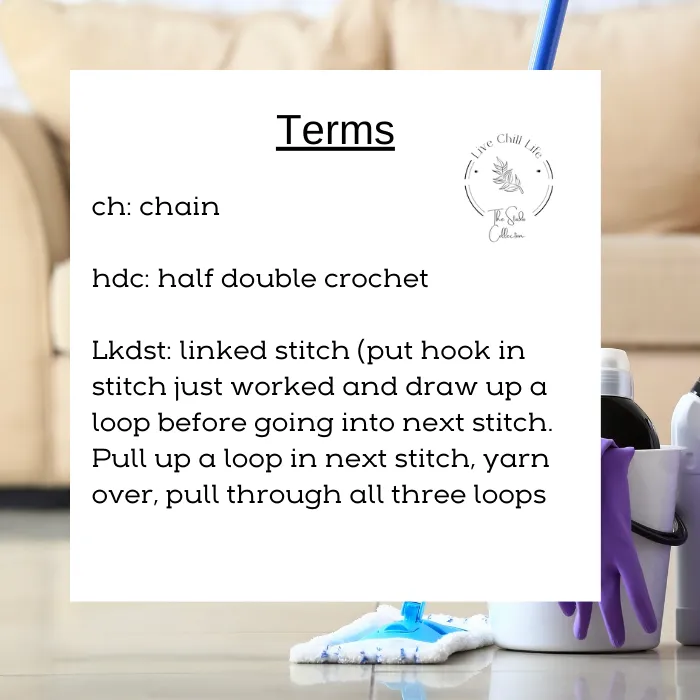
Row 2: Sc in first st. Lkdst in next. Lkdst across row.
Repeat row 1 & row 2 until Piece is 5.5 ” high (again better to go higher than be too shallow).
Next, sc around entire piece, working 3 sc into each corner for crisp edges.
Continue to finishing section of post to get your mop cover to take form.
Five essential tools every crocheter needs
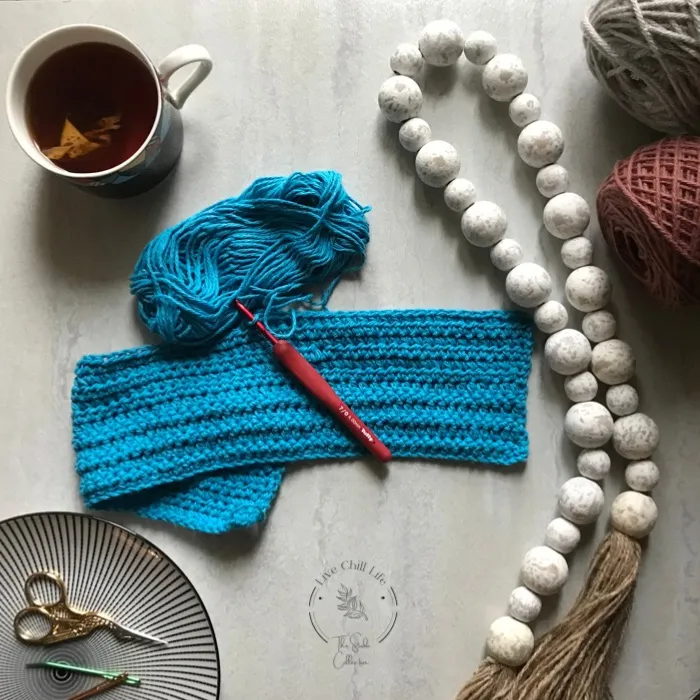
Crochet dust cover using category 4 yarn
- 4.5 mm crochet hook
- 140 yards category 4 cotton yarn
- measuring tape
- tapestry needle
- scissors
Chain 66 .
Row 1: In second stitch from hook work a hdc. Continue hdc across row to end. 65 sts. Maintain 65 sts throughout. Ch 1 turn. Measure to be sure your row is 16 -17″. Better to go slightly bigger than it be too short.
Row 2: Sc in first st. Lkdst in next. Lkdst across row. Repeat row 1 & row 2 until Piece is 5.5 ” high (again better to go higher than be too shallow).Next, sc around entire piece, working 3 sc into each corner for crisp edges.
Finishing
Swiffer base is 10” x 4.5” + 1/2” thick
If you have a side you prefer to be the right side facing the floor (the right side) seam right side up so when you flip it that is the facing side after seaming.
Fold up 3” sides and seam the bottom and top to secure. Check that the flat bottom measures 10-11″ inches after sides are folded up. The stitches will stretch so it’s better to be shorter than too long to avoid it being loose and coming off during use.
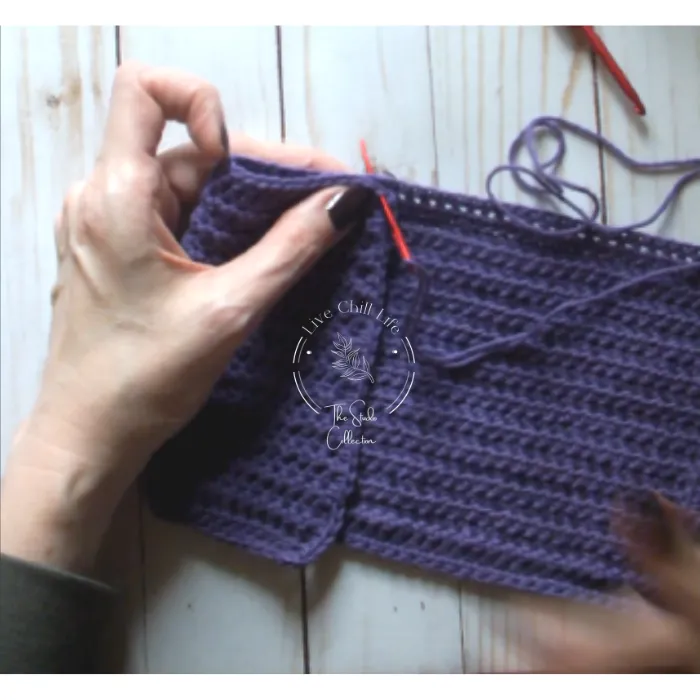
Create a double strand thread through your tapestry needle and whip stitch the top and bottom sides to the base as shown image below. Work in free end of strands under the seam to secure them.
Secure each section with a double knot before cutting the yarn and moving on the next section.
Once all four sections are securely seamed, turn right side out and attach to swiffer when ready to use it.