Ads allow content creators to provide free useful and compelling content to the public. We may earn money or products from the companies mentioned in this post. See the Affiliates and Disclosures page in the top menu of this website for detailed information.
I adore kitchen crochet items! This one is inspired by the fact that my current set of crochet iron skillet handle covers need replacing. It’s been over two years and they are worn out. They served me well but I shall retire them now.
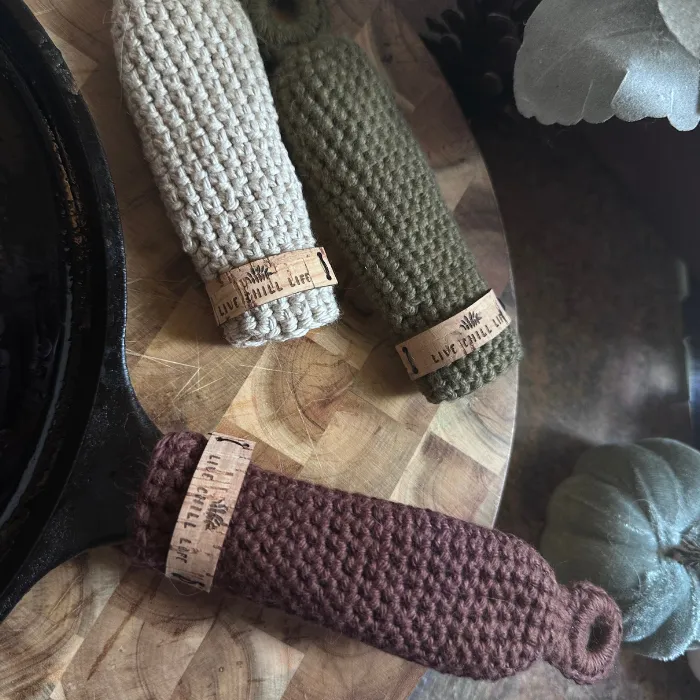
I made a long one for a large stainless steel fryer I have which i burned my palm on years ago on Christmas day!!!! It went into the oven to brown and I think out of habit, once it was back on the stove top I forgot it was still hot from the oven.
This is worked by length (you can add a few stitches if you need a wider circumference to) so you can completely customize it to fit your pans.
I wanted to design a set with more pizzazz and that almost always means add hardware! I bought this bag of wood rings nearly two years ago and I use them for so much. I will do a post on what I have used them for later this month and link it here.
Get the ad-free PDF pattern on Etsy.
Table of Contents
About This Free Crochet Skillet Handle Cover Pattern
This free crochet skillet handle cover pattern is one of the most practical kitchen crochet projects you can make — and one of the most satisfying to gift. The cover slips over the handle of a cast iron skillet, stainless steel frying pan, or any oven-safe pan with a metal handle, protecting your hand from heat when the pan goes from stovetop to oven and back again.
The pattern is worked in the round using single crochet stitches and is completely customizable — work more rounds to make it longer for a large fryer, add increase rounds for a wider circumference on a thicker handle, or make a set of three in coordinating cotton colors for a complete kitchen set. A decorative wood ring attached at the opening end adds a beautiful handmade finishing detail and a practical hanging loop.
This pattern uses only single crochet — if you know one stitch you can make this. A full YouTube video tutorial walks through the unconventional ring attachment method which is the only step that needs a little extra guidance.
See the other items in my crochet home essentials collection here.
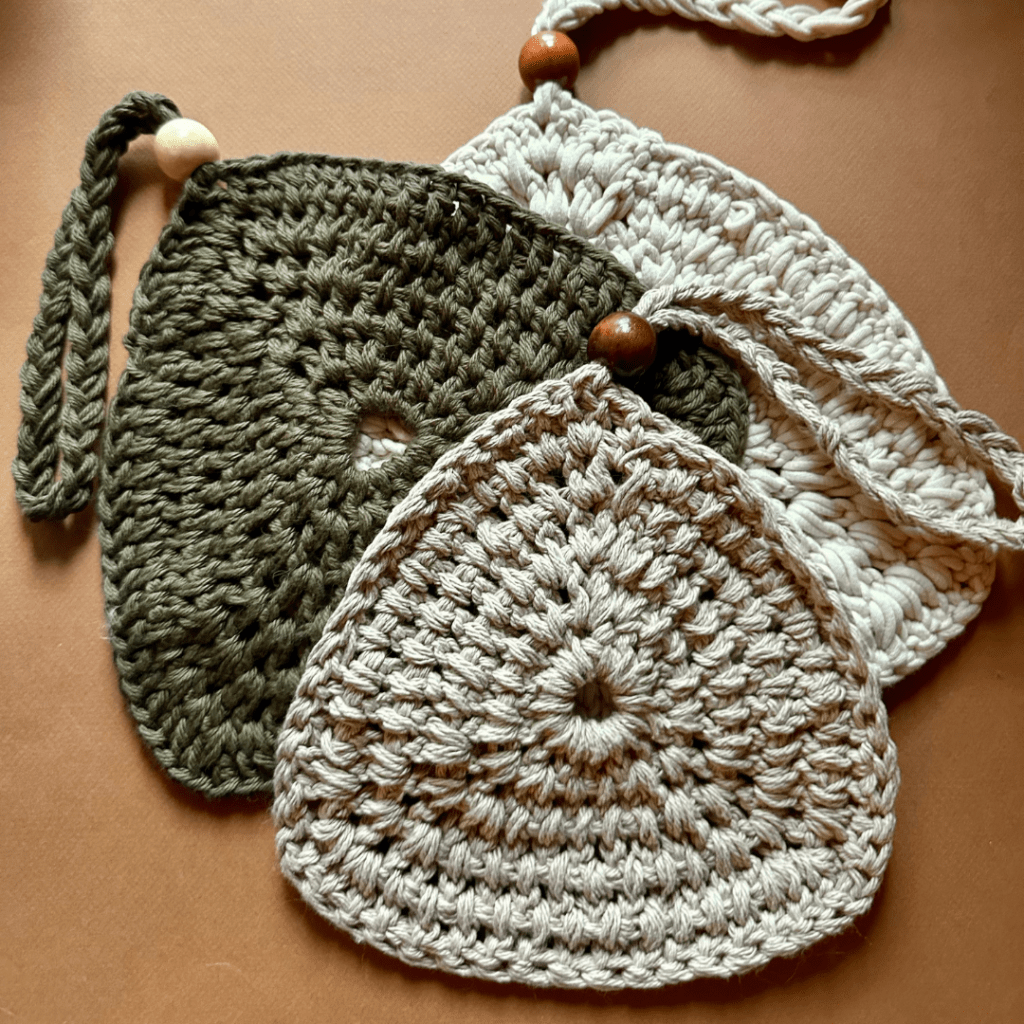
Another part of this kitchen essentials collection are these trivets with braided strap.
Pattern Details at a Glance
Skill level: True beginner — single crochet only
Hook: 4mm
Yarn: Category 4 — 100% cotton only. Do not use acrylic near heat
Yarns shown: Hobby Lobby I Love This Cotton in Olive and Brown, Lily Sugar n Cream in Jute
Approximate yarn needed: 40 to 60 yards per cover depending on length
Finished size: Approximately 5 to 6 inches long — fully customizable
Decorative detail: 3/4 inch wood ring at opening end
Technique: Worked in a spiral — do not slip stitch to join rounds
US crochet terms: Yes
Video tutorial: Included on YouTube
What You Need to Make This Crochet Skillet Handle Cover
For this pattern I used the following:
- 4 mm crochet hook
- category 4 yarn 100% cotton
- scissors
- tapestry needle
- 3/4″ wood rings (I use rings from this set)
- ruler
Yarns shown are Hobby Lobby I love this cotton in olive and brown, Lily sugar n cream in jute
You may like this post on crochet patterns for the kitchen
Stitch Abbreviations (US Terms)
sc = single crochet
ch = chain
st = stitch
sts = stitches
dec = decrease (sc2tog — insert hook in next stitch and the stitch after, pull up loop, yarn over and pull through all three loops)
Spiral rounds = work continuously without slip stitching at the end of each round. Use a stitch marker to mark the beginning of each round.
Free Crochet Skillet Handle Cover Pattern Instructions

Pattern is worked in a spiral, do not slip to join rounds.
Follow video tutorial for first steps if written instructions seem confusing. This is an unconventional way to attach a ring!
This pattern is all single crochet (sc) stitches with an optional decrease to taper at the end.
Attach yarn with a sc in ring (do not create a slipknot) and work sc around working the tail under.
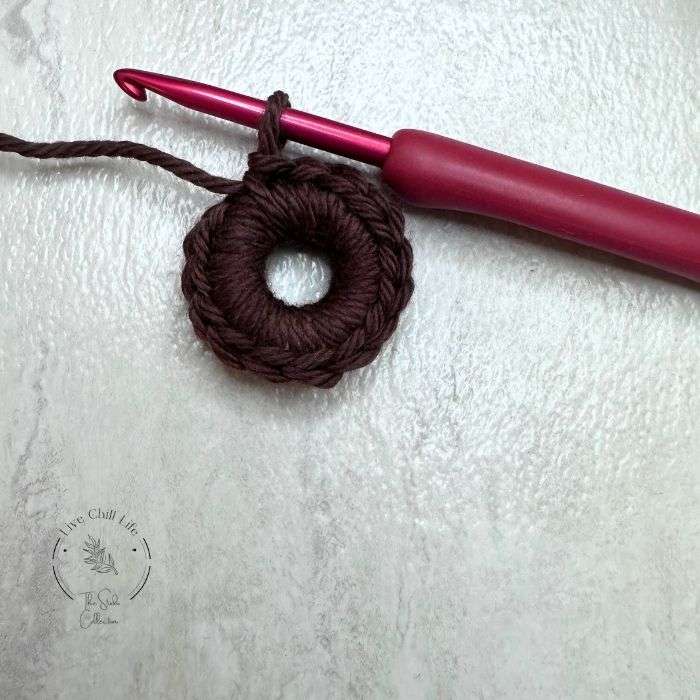
at the end of the round, ch 1 turn . Work sc in first three sts, ch 1 (do not skip a stitch), sc three. Ch 1 turn.
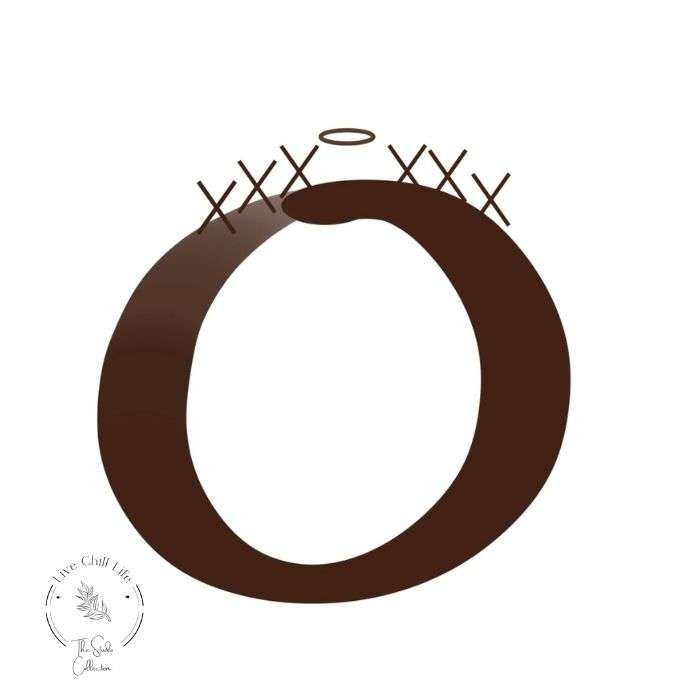
Round 2: sc in first three, two sc in ch 1 space, sc 3. ch 1. 8 sts.
Round 3: Put hook back in first sc of row and bring it together with the 8th stitch to create a circle/loop. sc 2 in first , sc in next. Repeat so you have 12 sts. Stay working in round.
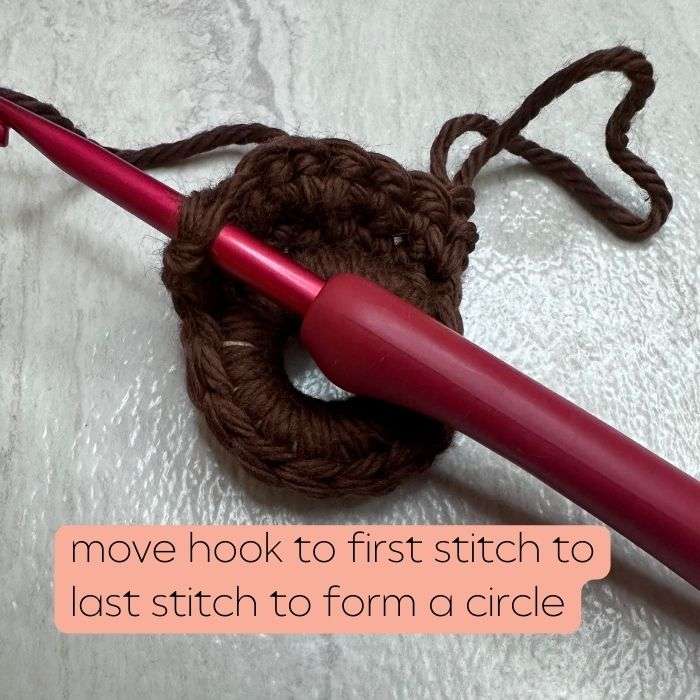
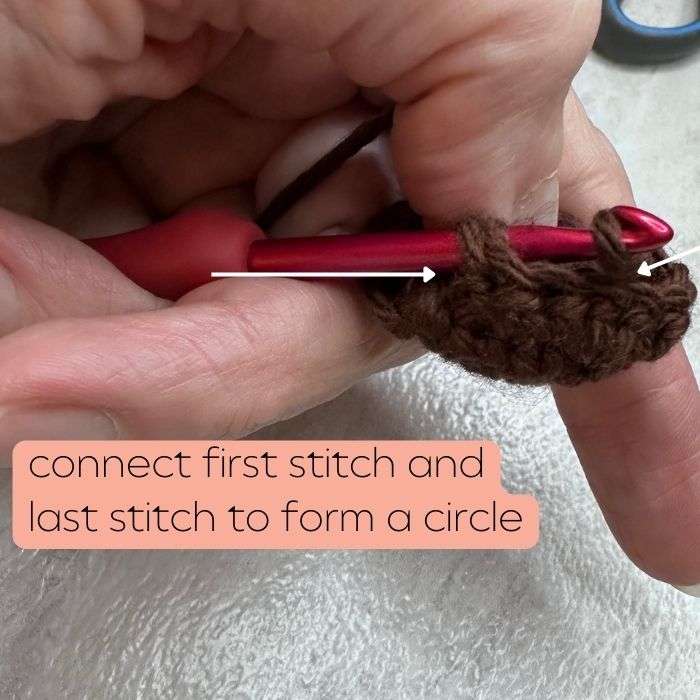
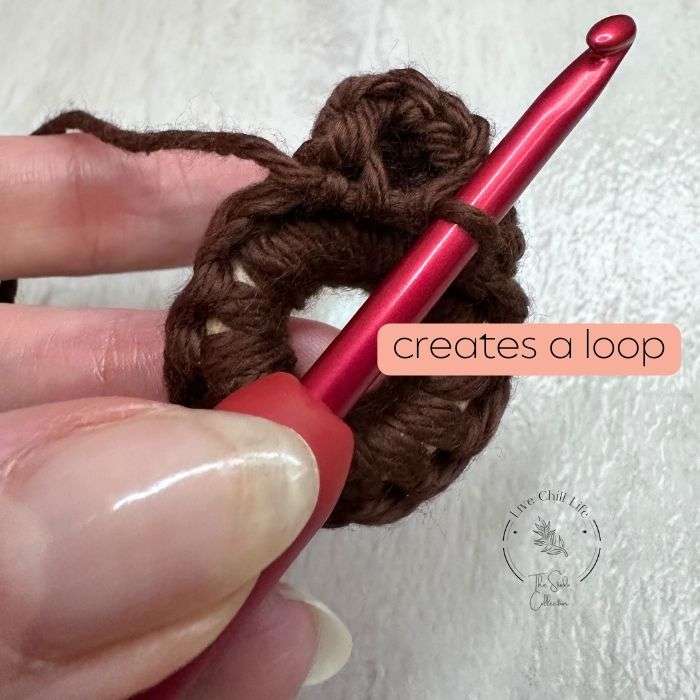
Round 4: Sc 2 in first, sc next. Repeat to end of round til you have 18 sts. To be safe if you want to check your pan in the event you need to go up to 20-22 sts do that now and work those increases in the next round.
Continue working 18 sc rounds to 3.75″ length (not including decorative ring).
Next round once you’ve reached the length (this is optional but I like it more tapered near the base of the handle), decrease first st and eighth stitch so you now have 16 sts. Continue 8 rounds of 16 sts or until it reaches approximately 5″ length. Work it longer if needed for other types of pans.
Slip stitch last round to finish. Cut yarn and weave in end.
How to Customize This Crochet Skillet Handle Cover
The beauty of this pattern is how completely it adapts to any pan in your kitchen. Here are the key adjustments:
For a longer handle — continue working sc rounds past the 5 inch length until the cover fits your specific pan handle. Measure your handle before you start and work to that length plus half an inch for ease.
For a wider handle — in Round 4 increase to 20 or 22 stitches instead of 18 before beginning the straight rounds. Check your pan handle circumference by wrapping a piece of yarn around it and measuring.
For a tighter fit — go down to a 3.5mm hook with the same yarn. A tighter stitch gives more structure and grip.
For a set of three — make one in each color using the same hook and yarn weight for a coordinated kitchen set. The olive, brown, and jute colorway shown here works beautifully as a neutral farmhouse set.
For craft fairs — make sets of three in coordinating colors, tie together with twine, and add a handmade hang tag. These sell consistently well at craft markets as practical handmade kitchen gifts.
If you are gifting or making them for a craft show consider adding some cute handmade tags.
You may like this post on things to make that sell at craft shows
Watch the Free Crochet Skillet Handle Cover Video Tutorial
see it on youtube